After a short break I started
working on the half-timbered house again.
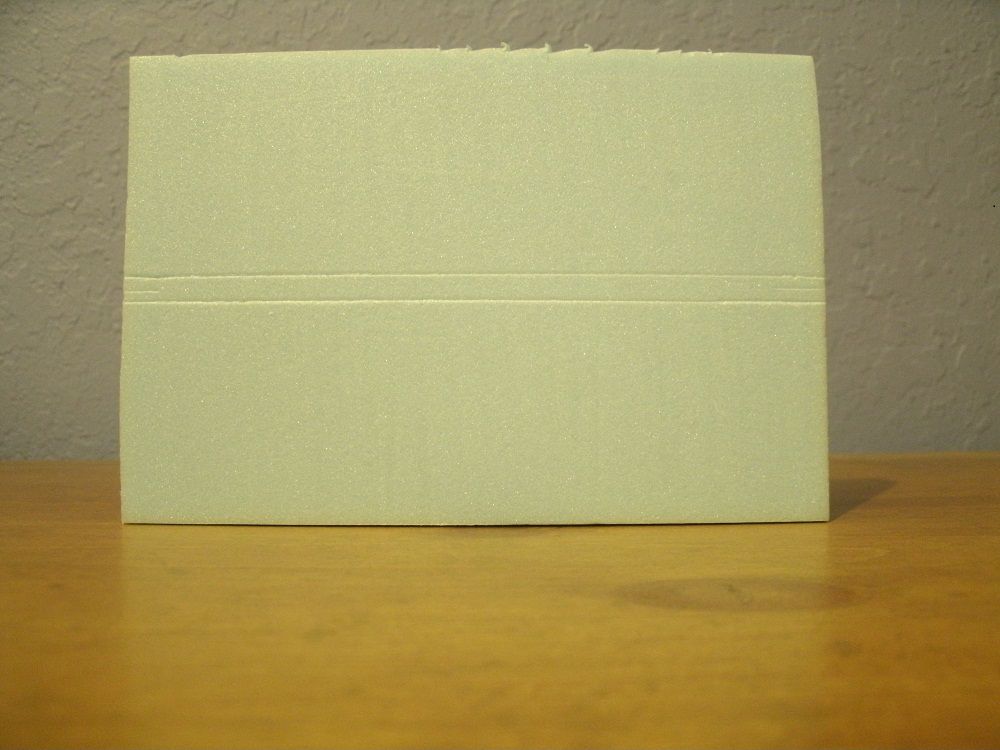
Is started by cutting the eaves, for which I just measures up 4” on both
sides, marked this, then found the center of the top edge and connected the
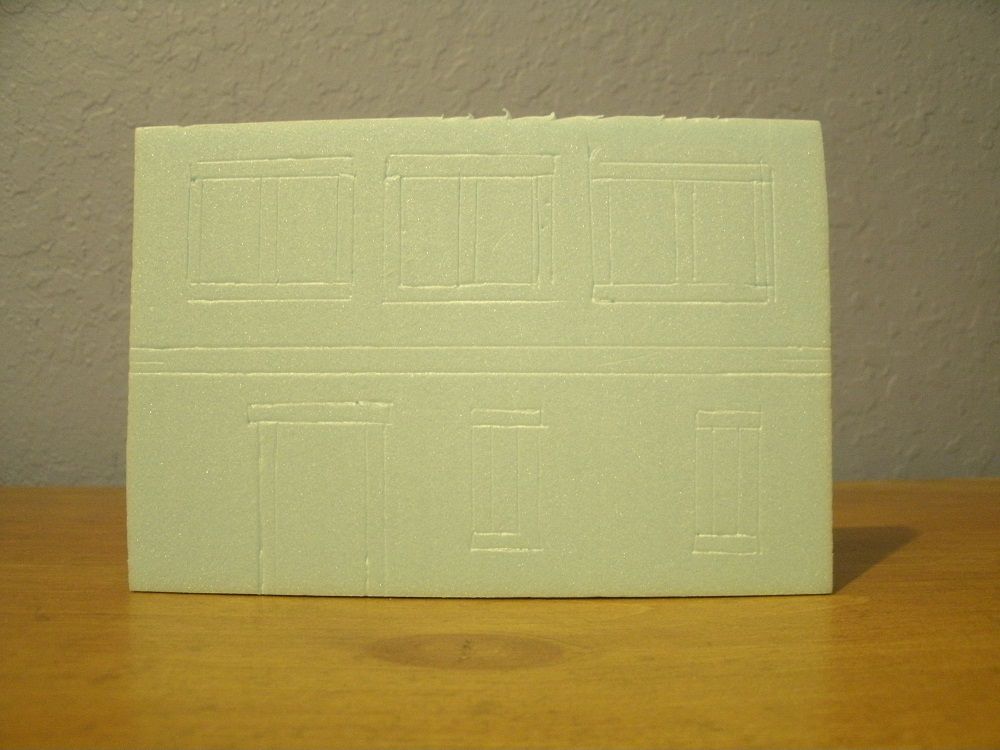
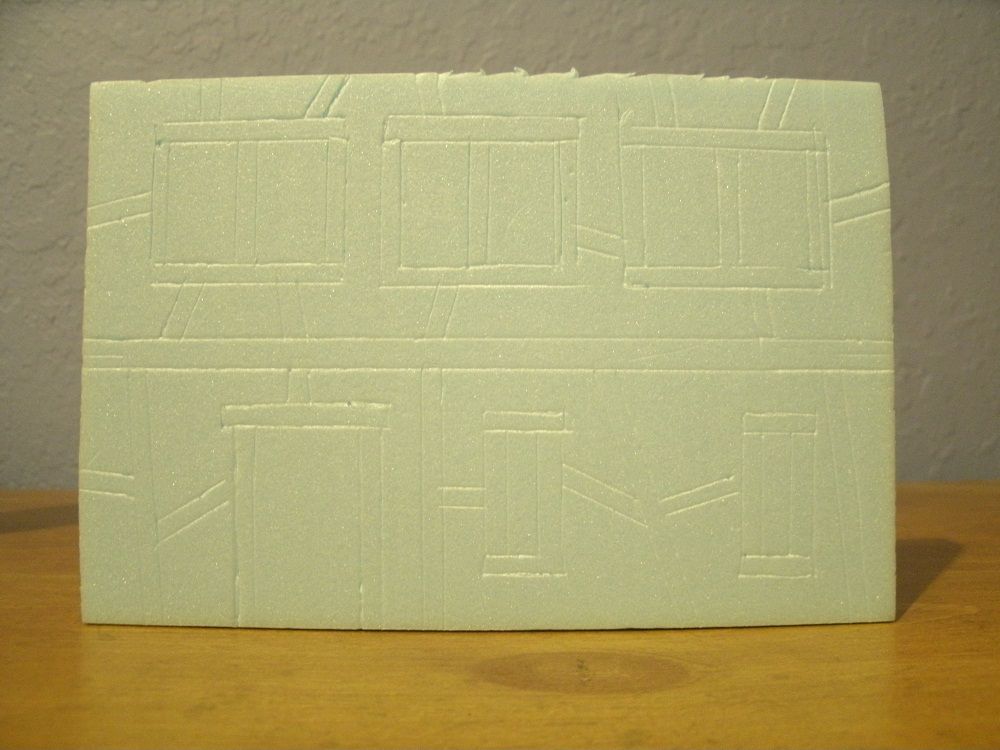
dots. After marking both of these off I etched out the plan for my timbers and
cut them out as well. I decided to go
for a simple plan with no windows and some straight forward timber placement.
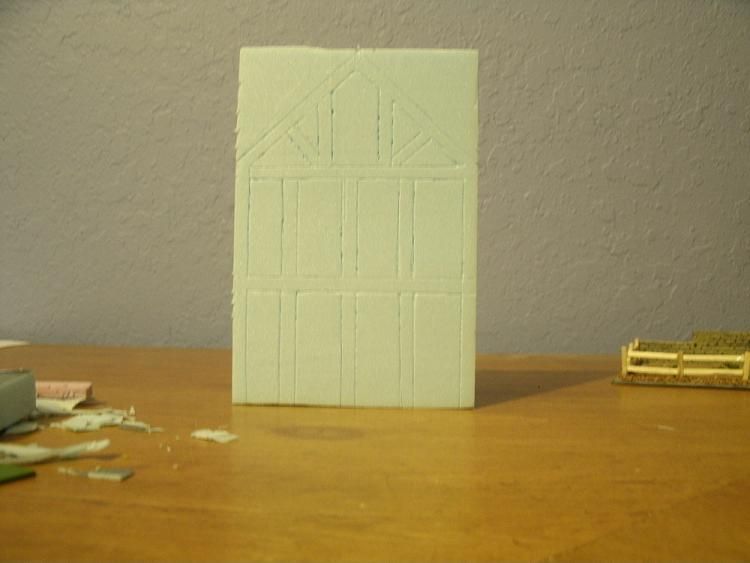
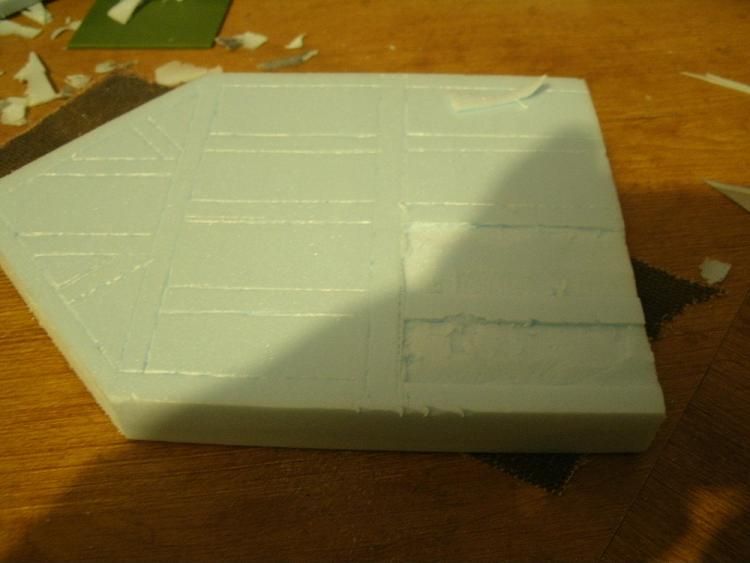
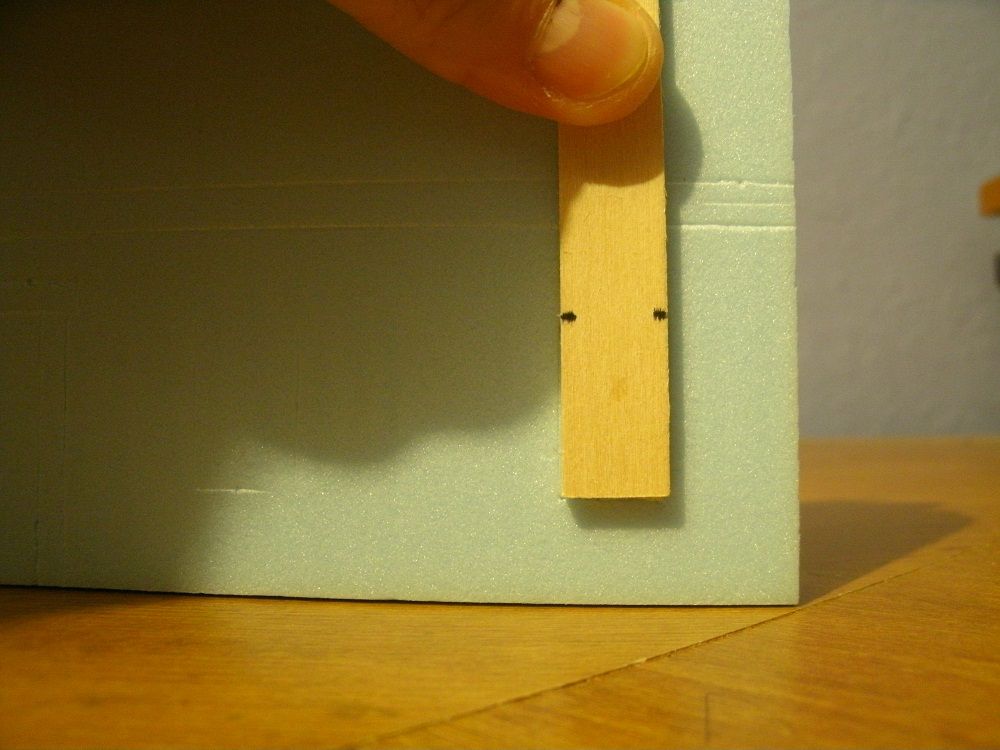
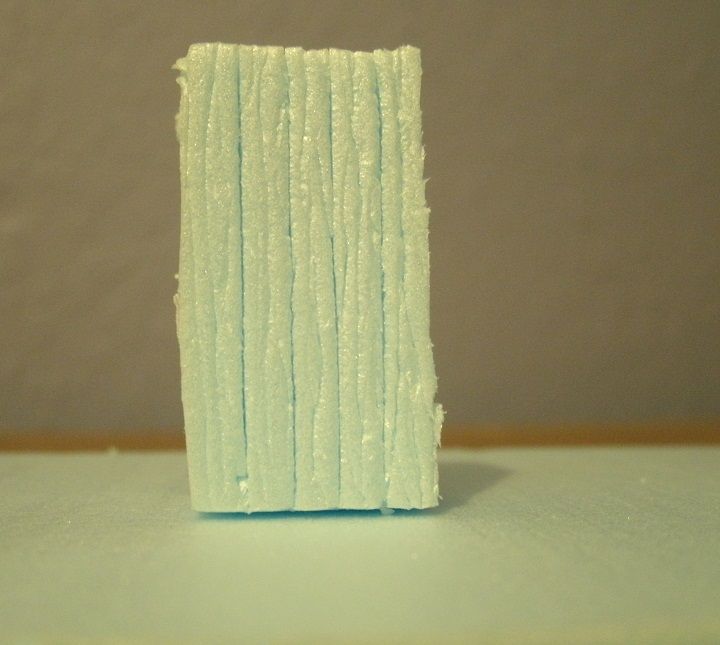
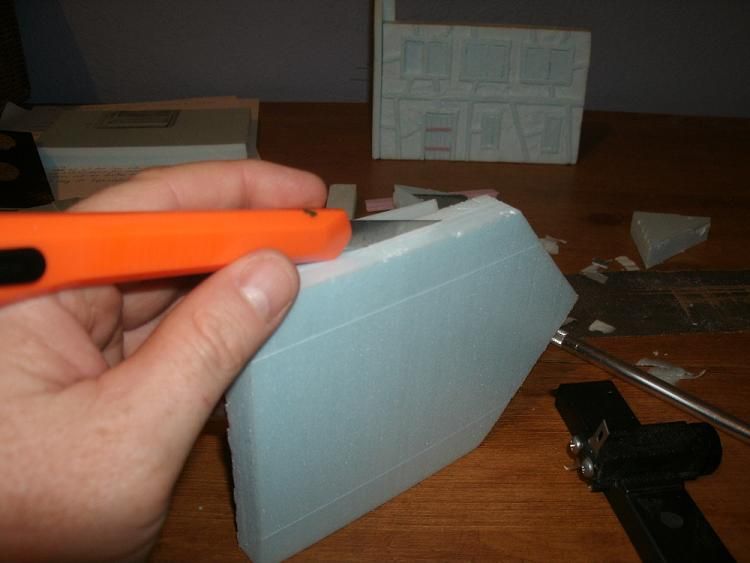
After cutting out the foam along the timbers the area in the center of the stucco walls is much higher that the rest of the area. You can use a file, as I mentioned in part 1 to get rid of these. Or you can use a box cutter and lay it down as flat as you can get it, even bending it slightly and cut it off flat, as shown in the photo below. Making sure to not cut your thumb off.

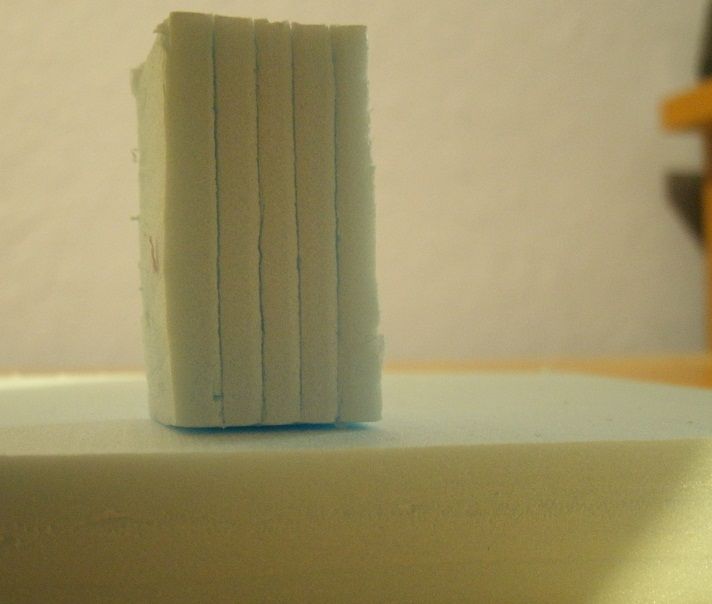
The next step was to make a rabbet cut on either side of
both of the side walls, and then glue the walls together. The rabbet cut was
made using my Master Airscrew balsa stripper.


The cuts were not deep enough to detach the foam, so a little extra cutting with a hobby knife was needed to make the cuts deep enough to get it out. I should note that when doing this, to be careful when cutting the back of the exterior face of the building. As cutting to deep could cut through or even cut off part of the side. So again, just be careful to control the depth at which you cut.
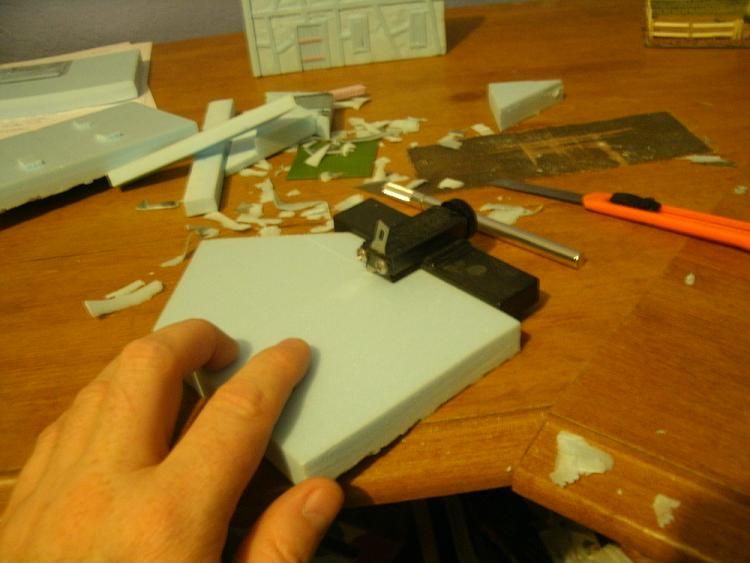
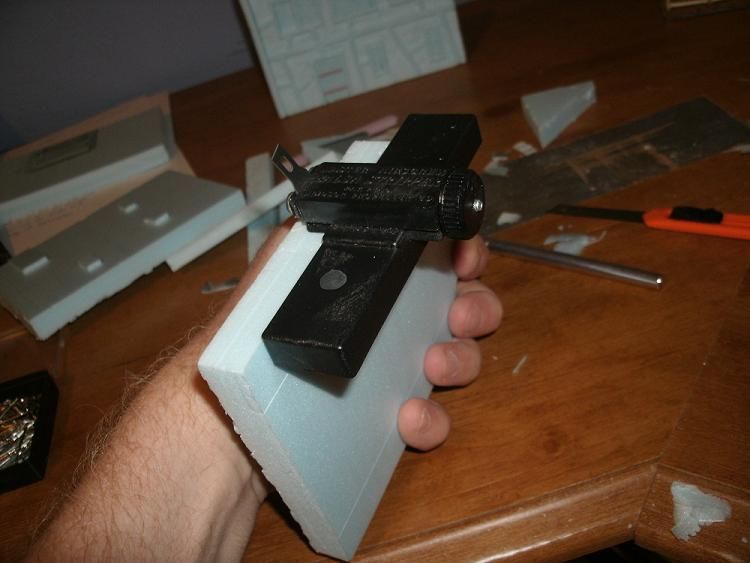
The cuts were not deep enough to detach the foam, so a little extra cutting with a hobby knife was needed to make the cuts deep enough to get it out. I should note that when doing this, to be careful when cutting the back of the exterior face of the building. As cutting to deep could cut through or even cut off part of the side. So again, just be careful to control the depth at which you cut.
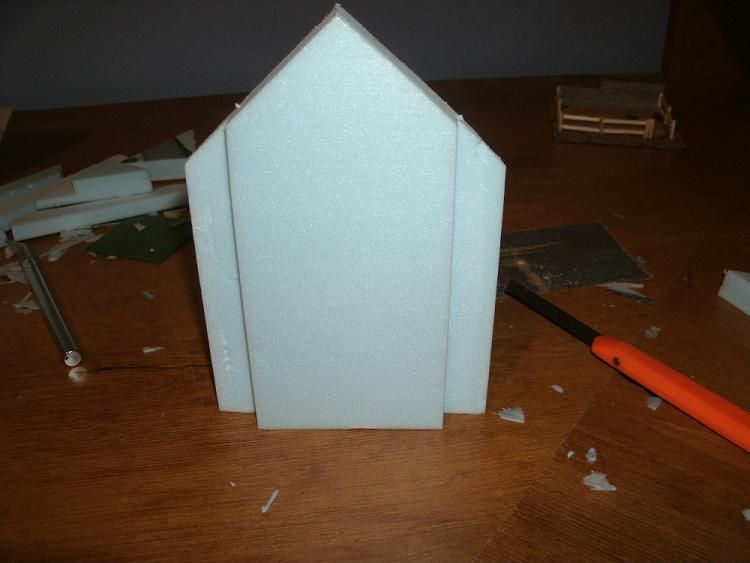
Once you have these removed you can glue them together, I
use a brand of craft glue called Tacky Glue, which is pretty common and it
works fine. When gluing the pieces together I put the glue on then spread it
around in a thin layer then put the pieces together, and use pins to keep them
together while the glue dries. Occasionally I have with the pieces not fitting
together very well. To help alleviate this problem I put some sand paper flat
on my working surface and then take the wall that it causing the problem and
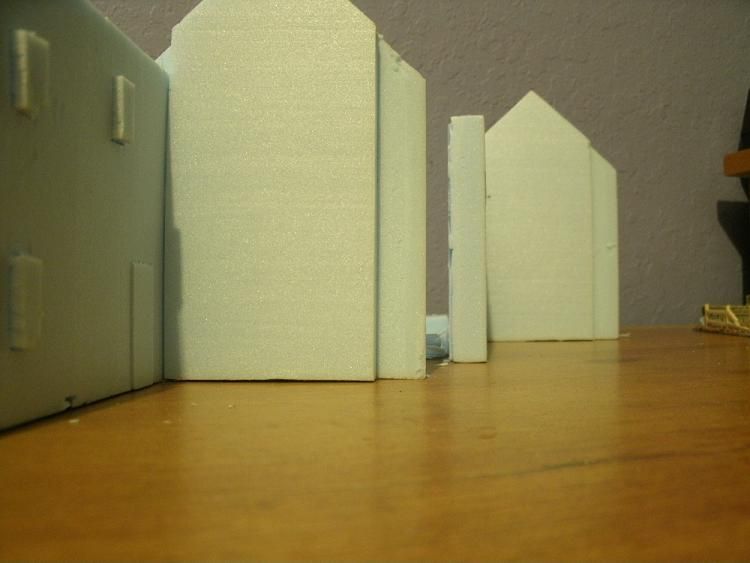
sand it flat. You can also straighten out the inside of the rabbet cut if needed, by wrapping some sand paper around
two sides a small wooden block and lightly sanding. If your corners still are
not as flush as you would like, or separate a little while gluing there a few
more things you can try to get around this problem. The first, is to take some
of those little bits of foam that you cut off from the face of the house, smear
a little glue on both sides and then and shove them in the cracks, and once
they are dried you can cut them off flush. You can also cover any unsightly
cracks by filling them with glue and flocking and making it look like the area
is covered with moss or ivy.
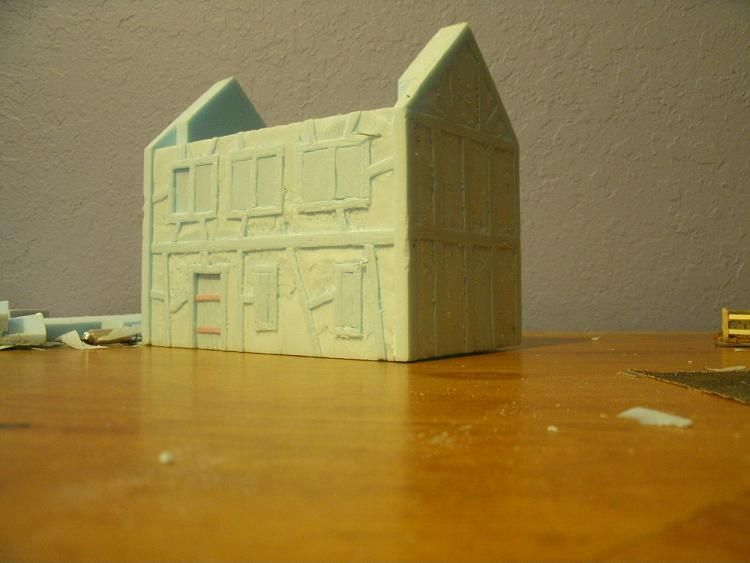
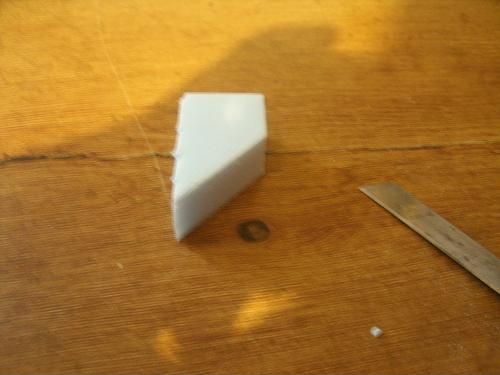
While waiting for this to dry I made the chimney. This was done by taking one of
the excess pieces I cut off when I did the eaves on the side walls. Since the
bottom angle of this matches the pitch of the roof (since that’s what we cut it
off of) it works out really well. Just
trim it up a little, and then etch in a brick or rock pattern as you like. I
topped mine off with a thin strip of foam slightly larger than the chimney, and
two bits from a stirring stick that were secured by drilling into the foam then
gluing them in place.

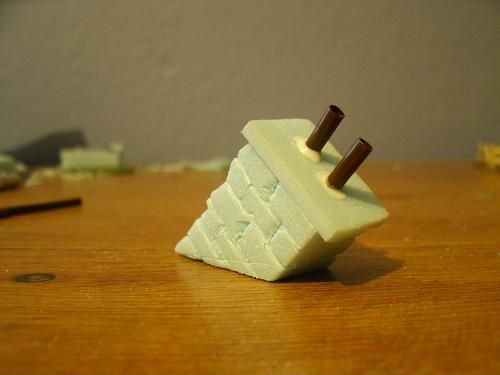
The next thing to work on are the windows. You need
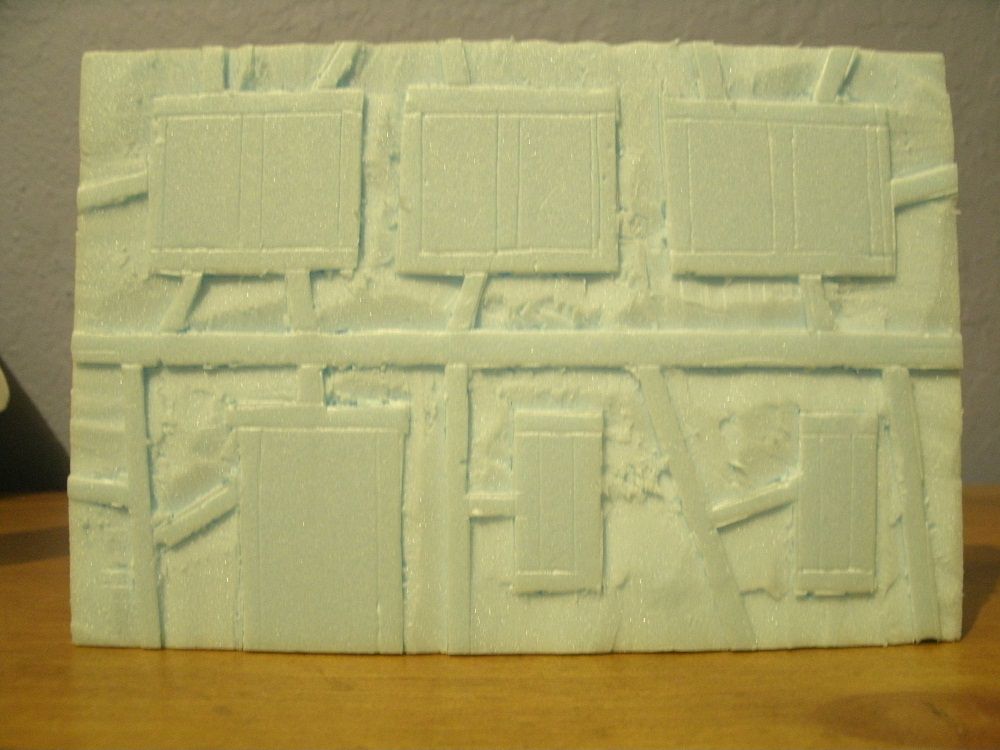
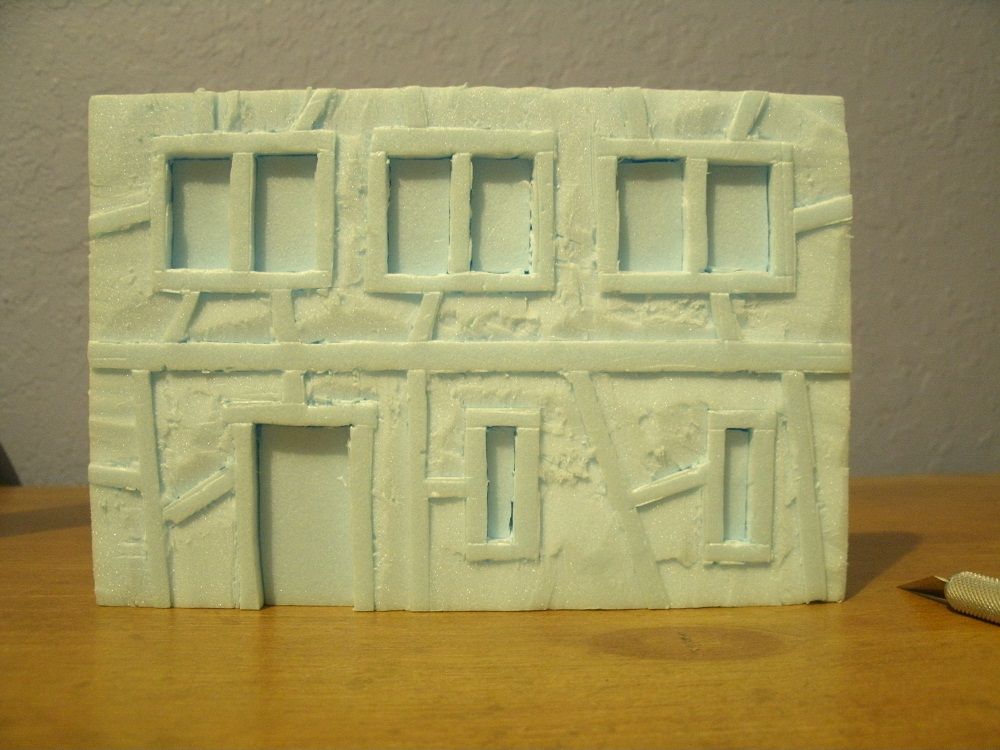
to decide what type of windows you want.I decided to go with something fairly simple as you can see in the pictures. I glued one strip across the window, and then divided the upper pane into two halves. The bottom windows I split into three panes.
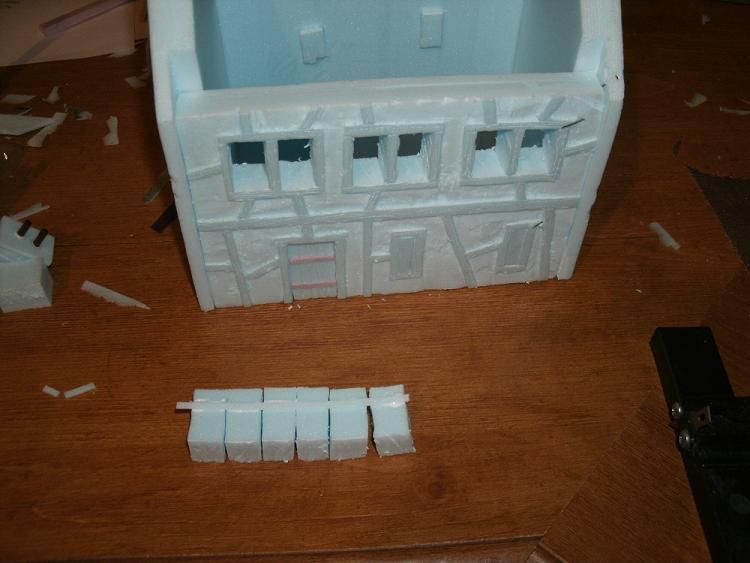
My biggest problem here is keeping track of the windows and
putting them back in the right spot instead of getting them all mixed up.

For the roof I use card board. I start by measuring the roof
and then add 1/4” for both sides (1/2” overall) to the measurements. You can
add more if you want a larger overhang. I cut this out as a single piece when
possible, then score it down the center line and fold over. On this particular
house there seemed to be a shortage of appropriately sized cardboard so I used
two pieces and taped them together with masking tape. After you have your roof
cut, just glue it straight to the building. Smearing the glue around in a thin
even layer and pin it until it dries.
You may notice the house isn’t exactly straight but gluing the roof on
should help bring everything back into line.

So after getting some feedback on the first part of the
tutorial, I decided to go back and make some changes to the original walls. I
added a few extra timbers under the windows. This highlights another advantage
to using polystyrene foam, its flexibility.
To add the timbers I cut flattened out the areas where I wanted to add the
timbers then glued thin strips of foam to the face of the wall. When the glue
dried I added the wood grain to match the other timbers. In two other areas I
cut back the foam a bit and made the area into a brick wall in order to show
the underlying structure. You can see all of this in the pictures below in the Roof section.
Starting on the roof required getting the material required, mainly my 1/4" strips of card stock that I had ran through my strip shredder many projects ago. These I cut, in bunches, into shingles of various lengths.

I also attached the chimney to the roof. On this house I choose the center of the house but you could put it on either end or wherever you prefer. After pining that in place I started putting the shingles on.
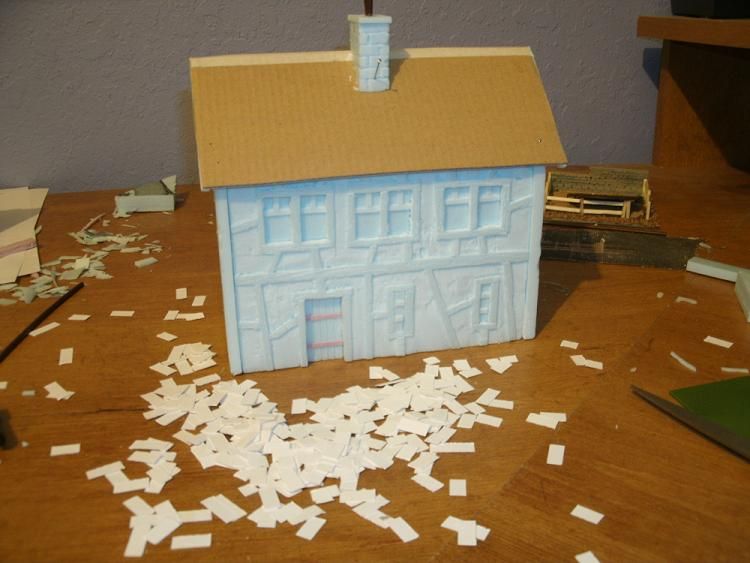
Putting the shingles on is relatively easy. I just put down a bead a glue from the left side to the right, starting with the bottom row. Then I lay down a layer of shingles. After the first row, I put the glue half on the row below and half on the cardboard above the previous row. I generally leave a little gap between shingles and occasionally put them on at a slight angle so that some of the shingles look a little loose. I try to keep the rows as straight as possible but there will always be a little variation. If you have trouble keeping a straight line, you might try drawing a line, or lines across the roof to use as a guide. For me, if it is reasonably straight, it's all good.
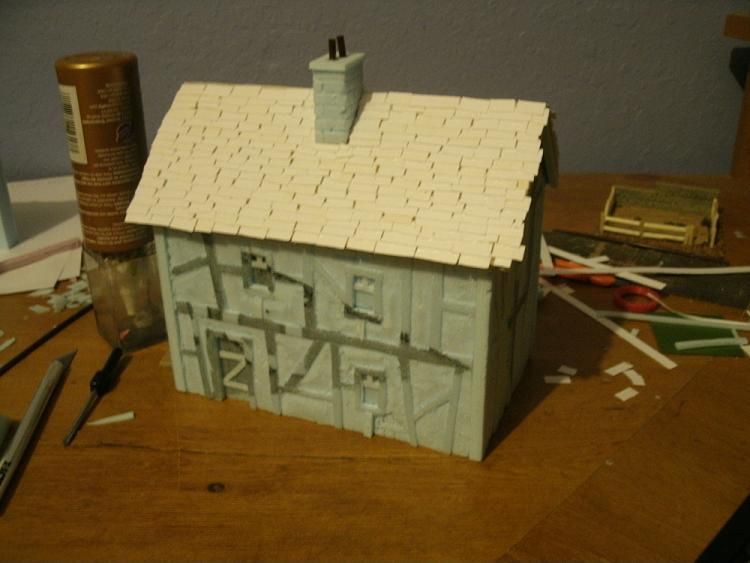 After you are done with the roof and it has all dried you can come back with a sharp pair of scissors and straighten up the edge of the roof, or you can leave it as is. The final step is the roof cap. For this house I choose to use a center timber as the top of the roof. So I cut a piece of foam and glued it to the peak of the roof. If you want you can also use a strip of balsa wood and sit it in the gap of the cardboard at the peak of the roof, which is what I usually do. In this case, since I taped the roof together I went with the foam.
 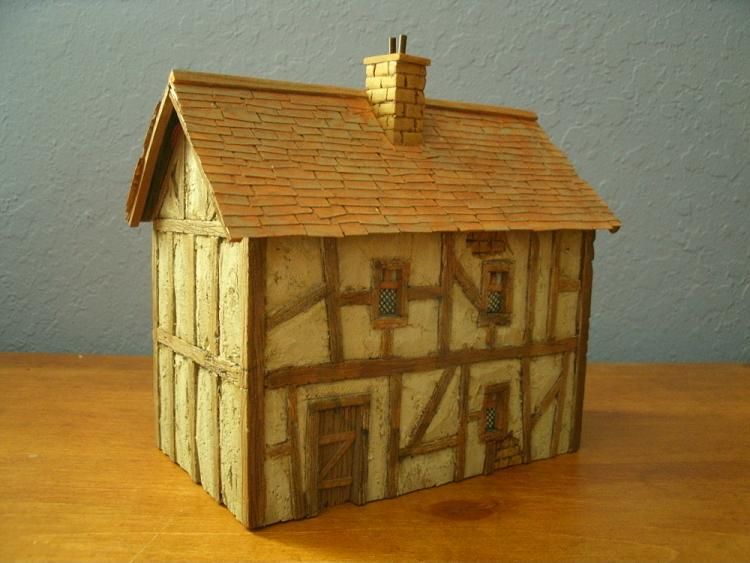 |
| If you look closely you will notice I forgot to paint the underside of the eaves. Oh the shame! |
The next step is painting. I painted the stucco a light linen or cream color. Then I gave it a wash of a slightly darker color then highlight it with the same linen color. Timbers I paint dark brown then dry brush with a lighter brown. The chimney and stone work I kept a brown color, but gray, red or orange would work fine I think. The shingles I painted a shade of brown then highlighted slightly. If you wanted a more weathered look you could paint them gray, or a gray brown color. You could also paint them blue, red or green if you wanted.
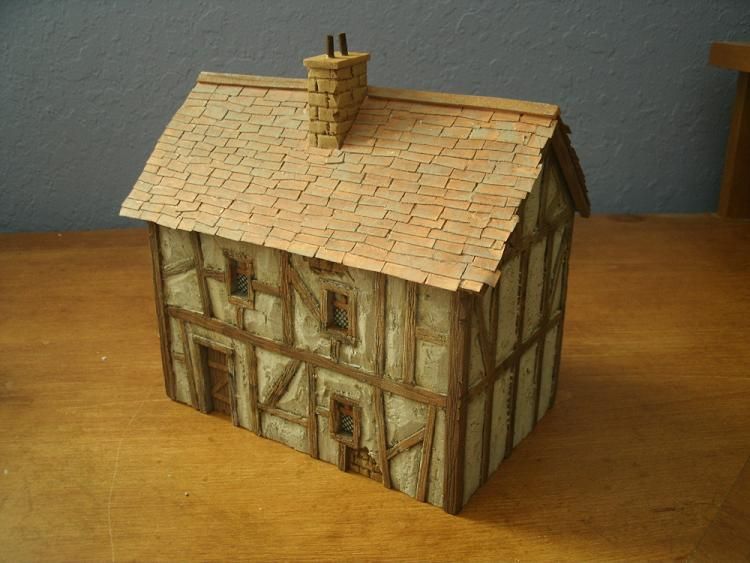
Here is the final and parting shot. All done and over with...well except somewhere along the way I decided I didn't like the windows so I decided to add the fancy diagonal frame pattern on the bottom pane of the window. For this I used carbon fiber screening material that you can pick up from the hardware section of Wal-Mart and pretty much any DIY center as well. This stuff runs about $10.00 for a gigantic roll that will last an eternity if all you use it for are windows. To add these to the windows I cut out little sections, turned them to a 45 degree angle and put my window face down on it, and cut around the window. I then glued them into place with some tacky glue. When dry I shoved my windows back in place. You will also want to paint your windows before you do this, otherwise you will get an excruciating exercise in tedium trying to paint all of those little diamond shaped panes of glass. I painted my window glass a pretty benign light gray color, but light blue, green, yellow, or brown will also work. As many of these houses were built in the days before clear glass.