Showing posts with label wargaming. Show all posts

Saturday, June 15, 2013

M16 Multiple Gun Motor Carriage


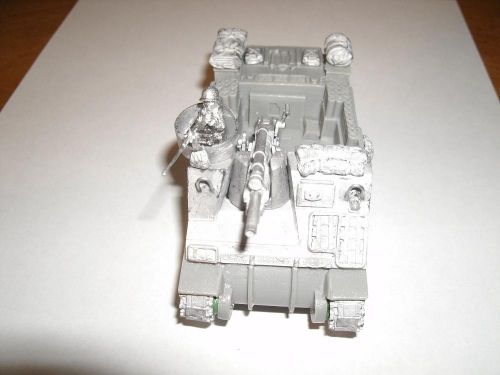
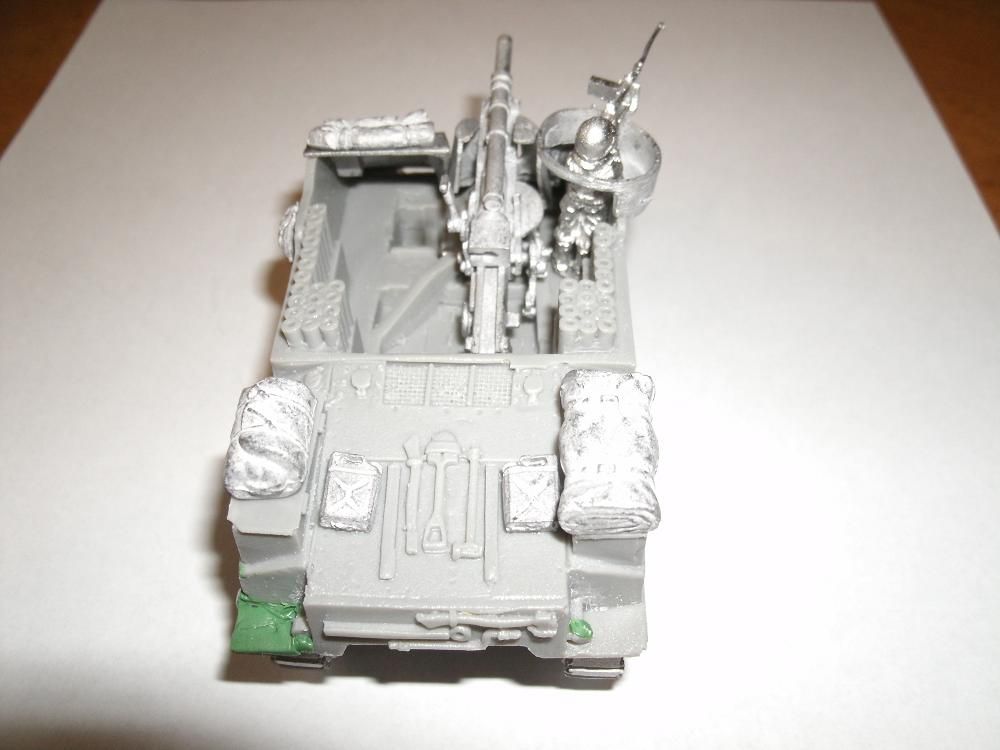
Okay, well you should know that I love quad mounted guns. Pure Awesome. So this thing mounts four .50 cal machinguns and can be used by my Americans or by my Soviet forces. These vehicles were designed as Anti-Aircraft vehicles, but were used in the ETO and PTO against ground forces. The model is from my recent order from Company B.
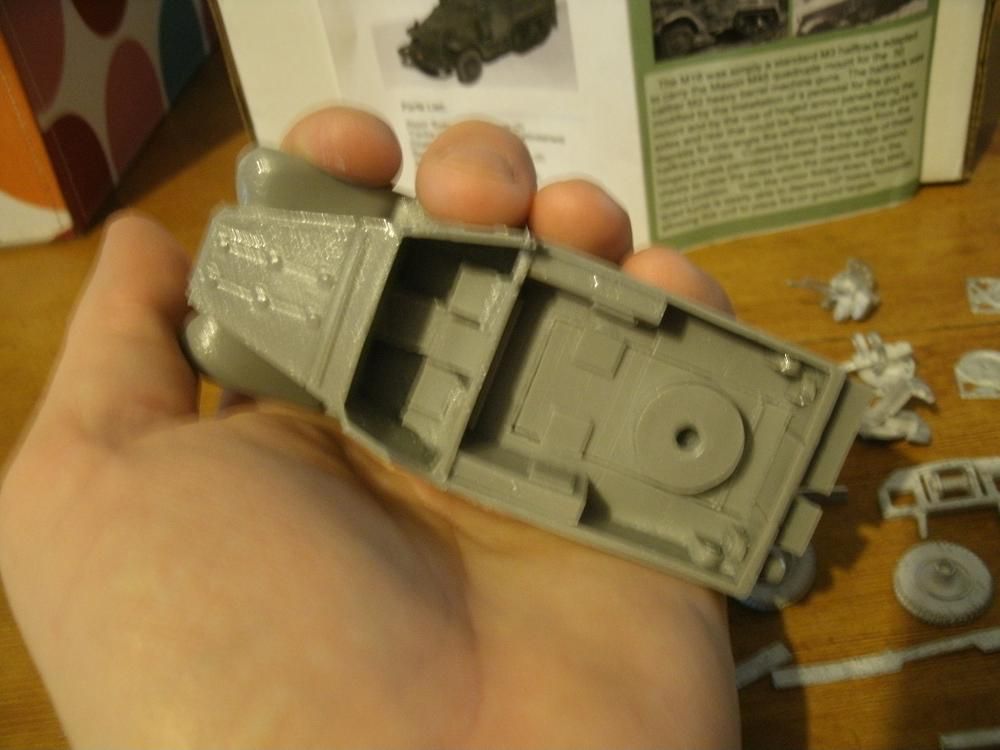
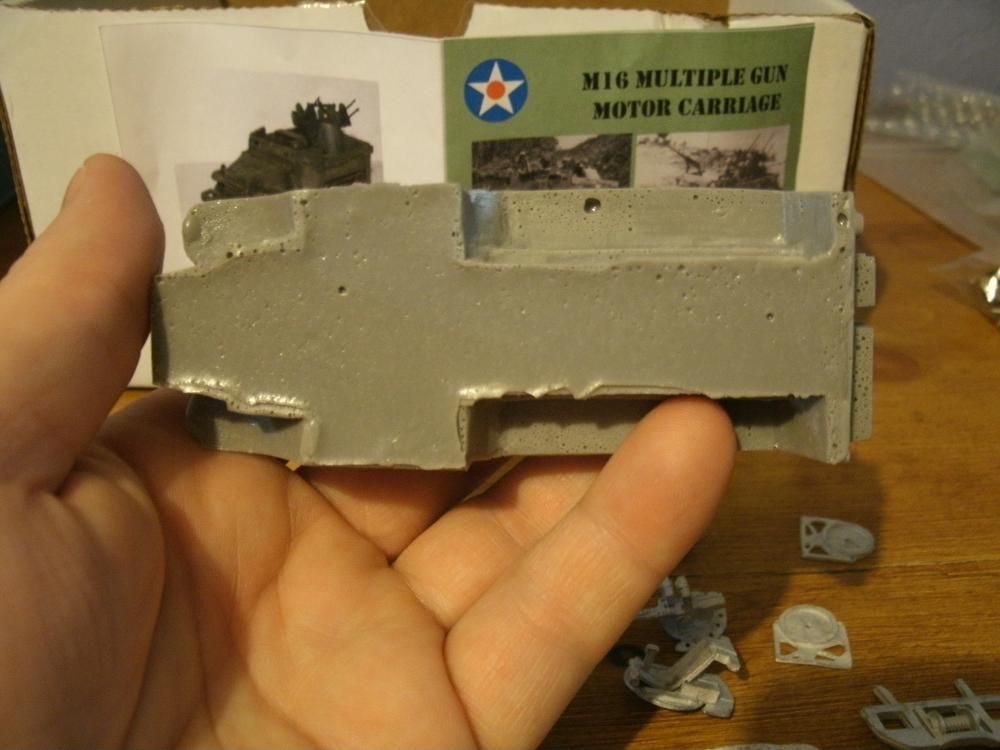
Sorry about the blurry picture.
Overall the model was cast really well with only a few minor areas of flash, and nothing I had to fix. I was slightly daunted by the number of parts, but that's just because me and superglue don't play well together. Had it been a plastic kit with 10 times the number of parts it wouldn't had bothered me nearly as much. However, I was able to get the model together with only gluing my fingers together a couple of times.

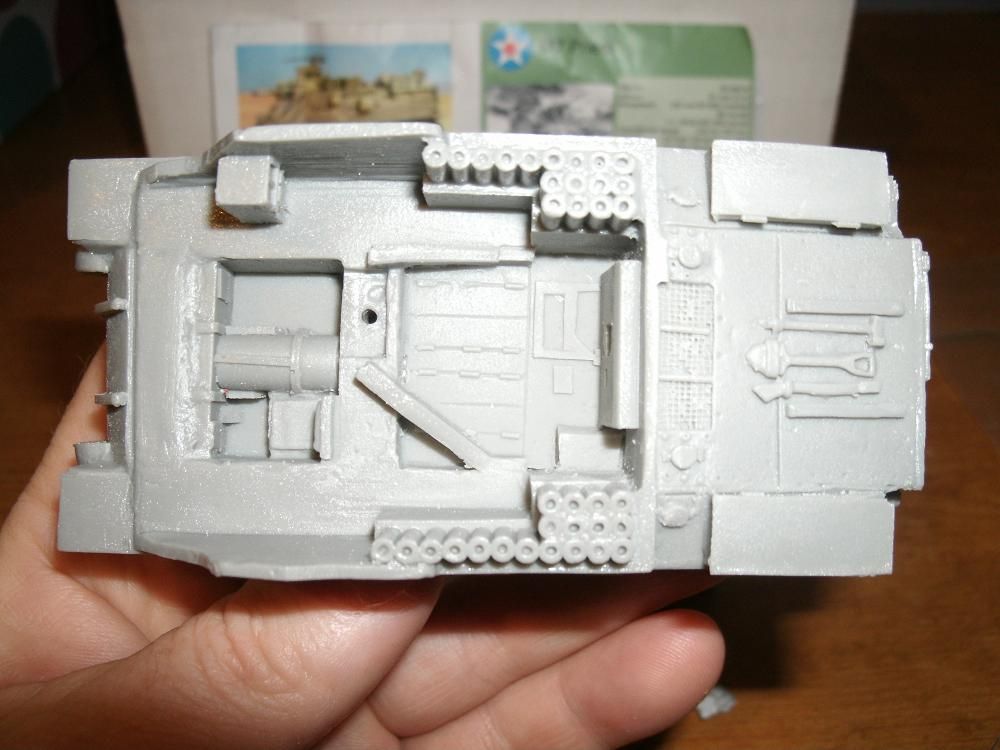
The bottom requries a bit of clean up, and has a fair number of air bubbles, but the rest of the resin model is bubble free.
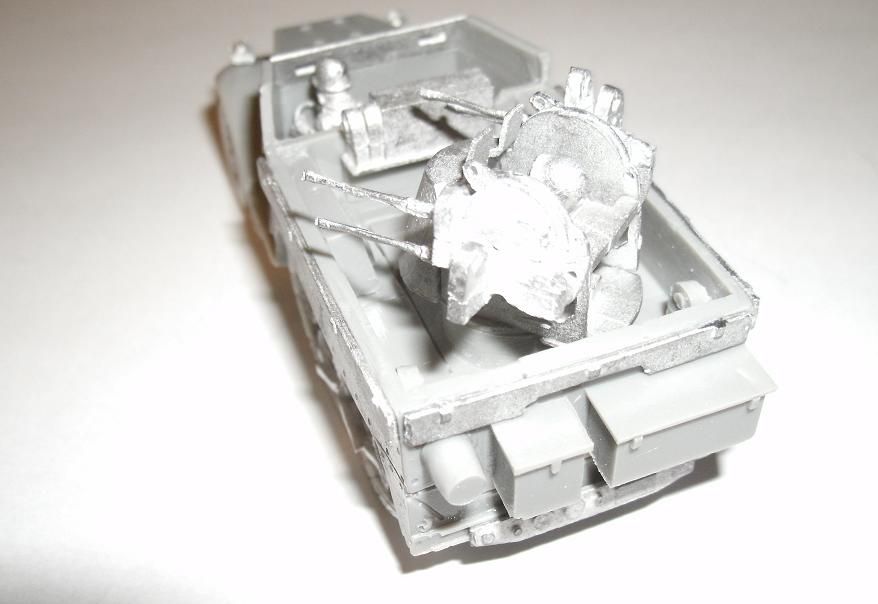

I had to look around the internet to find some decent pictures of the vehicle to see how the turret went together, and which direction to put the treads on. Other than that the other bits were pretty straight forward. The front window guard, the radio deck behind the driver and the the fold down panels on the sides and the rear.
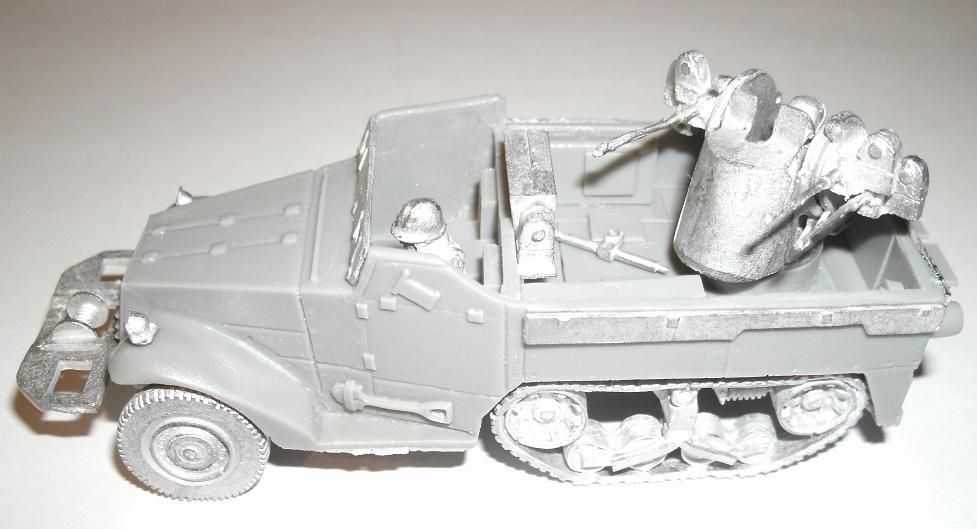

I learned my lesson with the Kubelwagen and left my crew unglued for the time being which is why the crossbar with the aiming sight for the gun is laying in the back of the truck right now. This way I can get him in and out of the turret until I get it all painted.


The model went together really easily and I really don't have any defects whatsoever to report. All together this model is pretty sweet and I highly recommend it.
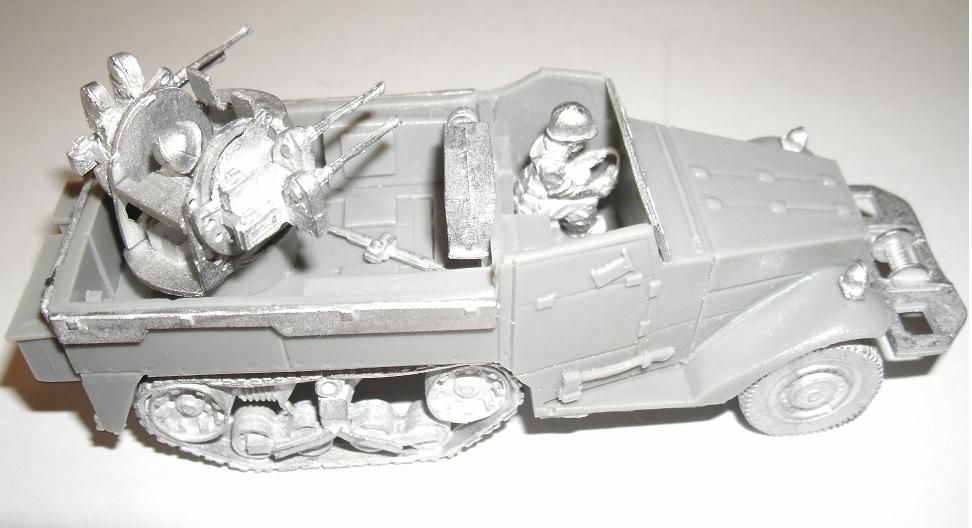

Now I am thinking how am I going to get this thing painted up so that I can use it for both my Americans and my Soviets. I may have to paint them up as Americans and then overlook the fact when I use them for the Soviets. Though maybe I could find a Soviet driver and gunner that I could swap out, but that seems like a lot of work. What I really need to do is figure out a way to swap out vehicle air identification markings. This is of course assuming the Soviets bothered to put their Red Star markings on these things, which I assume they did. Anyway I will have to think about it for a while.

One thing that I really want to do, is cut up some lengths of copper wire to sprinkle around the truck bed as spent .50 cal shells. I think this will be a nice touch that will really bring the model to life.

Saturday, June 8, 2013

German Kubelwagen by Company B


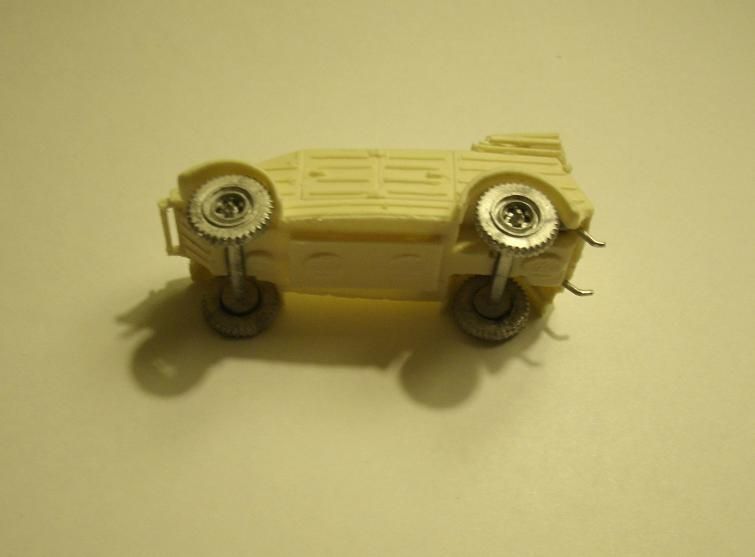
This is a resin and white metal model from Company B.  The first thing I noticed was how thin the doors are on this thing. Given that, I was impressed with how clean and detailed the casting was and the fact that it had no air bubbles, with the exception of a few on the bottom of the model that would not be visible while in use. There was also very little flash, one minor piece under the driver’s door, and that was easily removed.

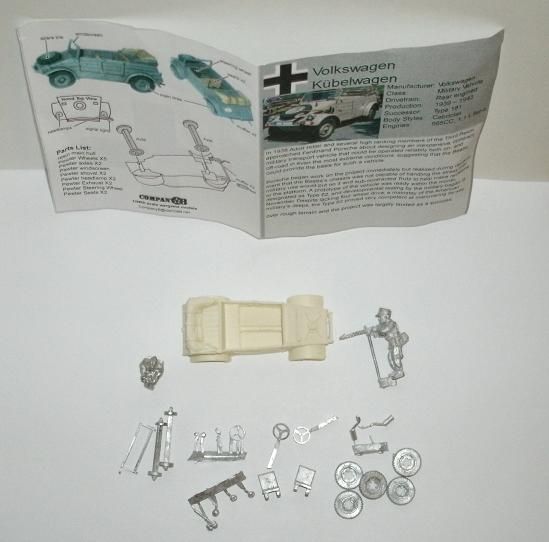
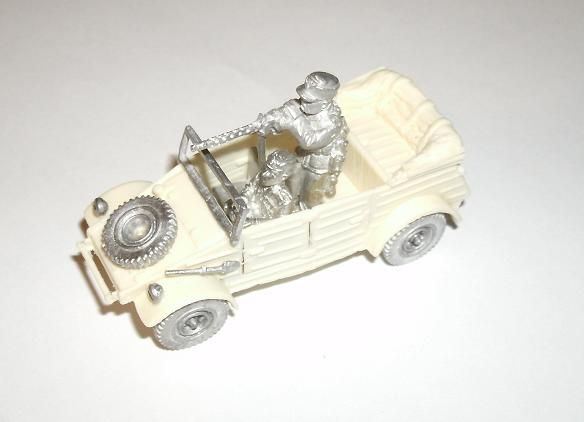
Overhead shot.


The model comes with an insert that has a color picture of the vehicle, basic stats, a brief history, a parts list, and an illustration to aid in assembly. I thought this was a nice inclusion, as the other models that I ordered did not come any instructions or assembly illustrations. Not that any were really needed for the Kubelwagen as everything was pretty straight forward. 

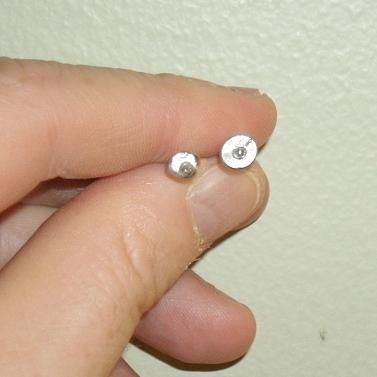
I decided to start with the axles and then the tires and noticed that when I picked up the axles that one of the wheel bases had been miscast and was rather lopsided. I figured that that it was in good enough shape to work so I continued. This piece proved a little more problematic than I anticipated as it was difficult to balance the tire on half the normal surface, and after falling off several times it finally stuck.

The wonky axle.


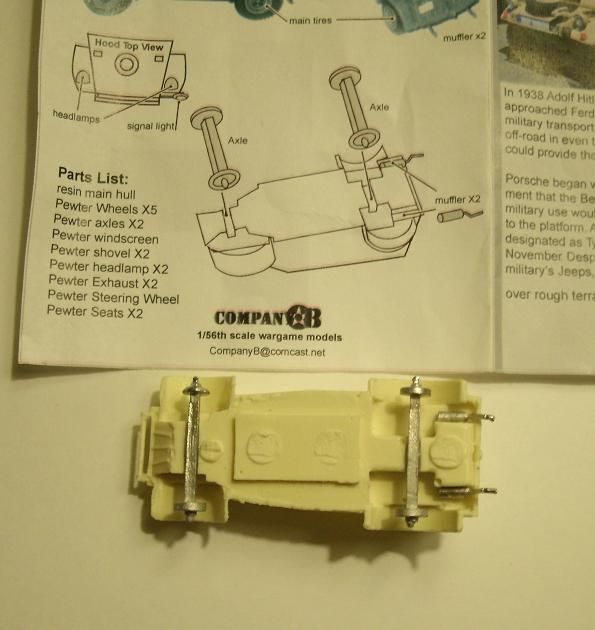
All the other tires went stayed on after the first try without any trouble. Then I attached the mufflers and let them dry while I watched a little TV.


Waiting for the glue on the wheels to dry.

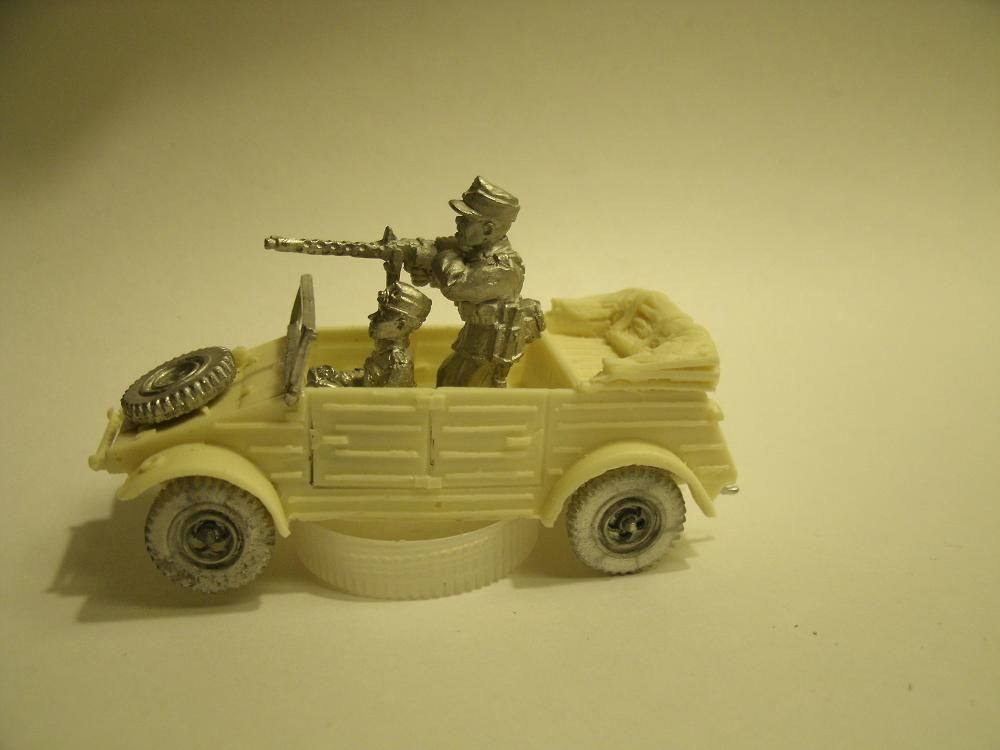
The interior of the car has two options. You can put in a steering wheel and an empty driver’s seat, along with the passenger seat, or the driver figure and a gunner, and an empty passenger seat. I decided to go with the driver and gunner combo. I suppose you could also just use the driver and find an officer figure, if you wanted a staff car. After I let the glue on the tires dry for a little bit I decided to put the driver and the passenger seat.  The driver wasn’t much trouble at all, whereas the passenger seat proved to be quite the little gremlin. I think this was due to a combination of factors, the gel super glue not curing fast enough and the metal seat back making the seat unbalanced. So after the one hundred and seventh time of falling over it finally stayed in place and I moved on to the gunner.
For this guy I had to cut the flash out from between his legs, but not high up enough to give him a vasectomy. I then had to pry them apart a little to get them to go over either side of the axle cover and sit flat on the back floorboard. Then I had to move the pintle-mount around a bit as it kept hitting on the drivers elbow, and I suspect that I may not have had the driver as far forward as it should have been. 

Waiting for the glue on the wheels to dry...again.

Done and waiting for a paint job.

Painting was pretty straight forward. Since I will be using the vehicle for late War scenarios and perhaps North Africa as well I decided to go with a base coat of Dunkelgelb. I then decided to leave off the green camo pattern that I applied to my SdKfz 251/1 and SdKfz 222, to make the vehicle more generic. Then I painted the wheels gray and washed them with black, then started painting the figures. At this point I decided that I probably should have primed and painted the figures separately, as I had already had trouble painting the interior of the vehicle, and was now have a hard time getting paint on some portions of the figures. So next time I know and will avoid this if possible.  Then I had to try and find some pictures on the internet that showed the color of the rag top, and decided to paint it Dunkelgelb as well but then highlight it with a slightly lighter yellow brown. Then I decided I didn't like that, so I painted it a Khaki Gray. The seats I went with a gray-green color just for the sake of variety. 


 I also added a windshield after I finished painting and dusted it with a bit of pigment to give it that dusty look. After that I took a few pictures, erased the pictures and painted the undercarriage a muddy brown and retook said pictures and they look a lot better.


I was also looking to see what type of markings was common on the Kubelwagen and found that mainly just the painted license plates. Not having these I have left them off, I am considering ordering some from Company B along with some other decal sheets, but for now I am leaving this off.


looking at this last shot, I just realized I also need to add the rank to the sleeve of the crew and a few other minor details.


Sunday, May 5, 2013

Courtyard


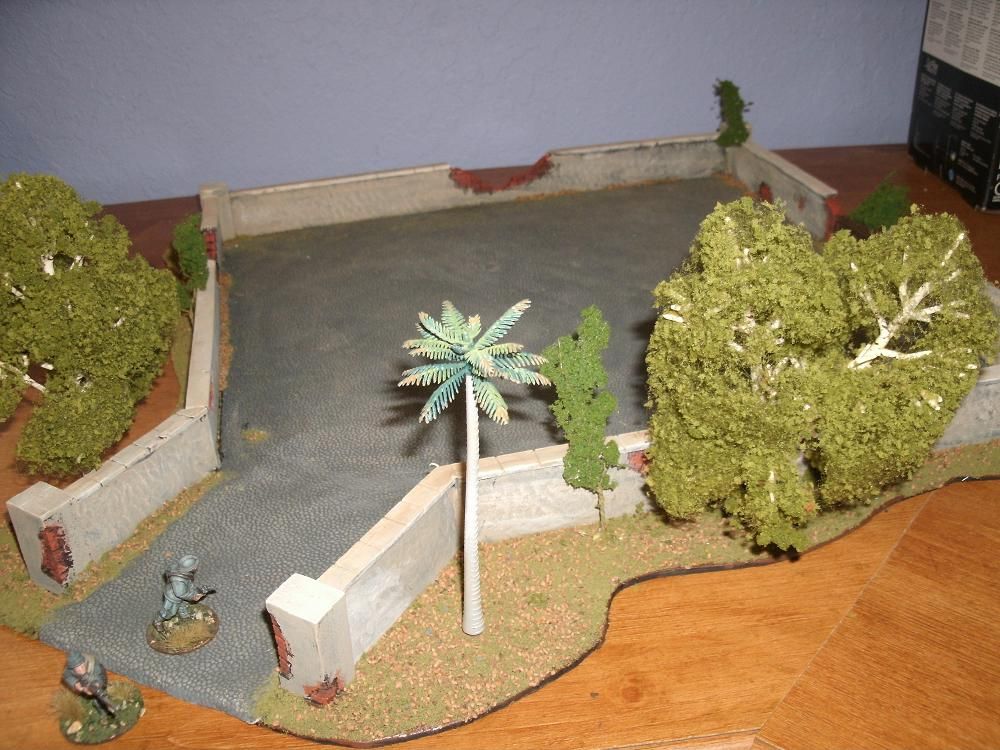
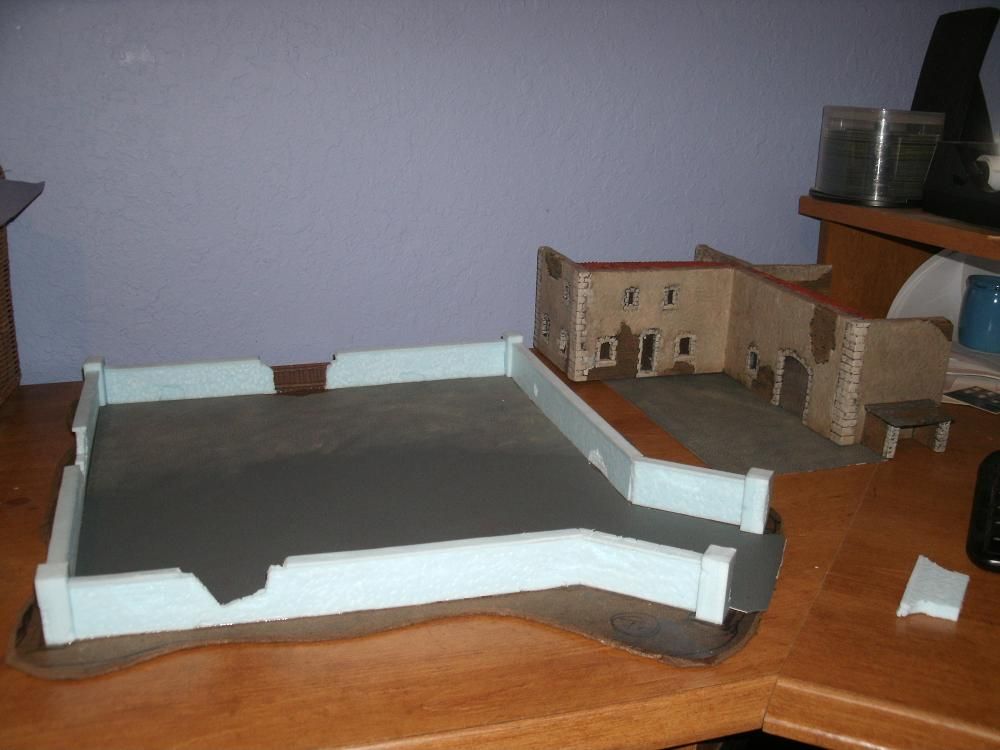
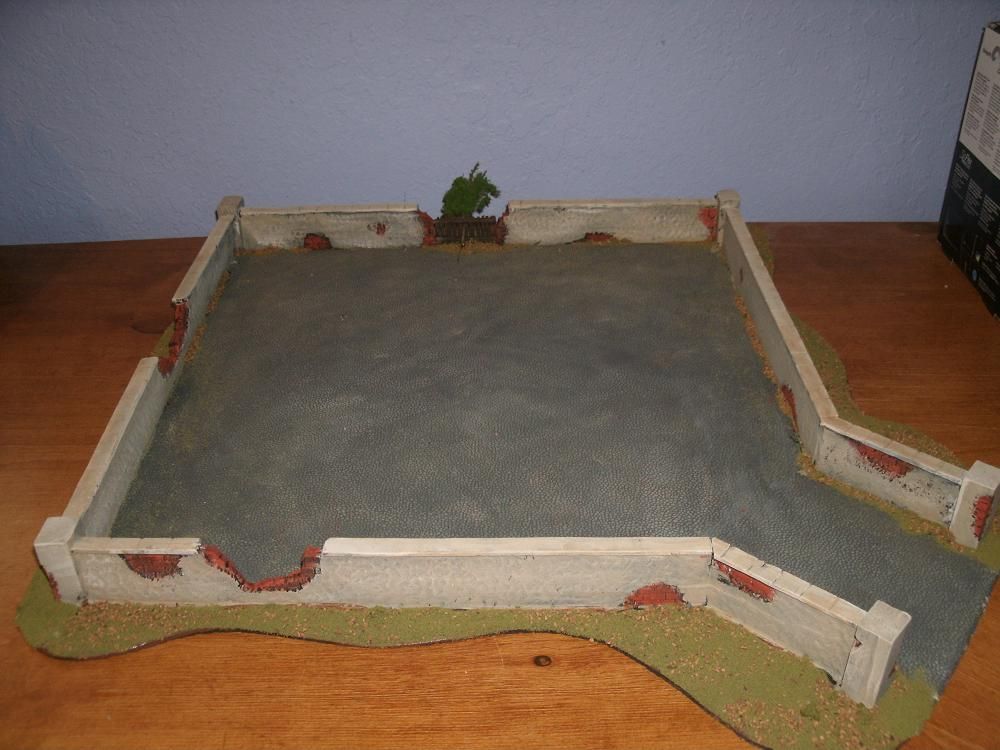
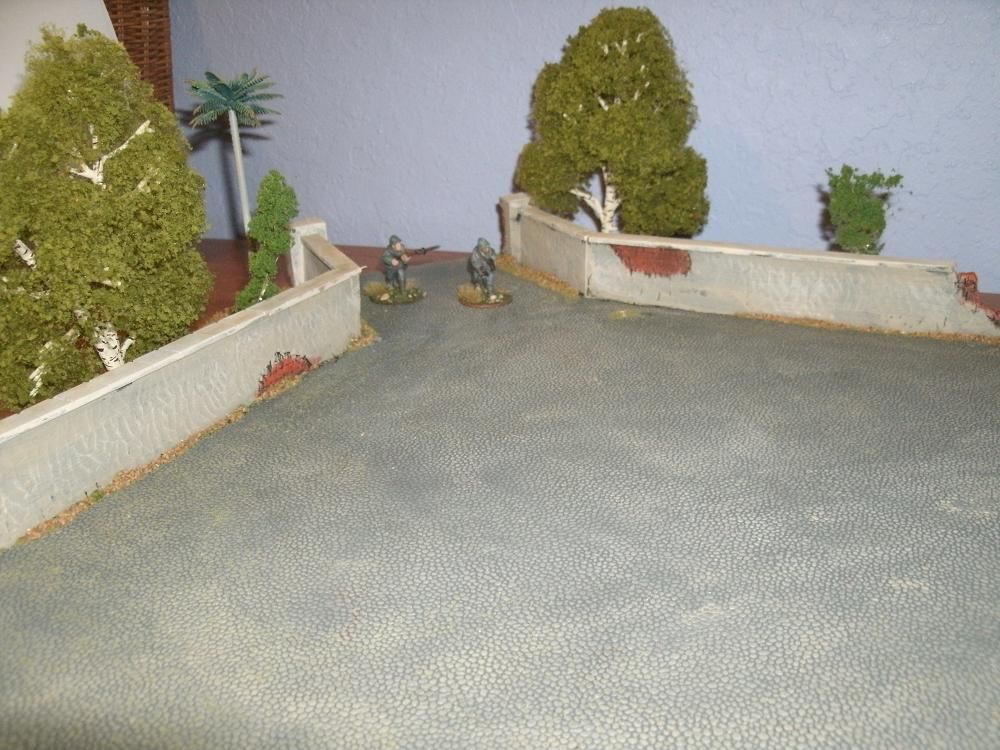
This is a courtyard for use with some of the houses I have built in the past. I have tried to make it as versatile as possible. I went for plaster covered brick walls that would have been fairly common across much of Europe. At the same time, I tried to give it character by adding small details to make it unique; such as the fence with the tree growing through it, and the shell hole in the wall. The trees are removable and can be moved around the board and set up in numerous different arrangements. I have both deciduous and palm trees on it in the picture to show that it can be used for temperate as well as sub-Saharan locals by simply changing the trees.


For the base I used some hardboard with an irregular edge. Once I determined the layout I wanted and how big my walls were going to be I cut out some 2” tall foam strips. I then took these and my Master Airscrew Balsa Stripper, setting it to 1/4” thickness and cut the foam strips lengthwise on all sides. The blade won’t cut all the way through, but it gives a good guide on both sides. Then I took a box cutter and cut the center out. This gave me 1/4” thick pieces with which to make the walls. I cut these down to the appropriate length and started removing thin sections in random places. These sections were for the underlying brickwork. This was made by using the back of the box cutter or xacto knife and a straight edge. The corner sections are made from 1/2” x 1/2" sections slightly larger than the wall. Once that was done I glued all the pieces to the board and let it dry. I came back later and added the top of dressed stone. These are made out of long thin strips of foam cut out with the Balsa Stripper and then glued on to the top of the wall. Once dried the grooves between the stones was made tool impression just like the brickwork.

The cobble stone pavement was made using some shelf liner that I bought at Wal-Mart for making roads and it worked nicely for this project as well. Hopefully, being glued to the base will make this more durable than my roads.

The wooden fence is from Renedra Plastics, and was cut down to fit the gap in the wall.


After construction I painted the whole thing, except the shelf liner, which I had already partially painted.


Cobblestones: Hippo Gray (FA ?), with Butter Pecan highlight (FA 939)
Stucco: Butter Pecan (FA 939), with Linen (FA 402) highlight.
Bricks: Georgia Clay (Americana)


After painting I flocked the outside edge and the inside between the shelf liner and the walls with some green flocking mixed with some brown model railroad ballast, and a few bits of clump foliage. Once the flocking had dried I drilled a few holes to fit the diameter of the base nipple on the trees and simply stuck them in.


Wednesday, May 1, 2013

M7 Priest Unboxing and Build

Recently I pulled the trigger and ordered several vehicles from Company B for use with my Bolt Action American's and German's.. This is the first time I have dealt with this company. Shortly after placing my order I received an e-mail letting me know that one of the models I ordered was out of stock.
While this news was a bit of a letdown, they gave me a couple of options. Order a new model, to be shipped with my current order, or shipping the G3A, free of charge, when it was back in stock. I opted to wait, as the Mercedes G3A is one cool truck, and made even more icon by the Indiana Jones Films. It is useful for both Bolt Action and the Pulp 30's game that I co-run with a good friend.

So before even receiving my order I have to give them a thumbs up for customer service. Especially after hearing stories from my friends about getting half-filled orders and then spending days or weeks trying to get a response from whichever company to get the issue resolved.


So on to the M7 Priest. I must admit that the Priest has been one of my favorite WWII vehicles even since I was a kid and played my first game of squad leader back in the day. So my choosing this model for my American army has more to do with my own personal quirks than it does with how effective, or historical it is with the rest of my troops.


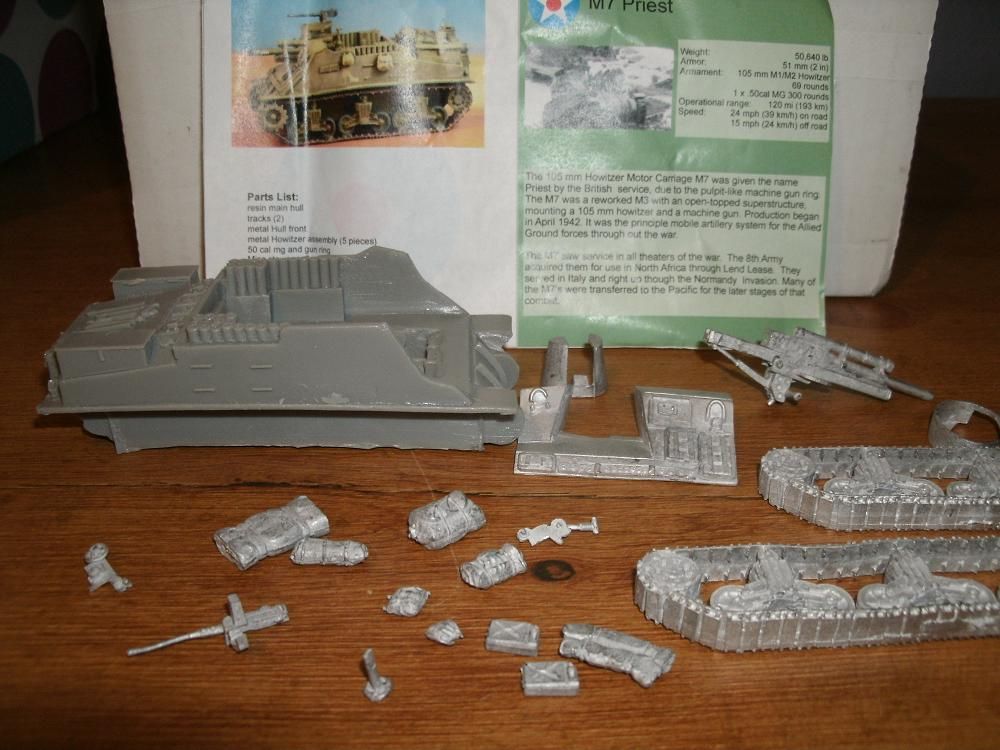
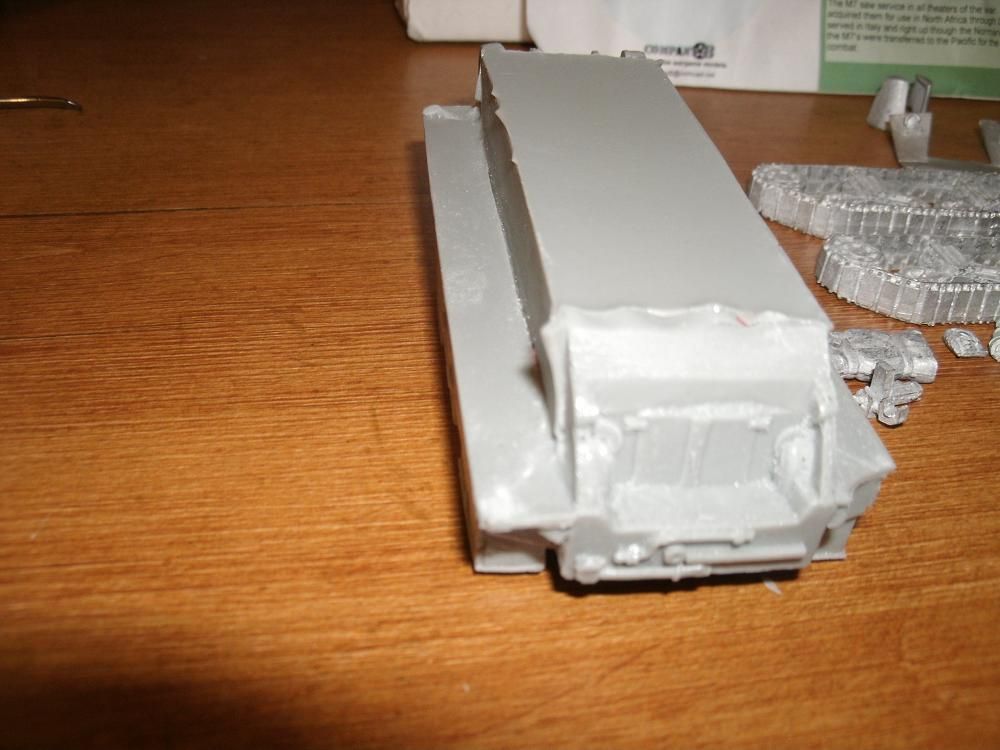
 Here it is in all it's un-assembled glory. Overall, both the metal and resin parts have very little flash, and the resin hull only has two air bubbles. 


Both the air bubbles are located on the rear of the vehicle with one on the exhaust and the other on the fender. Neither of which will take much work to fix.


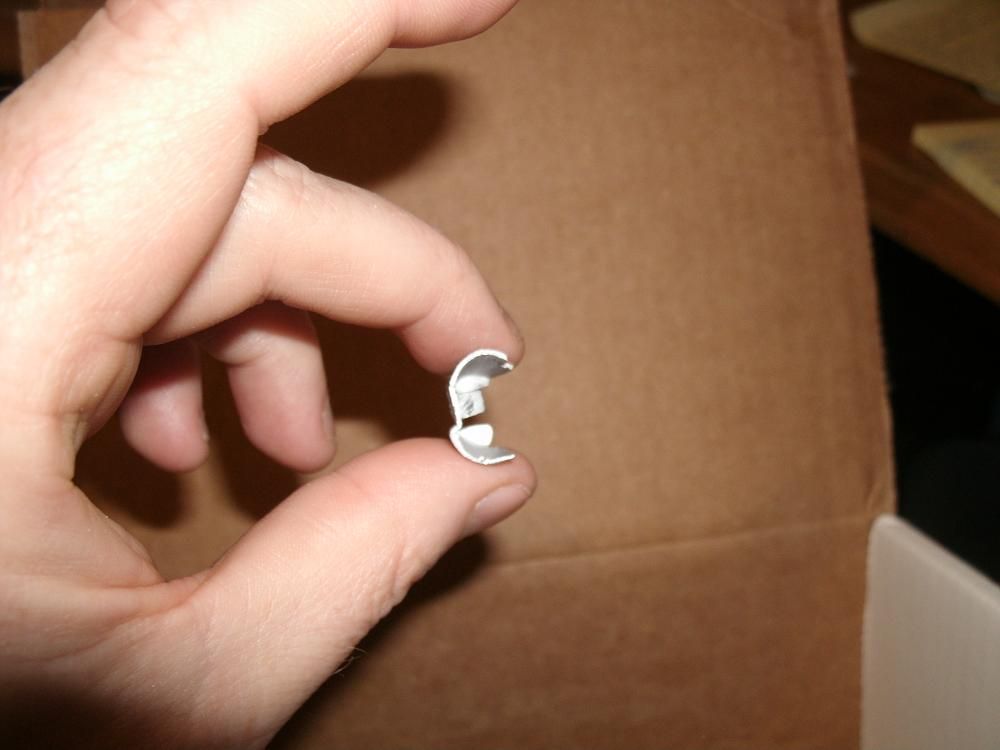
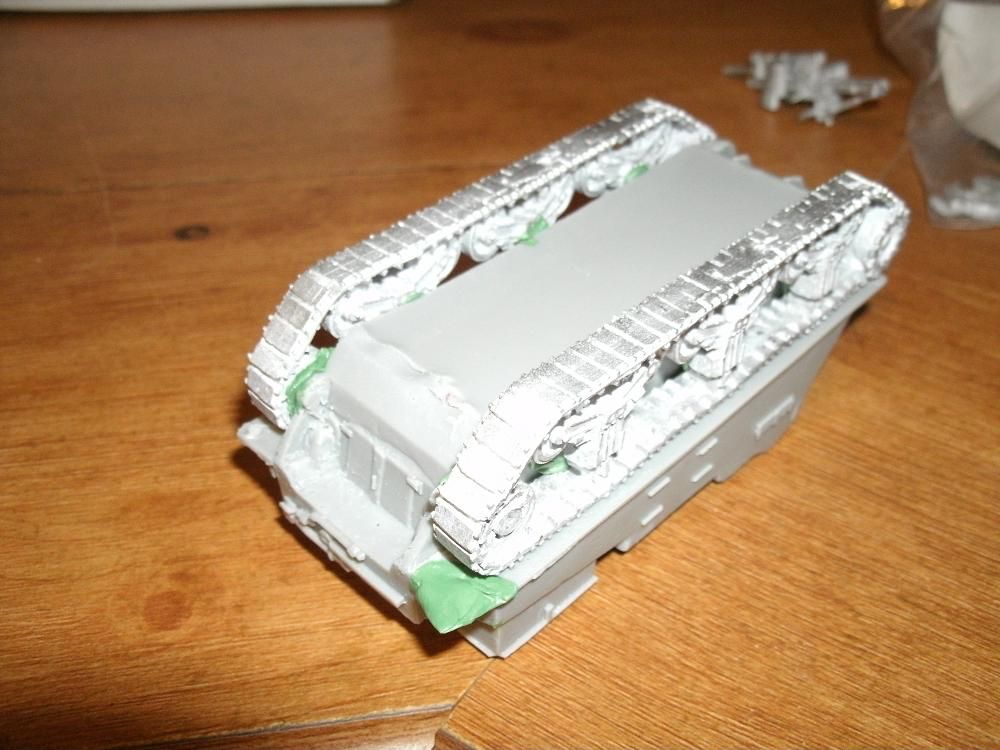
Of the metal parts only one, the turret shield of the howitzer will required much work. This was because it found its way inside the metal tracks and got a bent up a great deal during shipping. Aside from this everything else was in good shape.


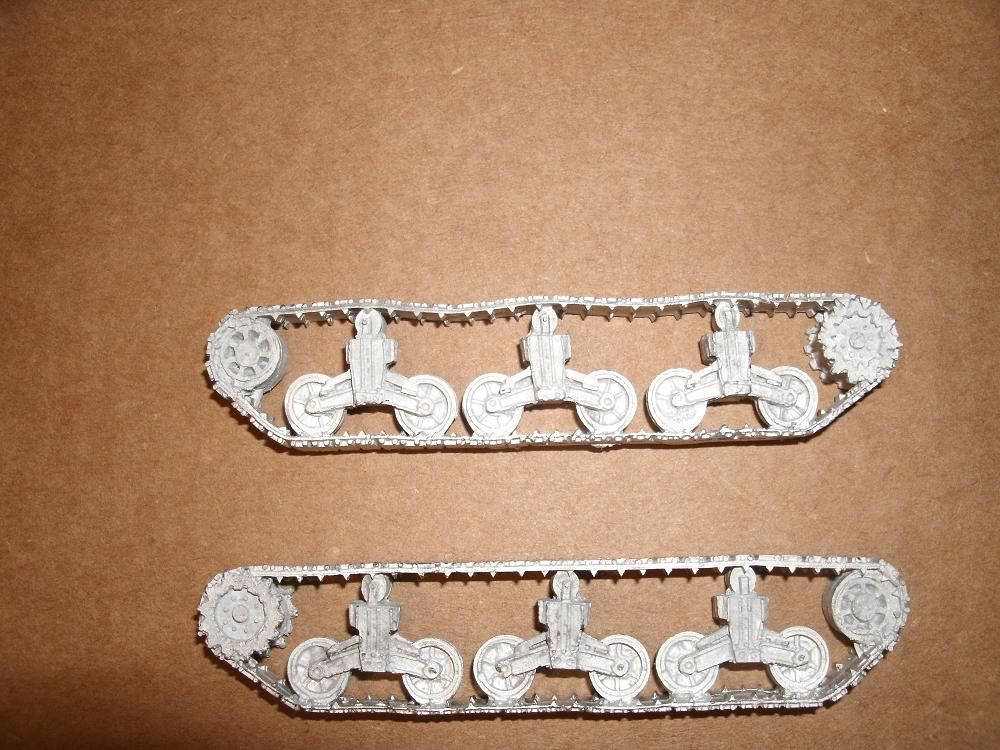
Having worked on previous models that have all had a resin hull and resin tracks, I found that I really liked the metal tracks. Simply for the fact that I was able to easily push down on the top of the track and give them that "saggy track" look that you often see in photographs of tracked vehicles.


On the downside, I had trouble getting the tracks glued to the hull and finally had to use some green stuff to get them to stay attached.


After getting the tracks on, I discovered that I broke of the left rear fender and had to do make a new one out of green stuff as I couldn't find the piece.

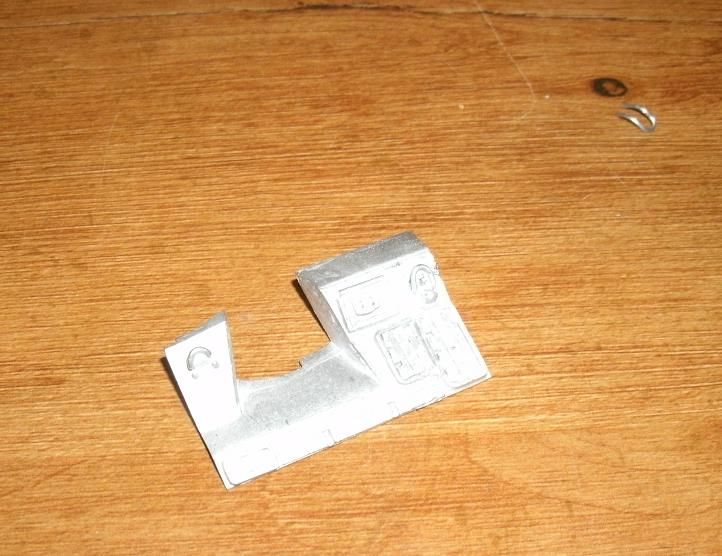
The front of the tank is made of white metal and requires a bit of shaping,which is easily done by pushing it up against the model so that it sits properly. The only thing is that this parts seems to be slightly larger than the resin hull and I had to file down the sides to make it fit better. One might also fill this in with some green stuff and work it a little to make it look like it is welded on.


Another problem with the model, are the covers for the lights, they were not fully cast. So I cut them off and replaced them with some wire.


None of the models come with instruction diagrams so I spent some time looking at pictures of M7 priest on the internet, to figure out where some of the smaller more fiddly bits went.

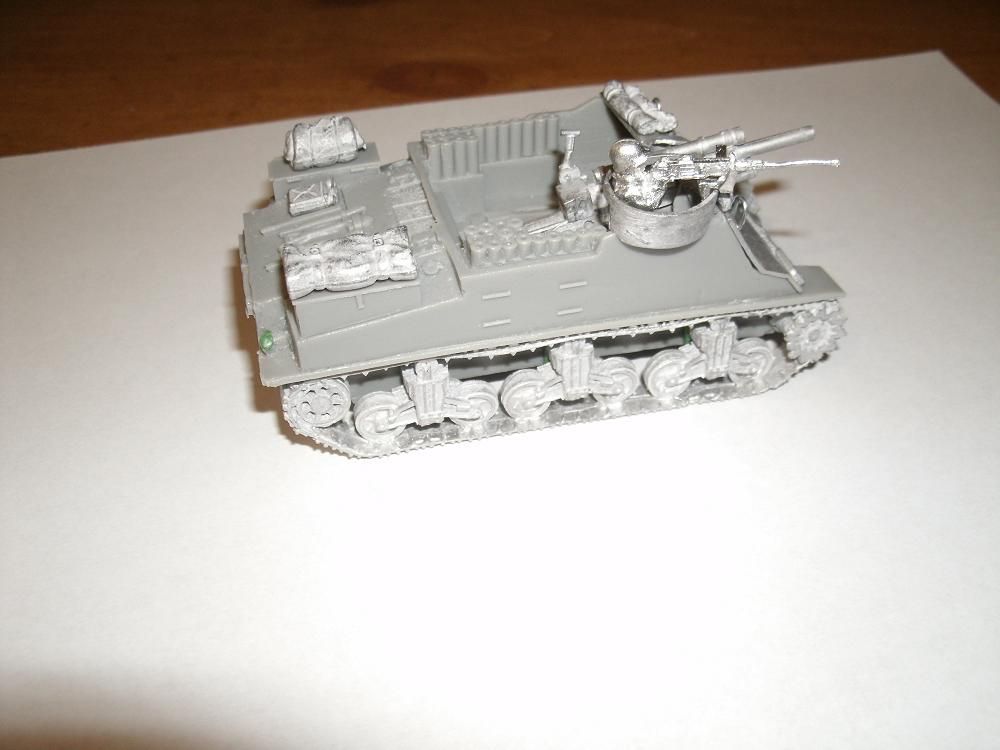
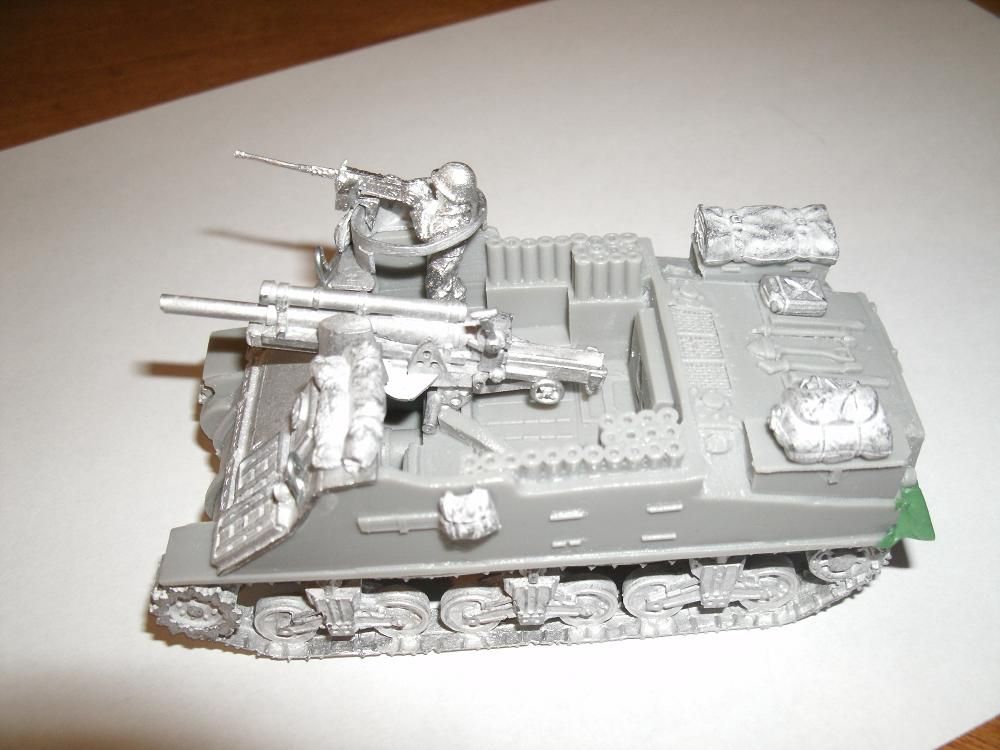
I was easily able to put the M7 together in one evening, with plenty of time for watching TV, searching the Internet and losing multiple games of Candy Land to my son, in between gluing parts together. Overall I really like this model but it does have a few problems, but nothing that wasn't fixable. Quality is on par with resin models I have from other companies. The model also comes with a copious amount of stowage, some of which I will be using with other models.

Below are some shots of the vehicles from all angles. I hope to have it painted up soon, but it may have to set up on the shelf next to the M4 Sherman until my water slide decals come in. Also I will be looking for some crew to put in along with the .50 cal gunner, but I have yet to order them. At some point down the line when I get all of these thing together, I will post a follow up.


Tuesday, April 9, 2013

Sd.Kfz 251 Hanomag

Here are some pictures of my two 251/1 Hanomags. Number 1022 is the old Ausf. C variant, and the older Warlord resin model that I purchased a while back before the new plastic one became available. The second (317) is the Ausf. D variant, and the new Warlord plastic model. I am not really sure of the differences between the real vehicles, but the two models do have some differences. The older model is thinner and a bit taller than the new plastic one, again, not sure if this reflects actual differences or just differences between the sculpts. The gunner on the new plastic model was noticeably bigger than the old gunner model, but the new plastic infantry are bigger than the older metal models as well so that was expected. The gunner model in the Ausf. D variant is not the original one that came with the vehicle model. Instead, I used a War Games Factory model that I already had so that the two gunners would be closer in size. You may notice that in the rear shot of the Hanomags that the WGF guy is missing his equipment, as I still have a bit of work and touching up to do. 


Image

Image

Image
This is also my first attempt at German camouflage. I am working on some SS that have the Pea Dot camouflage as well. I had hoped to have them done by now, but now they will have to wait until I get back from my trip.


Image