These are a recent purchase from Warlord Games that I have wanted for some time and finally picked up. There as some pretty famous pictures of dead
livestock in the Normandy area during or after the D-day invasion. The Allied bombing campaign prior to D-day was pretty intense and took a heavy toll on the livestock of the region, especially the Normande breed of cattle that was nearly wiped out as a result. I thought
that these would be a great addition to the gaming table. While not your
ordinary terrain, to be sure,they look good in any skirmish game.
I thought that as terrain they should have an
impact on game play. So I have been tossing around some ideas, and for Bolt
Action I think I am going to classify them as an obstacle that does not provide
any cover. This way you just have to move around them, and they are just minor
annoyances, but still something to be considered.

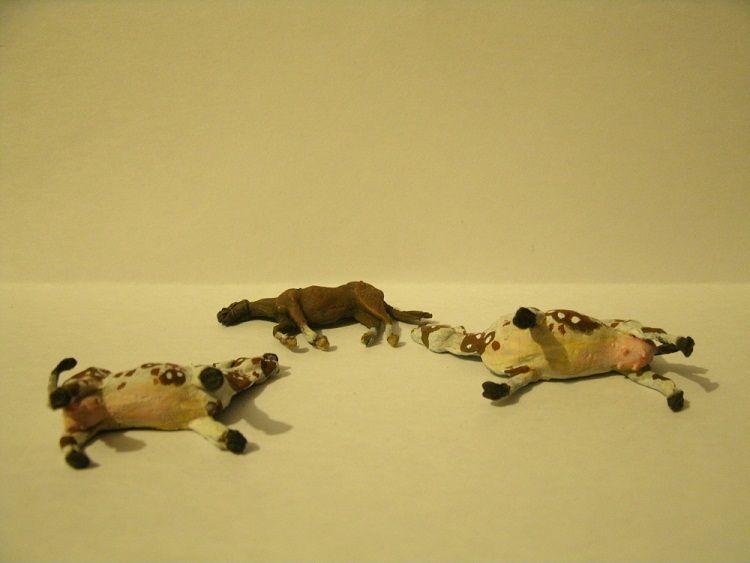
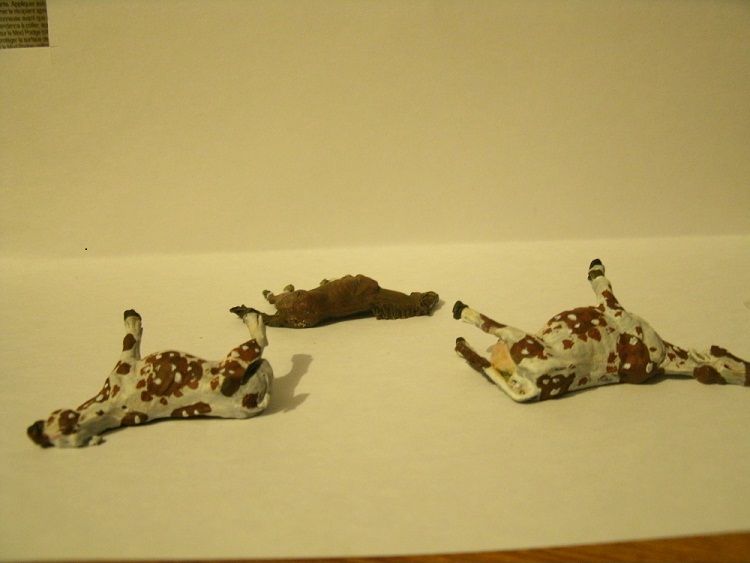
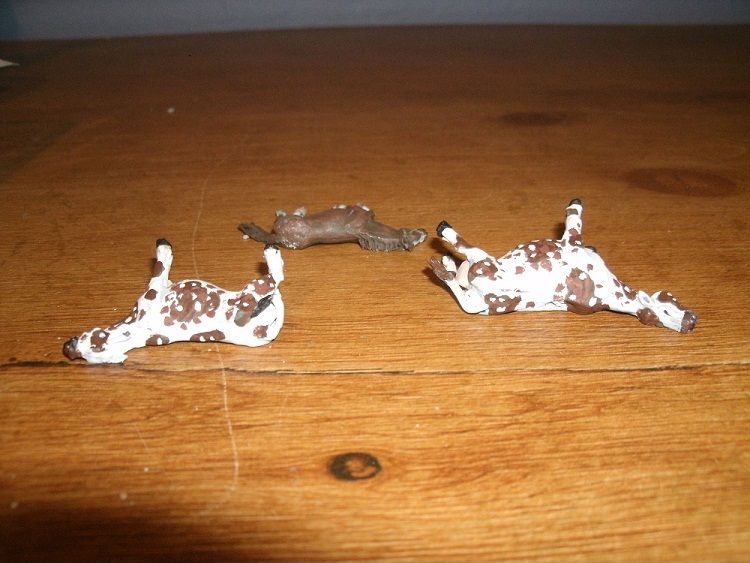
The blister contained three models, a horse and two cows.
The models are made of white metal and are well cast. There is not much flash
in general but there is a lot of small bits on the hooves that are easy to
overlook, as I did. I primed them and then started painted before I discovered
these and so had to redo a little bit of painting.
Painting was pretty straight forward. The horse I decided to
paint brown and give him white socks, a white blaze on the nose, and some white
mottling on his hind quarter. If you are not familiar with horses, perhaps because
you were not raised by a horse fanatic who taught you to ride before you ever
attending school, then you might appreciate some further information.
Wikipedia, as always, has some basic information to help you with painting your
own Horses, Horse
Markings. As for the cows, well
there are some 800 breeds and vary quite a bit. So we have to focus in a bit
more and look at dairy cows from the Normandy region. They have a particular
type names Normande
Cattle that are pretty common in the region, and the site linked to gives
some pretty good pictures of what they look like, as well as the variety.
Basically, these buggers are white with brown splotches, although these
splotches can also be black. They are also many examples of the splotches being
a mottled brown and black and white.. So I went the easy route and just made them white
and brown, call me lazy. The other details are pretty simple. Paint the eyes,
tip of the nose and lips black, with a small white dot in the corner so they
look like they are reflecting light. The inside of the mouth, tongue and
nostrils I painted pink. The underbelly I painted Vallejo Medium Flesh, the
painted over the center of this with a coat of Vallejo Light Flesh. Then I put
a thin was of pink on the udders. After that dried I painted the whole thing
over with a wash of white and tried to blend it in with the white hair on the
rest of the hide. The hooves are painted painted black.

Wow, can’t believe I just did a tutorial on how to paint cows, even if they are dead.
If you want, you might add some dried blood, depending on
how gory you like things. Then dull coat varnish the whole thing to seal it.
After that I was thinking to do a satin finish on the horse to give it a shiny
coat and maybe a bit of gloss varnish on the eyes to give them that glassy
look.