Tuesday, October 8, 2013

The Red Gang

These guys, and gal belong one of the factions for the new 1930's Civil War that I am starting. They are Warlord Games partisans but I will be using them as American Communists. I haven't decided yet if I want to do a Farmers Union or the Heywood Brigade of the IWW. Though I am leaning toward the latter given the treatment of IWW members locally in 1917. Tarring and feathering is not something likely to be forgotten or forgiven so easily. So the Chief of Police and the Sons of Liberty beware, some payback is coming. 


I wanted to give each of these guys something to set them apart, and make the faction they belong to instantly recognizable. So I opted to give each of them a splash of red, hat bands, arm bands, and the striped blanket. On the middle guy I originally painted his pants all black. Then later I was looking through some pictures when I came across some of some inmates from the 30's wearing the classic black and white prison stripes. I figured it would be a nice addition and add some character, so I painted the white stripes on.


Cut out from the picture above due to being way out focus, are the two models on the right. The woman I painted in a red plaid skirt, with matching hunting cap. Just because you are fighting it does not mean that you have to clash. The fellow on the far right, is known as mister "fancy pants" because of his very stylish striped pants. I know, it's hard to make out, but they are very nice pants, just got them off of the corpse of a capitalist oppressor this morning.


Sunday, September 15, 2013

Pin Markers

For the last year I have been using Red Cross markers as pin markers for my Bolt Action games. To be honest, one of the reasons I enjoy the game is the scenery, man do I love some good terrain and buildings. So it always seems to rub me the wrong way when we are playing a game and there are dice being used as pin marker, and even my own markers look out of place on an otherwise awesome table. I know, it's just one of those things that are a necessary evil to run games and keep track of things. The pin markers Warlord sells just don't look right to me. The rifle and helmet symbol is one used to mark graves and might make for a nice scenic element but they just look out of place in my opinion. The guys over at the WWPD forums have some good dial markers that looked interesting, but these were a bit beyond my ability.

Well I started thinking of what I could use that would be less visually intrusive. Eventually I came up with the idea of using something that looked like a bullet kicking some dirt up into the air. After all, I already had some smoke and explosion markers, so this should fit in well with what I already have. I also thought this would be really cool as it captures that old war movie / action vibe and would, if done right, look pretty sweet.

So I tried sculpting some. After all, how damn hard could it be? Well after half a dozen tries I gave up and started looking around the internet for something that matched my needs. After a few weeks of looking the only thing that I came up with was using some Armorcast cinematic effects muzzle flashes. I took these, turned them sideways and mounted them on 1/2" washer base with some green stuff.


After the green stuff hardened I painted and flocked them. I am hoping the flock will help them blend in with the game mat. The results were okay. I mean, I am not totally blown away by the look, but I think they will serve better than my old Red Cross markers or some dice.


Now if you work for Armorcast, or Warlord Games. I want...nay, I need! some really cool pin markers that look like dirt getting kicked up from some machinegun fire. So get to it!


.50 Cal Jeep

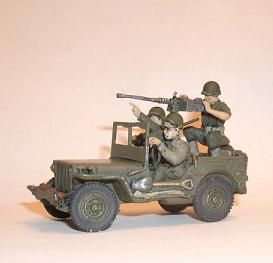
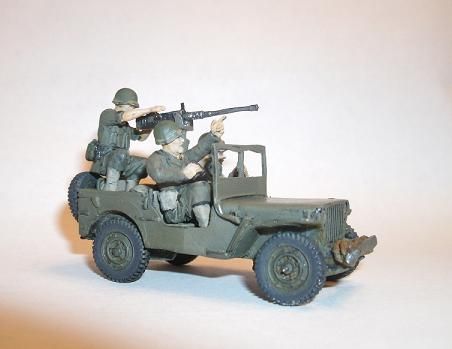
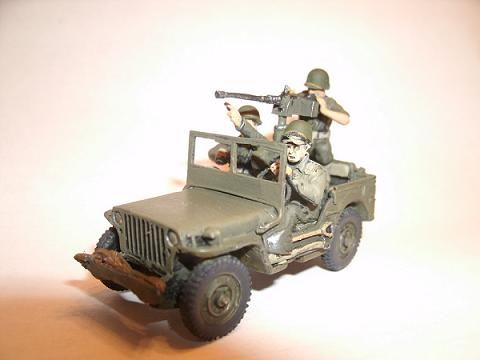
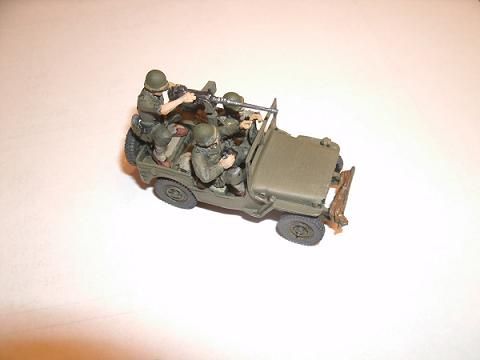
I finally got around to putting together my U.S. jeep by Warlord Games that I bought over a year ago. It was something that I just love the look of, but because my U.S. force languished while I worked on my Germans and Soviets, it just got put aside.When my 2 1/2 ton truck arrived after being on back order for six months I dug my jeep out again and put both of the vehicles together. Then I left both of them sitting on the shelf all summer unpainted.

"Sir, Alpha Company reports that they have discovered an intact wine cellar at a Chateau just up the road"

The assembly was very easy and took about 15 minutes. Which left me wondering why I hadn't gotten to doing this earlier. The kit comes with a driver and nothing else. So I looked around the internet trying to find some extra crew because it looked rather empty. I found some good vehicle figures at Old Glory Miniatures from Westwind's, Berlin or Bust line of figures. I was going to order these, but life was so hectic this summer I just never go around to it. So later in the summer, in an effort to get some stuff finished and put away I started chopping up some of my extra figs from my War Games Factory Americans.


"Private, get to that wine cellar before those bastards drink all of the good stuff"

I had to remove the legs with an exacto knife and reposition them so that I could get them into the jeep. Overall the figs were a good size match for the jeep and look pretty good. The gunner is loading the .50 cal in preparation to fire, while the commander is holding his binocs in one hand and pointing to something with the other.

"load that .50 cal soldier, I want anyone who touches the 1921 Conti before I arrive shot"

The .50 cal is from Company B and was pretty easy to mount. The driver I altered slightly by sawing off the top of his knit cap and sticking a helmet over the top of it. This was it looks as if it is about to fall off, or he has it sitting on top of his head as if so he can hear the radio chatter over the walkie talkie better. I then also removed the rifle from his right hand and added a walkie talkie using green stuff and a little wire.  As usual, the painting is mediocre and the photos are atrocious.


Perhaps some day the U.S. decals that I ordered though my LGS and Warlord Games will come in and I can pretty up some of my American Vehicles. However, I have pretty much just given up hope that these will materialize before I drop dead.

Wednesday, June 26, 2013

Shell Craters by Plastruct

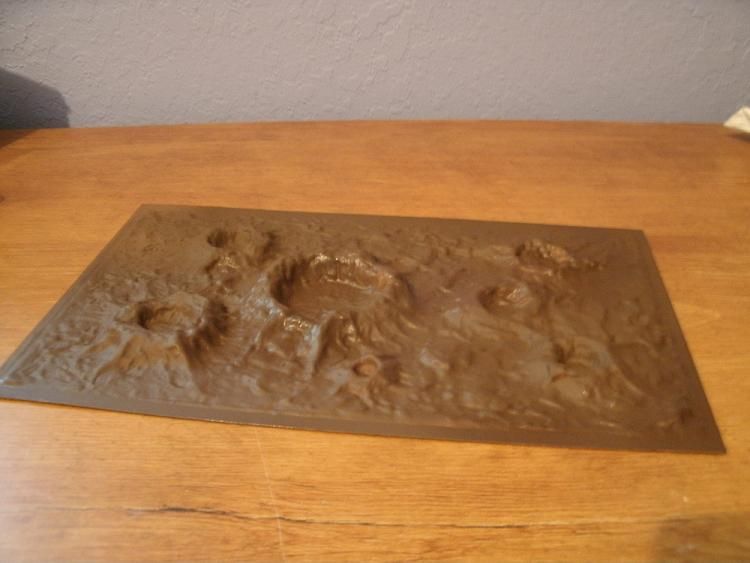
A quick lunch time project for today. I bought these Plastruct plastic moon scape sheets a while back and  primed them, but the paint I used turned out to be gloss, so they have been sitting around and collecting dust ever since because I keep forgetting to pick up some non-gloss primer for them. So last night I finally bought some flat brown primer and started working on these.

I plan on using them as shell craters and areas of rough terrain for my Bolt Action games. The sheets come two to a pack and cost around $10.00 - 12.00 and can be found at most any hobby store. If you shop at Hobby Lobby you can get them at 40% off. If not, it is still a good deal, and an easy project.

The priming took no time at all and after that was done I went to sleep. During my lunch, since I am at home today I decided to get this done.


Still some shiny spots but I am hoping that further painting and a coat of matte finish will take care of that.

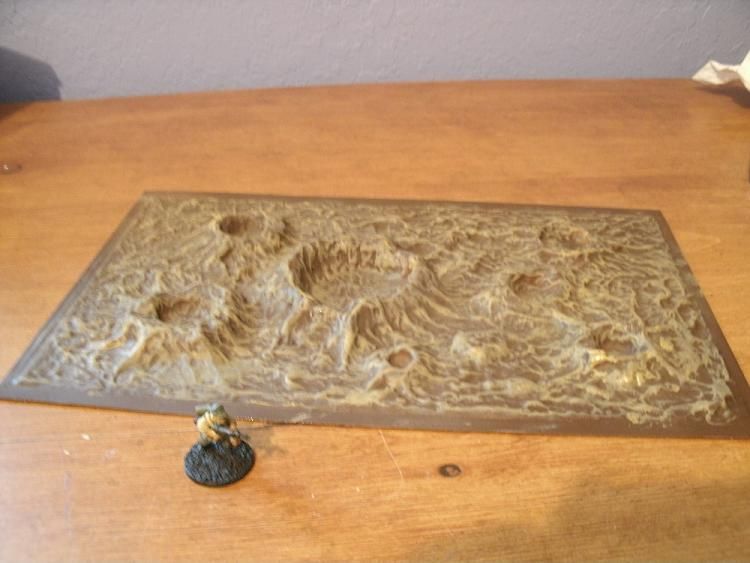
The first thing I did was to dry brush a lighter brown area on the high points to give it some visual depth and relief. Overall it took less than five minutes. I threw in one of the DAK guys I am working on for scale.


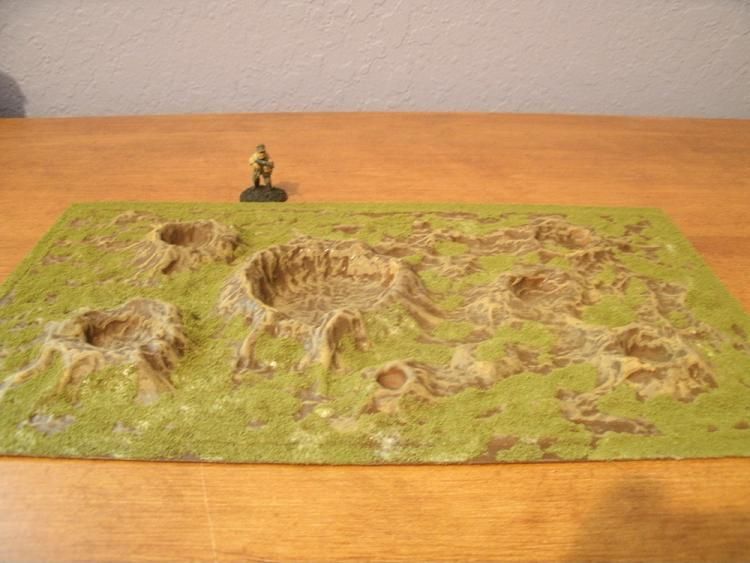
After that dried I used a brush and some Modge Podge (PVA) glue and stippled the area around the craters with glue. Then I threw on some green flocking and shook off the excess, and viola, I am done. Nothing fancy, just some simple, serviceable shell craters.


Maybe I went a little heavy on the glue and flocking.

Total time for this project was less than 20 minutes, and the total cost was approximately $10.00. So there is no reason not to have some of these for your table.


Thursday, June 20, 2013

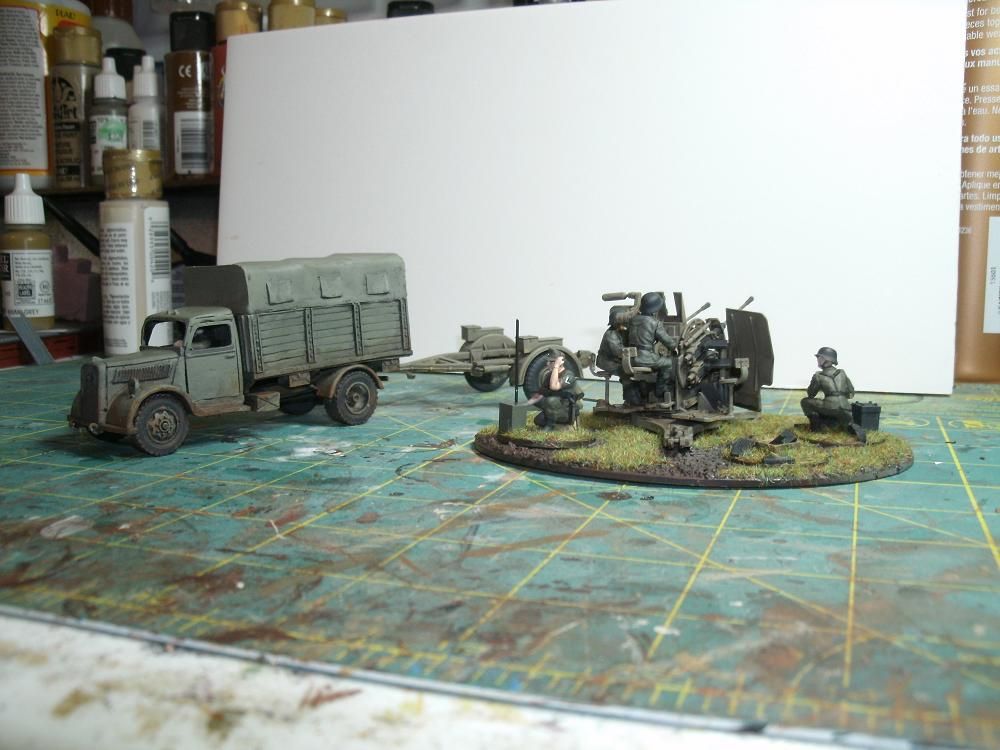
Flakvierling 38 and Opel Blitz

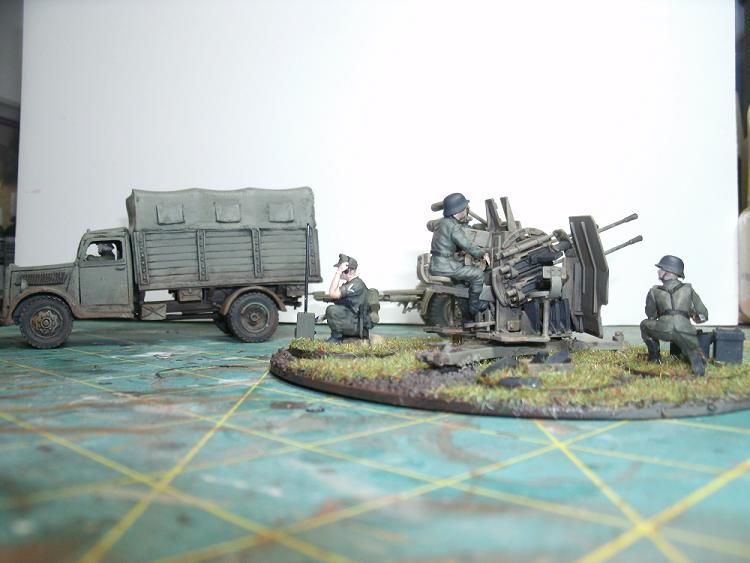
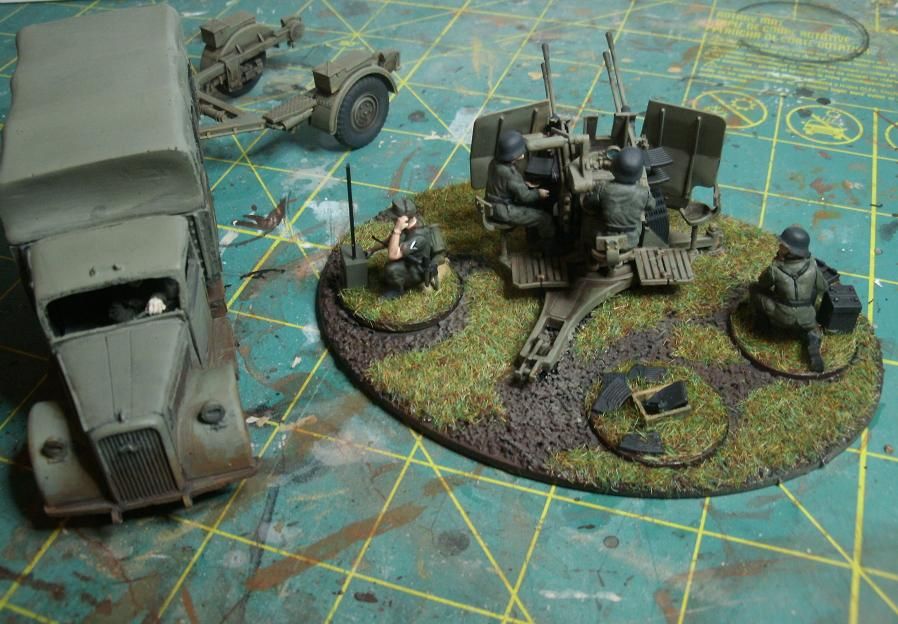
A short one for today. This are two models that I did a couple of months back for my German Army. They are still one of my favorite units as far as modelling and painting goes. Both turned out really nice and have gotten a fair bit of use. Occassionally the Blitz gets used for transporting my infantry, but it's main job is towing the Flak 38.


The Flak 38 is a Tamiya model that I got on sale for $10.00 and though it had a good number of pieces it really wasn't that difficult to put together. The Opel Blitz in from Warlord Games and was easy to assemble and paint and looks great. However the amount of time involved is a good 3-4 hours. Oddly enough the Opel Blitz hitch and the trailer for the Flak 38 actually hook together which is a nice bonus, even though the two models are different scales. Even though the two are different scales it is not that obvious. The trailer is slightly wider that the truck, which doesn't really bother me.


Also in the shot, between the Flak 38 and the Blitz is my German Observer. He was made out of a Wargames Factory body and extra arms, head and radio from the Tamiya kit. I particularly love the rolled up sleeves, and the hand painted rank actually turned out really well.


As far as the Bolt Action games rules go, the Flak 38 kind of gets the short end of the stick. Even though the gun shield is clearly visible on the model, there is no way in the rules to get a gun shield, and the gun shield rule for the Flak 38. So this unit is easier to kill than it should be. Also there seems to be some confusion in various forums as to how many shots this thing gets.

Saturday, June 15, 2013

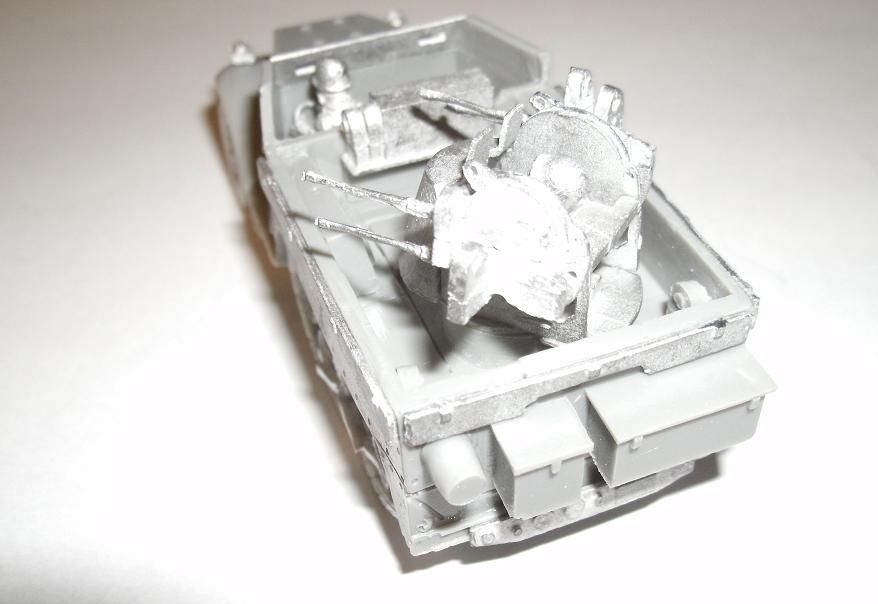
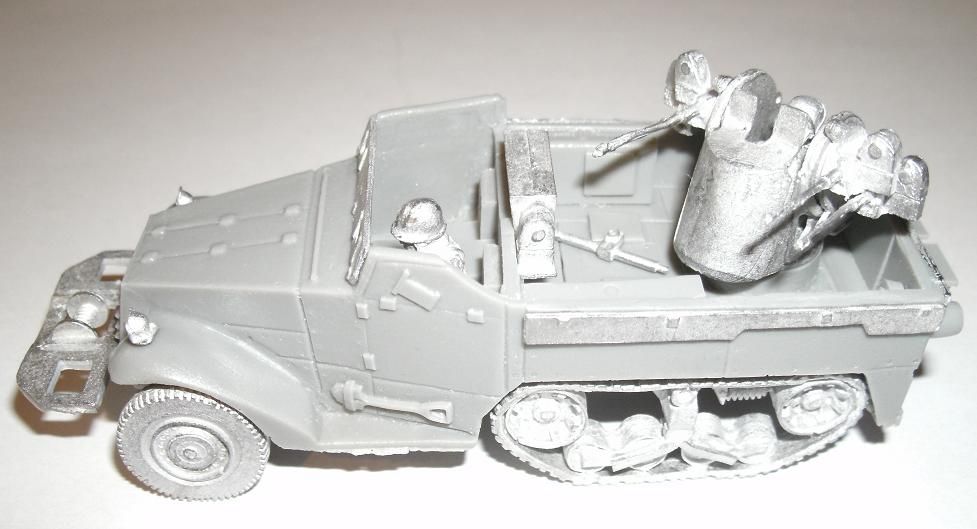
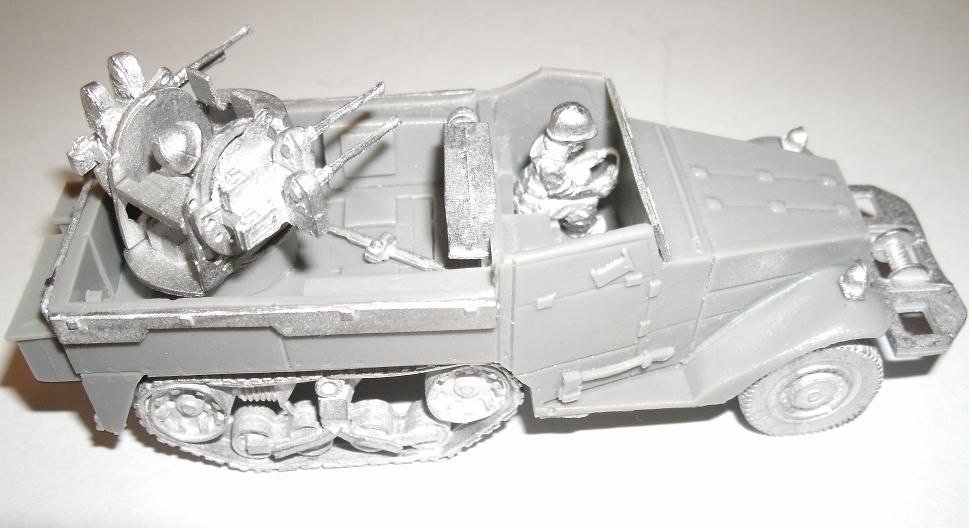
M16 Multiple Gun Motor Carriage


Okay, well you should know that I love quad mounted guns. Pure Awesome. So this thing mounts four .50 cal machinguns and can be used by my Americans or by my Soviet forces. These vehicles were designed as Anti-Aircraft vehicles, but were used in the ETO and PTO against ground forces. The model is from my recent order from Company B.

Sorry about the blurry picture.
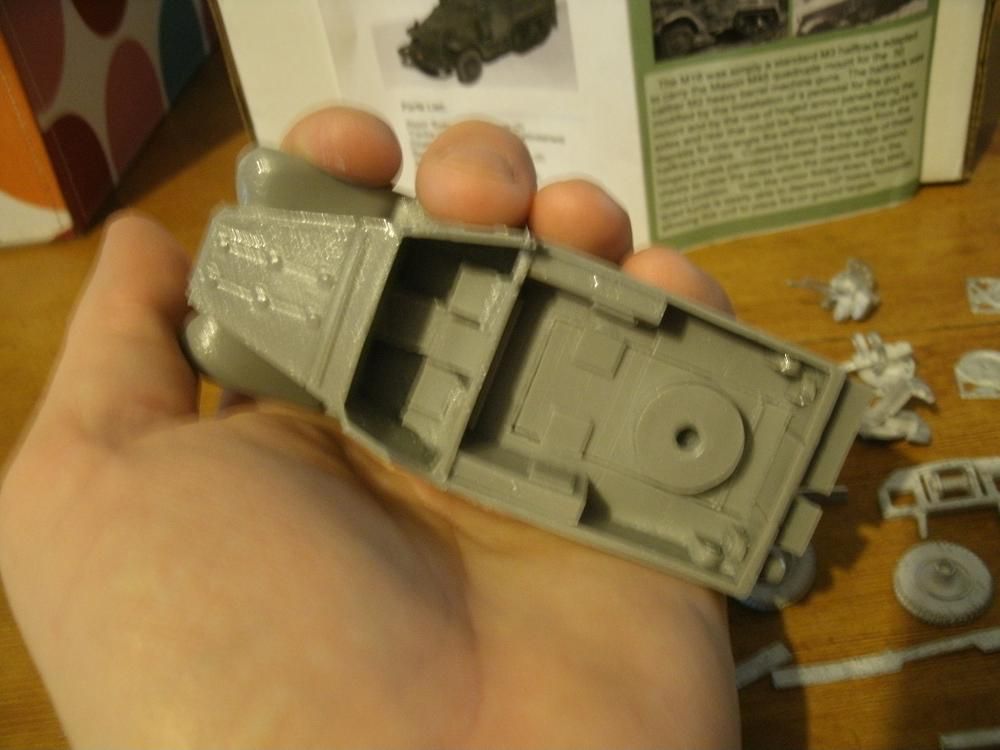
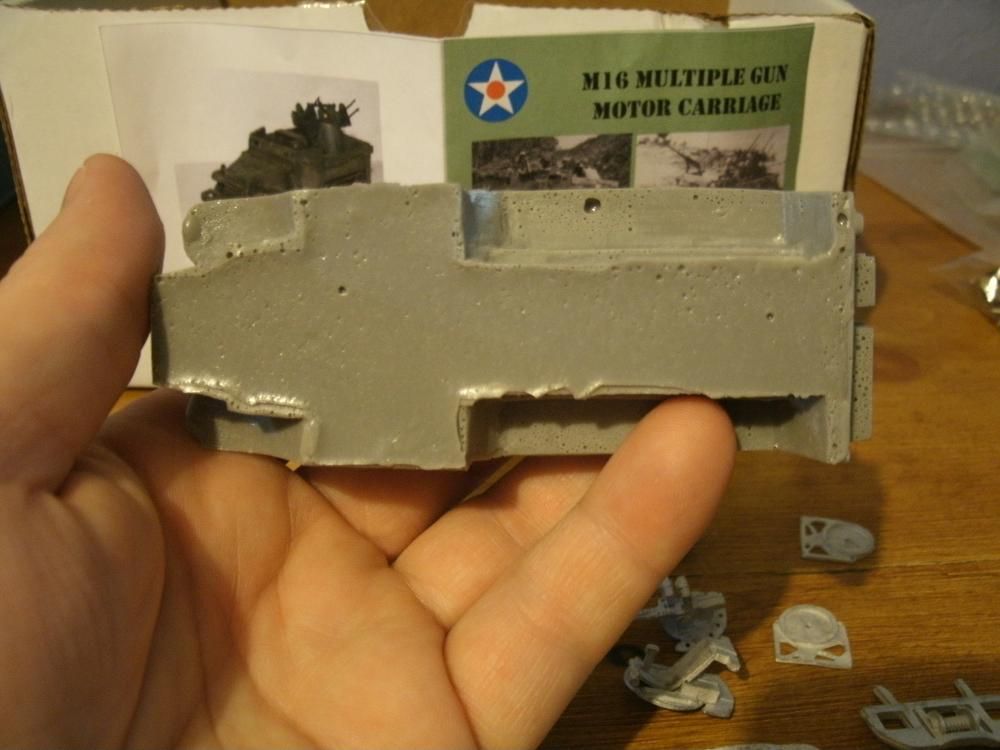
Overall the model was cast really well with only a few minor areas of flash, and nothing I had to fix. I was slightly daunted by the number of parts, but that's just because me and superglue don't play well together. Had it been a plastic kit with 10 times the number of parts it wouldn't had bothered me nearly as much. However, I was able to get the model together with only gluing my fingers together a couple of times.

The bottom requries a bit of clean up, and has a fair number of air bubbles, but the rest of the resin model is bubble free.


I had to look around the internet to find some decent pictures of the vehicle to see how the turret went together, and which direction to put the treads on. Other than that the other bits were pretty straight forward. The front window guard, the radio deck behind the driver and the the fold down panels on the sides and the rear.


I learned my lesson with the Kubelwagen and left my crew unglued for the time being which is why the crossbar with the aiming sight for the gun is laying in the back of the truck right now. This way I can get him in and out of the turret until I get it all painted.


The model went together really easily and I really don't have any defects whatsoever to report. All together this model is pretty sweet and I highly recommend it.


Now I am thinking how am I going to get this thing painted up so that I can use it for both my Americans and my Soviets. I may have to paint them up as Americans and then overlook the fact when I use them for the Soviets. Though maybe I could find a Soviet driver and gunner that I could swap out, but that seems like a lot of work. What I really need to do is figure out a way to swap out vehicle air identification markings. This is of course assuming the Soviets bothered to put their Red Star markings on these things, which I assume they did. Anyway I will have to think about it for a while.

One thing that I really want to do, is cut up some lengths of copper wire to sprinkle around the truck bed as spent .50 cal shells. I think this will be a nice touch that will really bring the model to life.

Friday, June 14, 2013

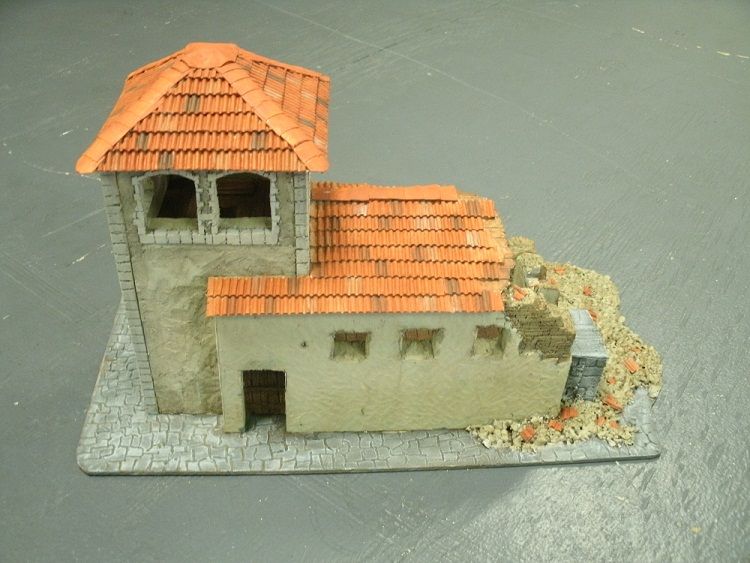
Tower


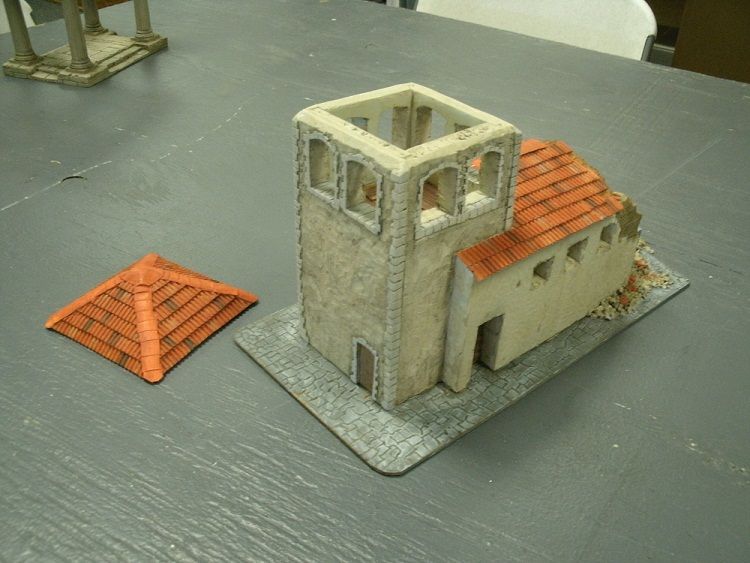
This is a model that I had been planning on building for quite a while but kept putting off to do other projects. Finally, the weekend before last I had an entire Saturday to myself and so I decided to get started on this one. After about four or five hours I had most of the model mocked up and ready to go. The building is kind of vague, maybe it's an old monastery, church or just a clock tower.


 The only things that remained after I took this picture, was to add in the rubble and paint the model.
I added the rubble on Sunday night. This was done by covering the area with glue and then sprinkling the area with clay kitty litter and a mix of small gravel (model train ballast). After that I let the whole thing sit and dry overnight. Then the next day I shook off everything that didn’t stick and then poured glue over the top of that and spread it around so that everything was covered. This helps keep everything attached and where it was supposed to be. While that was drying I cut out some single-sided cardboard and added pieces of roof tile to the rubble.  After that I let the whole thing dry overnight again. 

Then finally on Wednesday I started painting. I did a couple of thin coats of color on everything. Painting the walls a light brown or linen color and then washing them with a dark brown / black mix. After that I highlighted the walls with the original color to make the high points stand out. The stonework I painted a light gray but I didn’t like all that much so I went over it with a light brown color.  As you can from the pictures, the light brown color didn’t cover up the gray so it is still quite visible. I painted the wood timbers and the floor a dark brown.  The rubble I painted the same color as the walls then washed several times with the brown / black wash.  After that I picked out a few bits and painted them to match the dressed stone and painted the busted tiles in the rubble. After that I painted the roofs. These I painted with an orange color then painted various areas of the tile light gray and dark gray. After this dried I repainted the whole roof again with a slightly watered down orange in order to tone down the gray colors.


This was where I finished on Wednesday night. I had planned to go over the building again and give everything at least another coat of paint and repaint the dressed stone which I didn’t like. On Thursday I threw this building in the car with the rest of my stuff and headed up to the Game store to play some Bolt Action. Well, the model never made it back home.  I ended selling it to one of the owners of the FLGS, who really liked it, even though I told him that it wasn’t done. It turned out to be a small consolation prize for the fact that I let a guy who had never played before run my Soviet Army and he crushed me and my Germans under his boot heel. Well you know what they say, “if you can’t beat them, rock in the corner and cry”, or something along those lines.

So on Friday I realized that I hadn’t taken any pictures of the tower since I had started painting it Wednesday, so I took a few minutes out of my busy day and stopped off at my FLGS and take some pictures.


As you can see in the last picture the roof of the tower is removable so that you can put a sniper team or observer in there.  The bottom floor is also big enough that I could fit my AT gun in the bottom floor or put a squad up on the second floor to shoot out the windows.