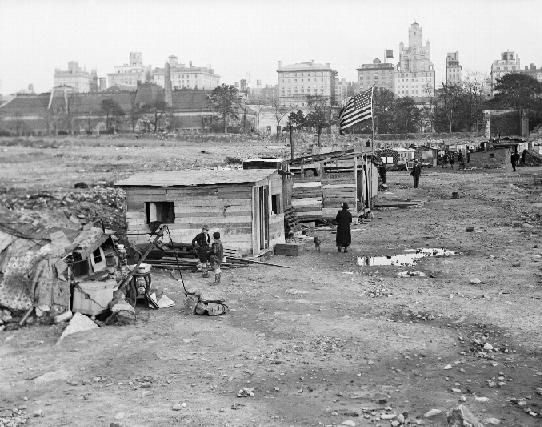
What exactly is a Hooverville? They were shanty towns constructed in the 1930's after the stock market crash in 1929. They popped up all over the country as people lost their jobs and a steady income. These new shanty towns soon came to be named after President Hoover, who refused to use the Federal govt. or create govt. ran programs to help those in need or to stimulate the economy, believing that eventually the market and economy would fix itself.

Many people lost everything due to the stock market crash, the house, the car, all of their money. Eventually many of them ended up cobbling together "housing" from what scraps they could manage to nail together. Many lived in tents, or under tarps really. Some Hooverville inhabitants didn't even bother to build shacks, but simply burrowed into the sides of hills and
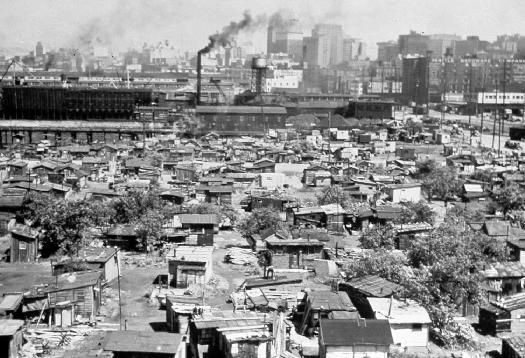
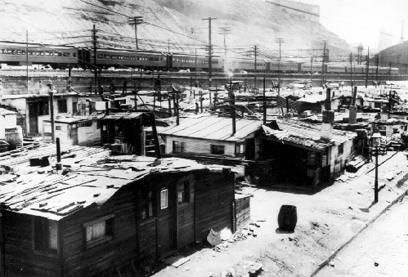
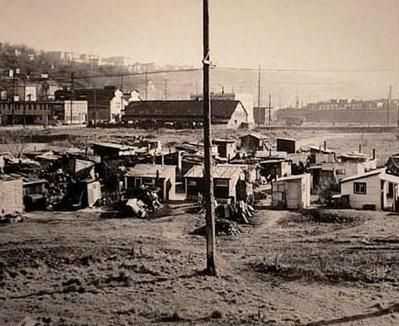
lived in small burrows. As time went on these houses became a little more elaborate. Some people, especially masons managed to build some rather nice brick houses instead of the usual wood framed shacks that were rather ubiquitous. Most of these shacks were built using very simple techniques using milled lumber, plywood, tar paper and occasionally corrugated tin. Hooverville's varied in size, like the one on the right which is pretty small compared to the one above, which was located in Seattle and quite extensive. Whatever the size, these shanty towns shared many features. There was no trash service so trash and junk ended up just being dumped wherever, and after a while many started to look a like junkyards or the city dump. No running water, open latrines, and no utilities obviously. Some had hand dug wells, but given the poor sanitation this water wasn't really fit to drink. In fact there were many disease outbreaks, typhoid, yphus etc, that hadn't seen large outbreaks in the US for a while. The Hooverville in Oklahoma City was a great exception to the poor sanitation general rule. After a couple of outbreaks, the city installed clean drinking water and bathroom facilities. Then turned around a few months later and had them removed, based on the theory that providing such amenities would encourage more people to live in the Hooverville and keep those who currently lived there from looking for work.
Most of these shacks were

reported to only have outside walls, and if the inhabitants were lucky they might have been able to acquire some tar paper to keep the roof from leaking and the wind from blowing in through the cracks between the boards. As you can see in the picture on the left, most seemed to at least have a potbelly stove to provide warmth and a means to cook. Still, people died from exposure, starvation and I am sure from despair.

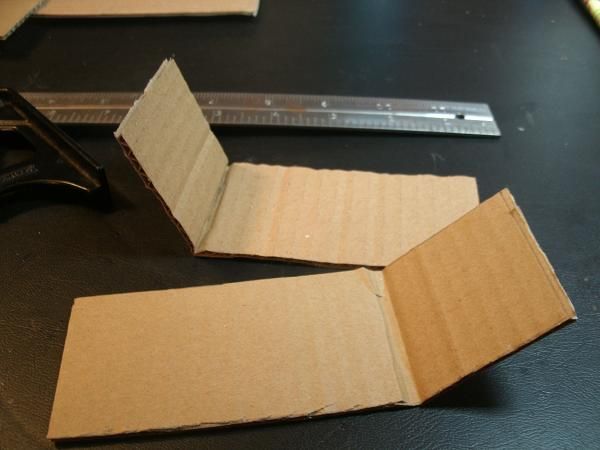
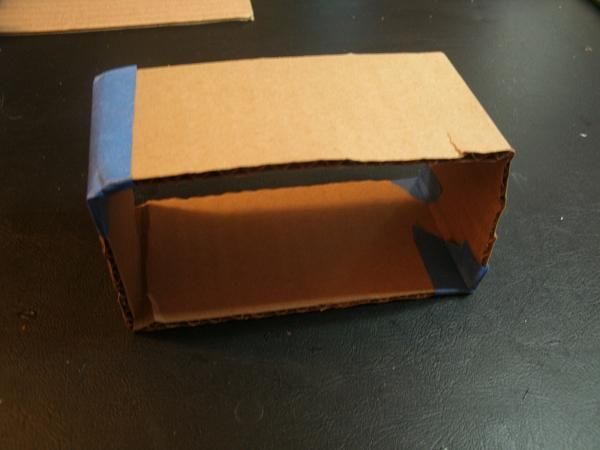
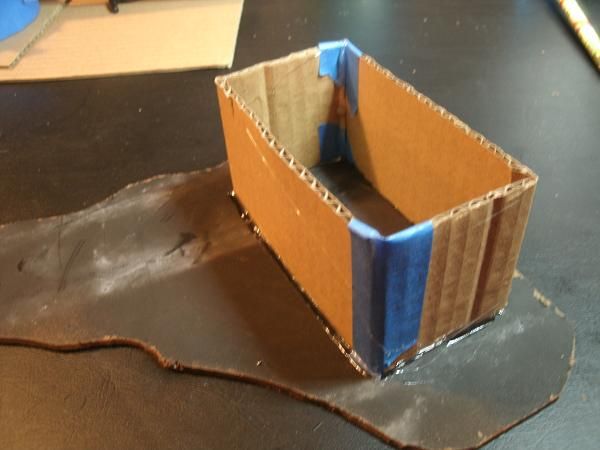
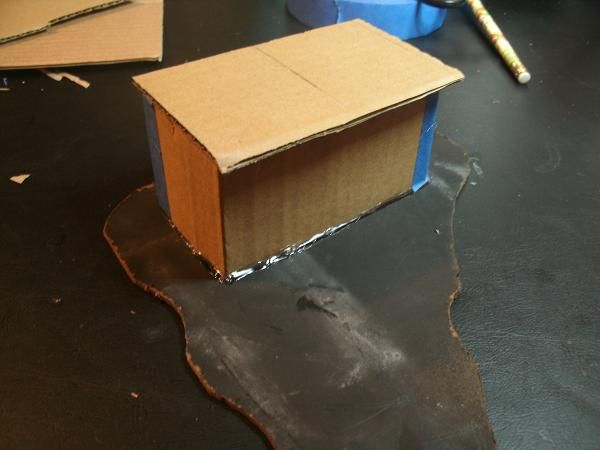
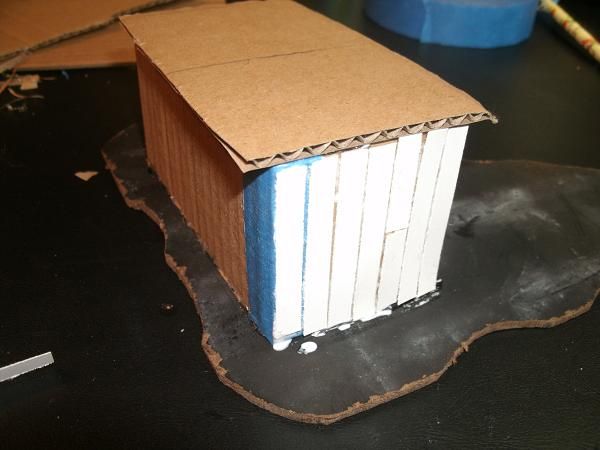
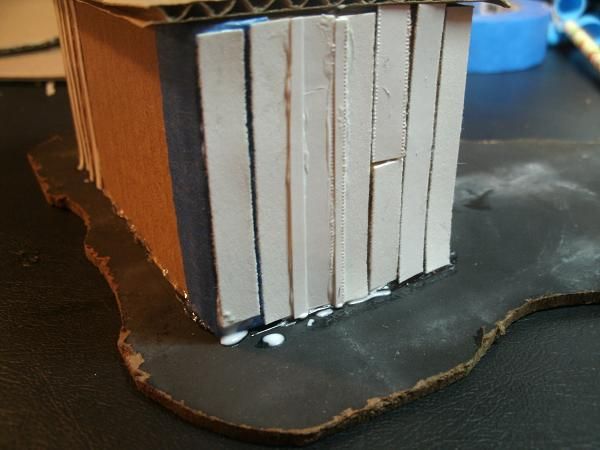
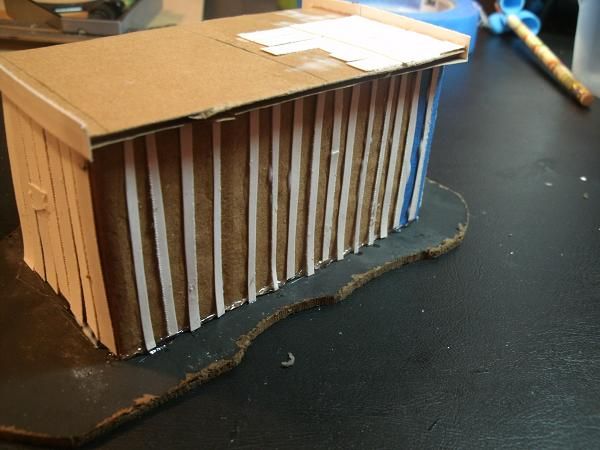
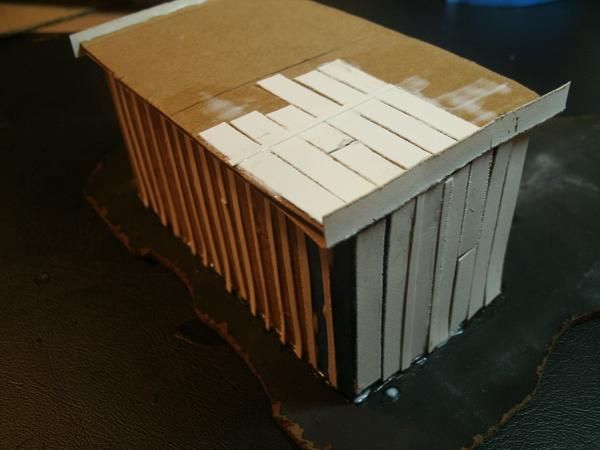
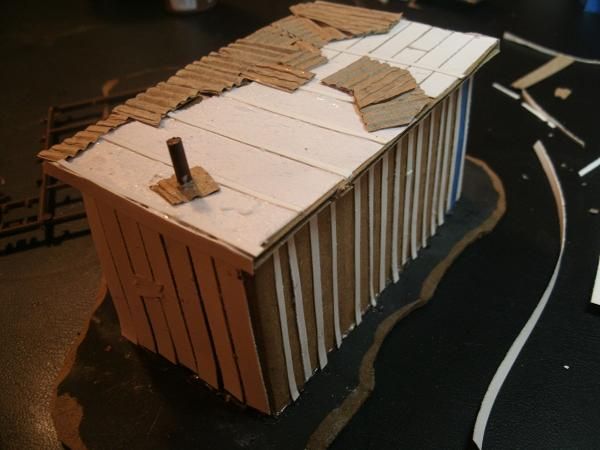
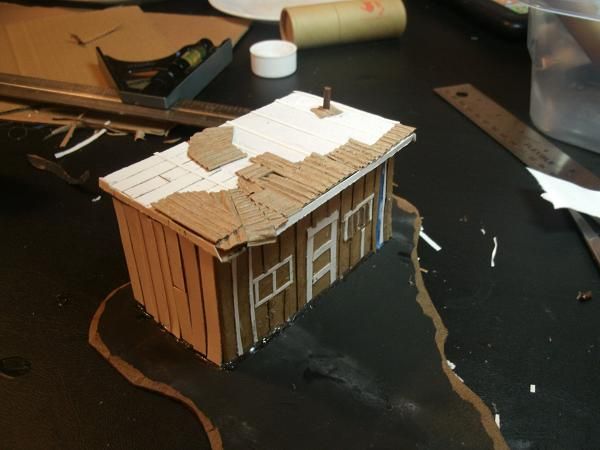
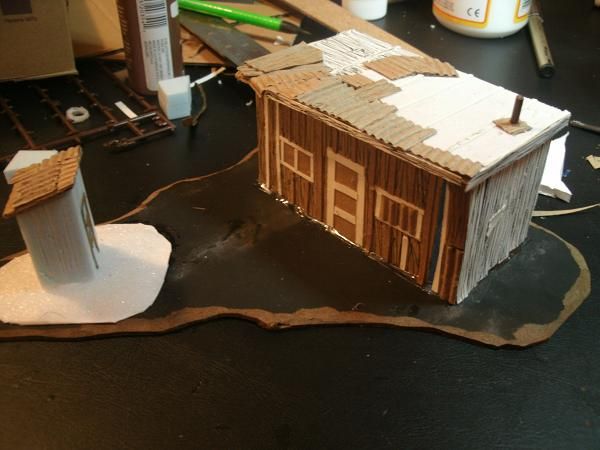
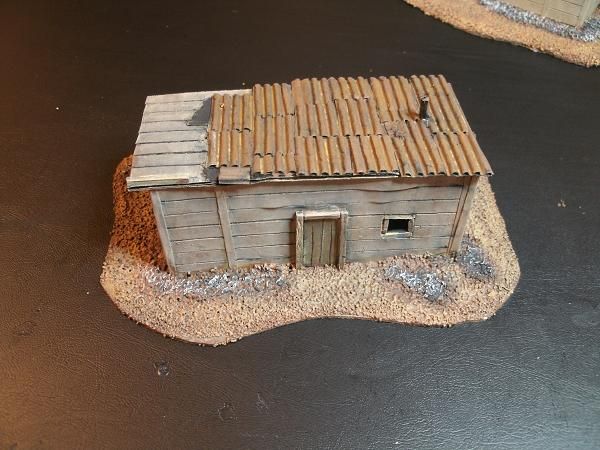
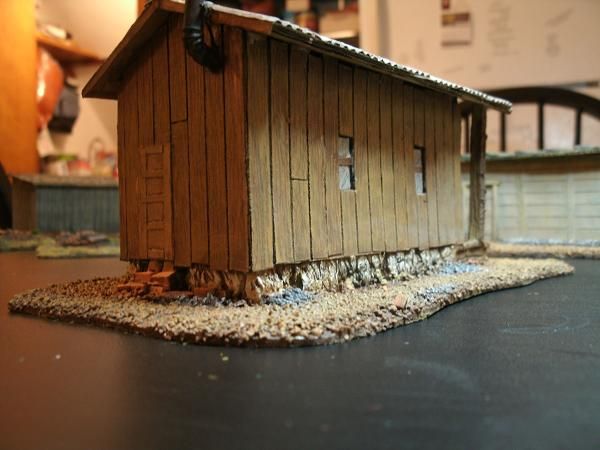
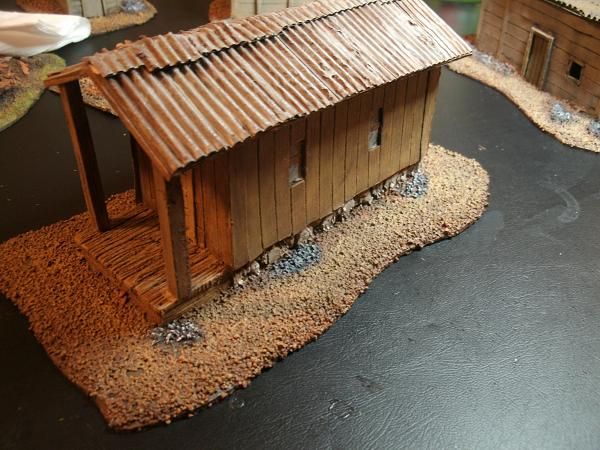
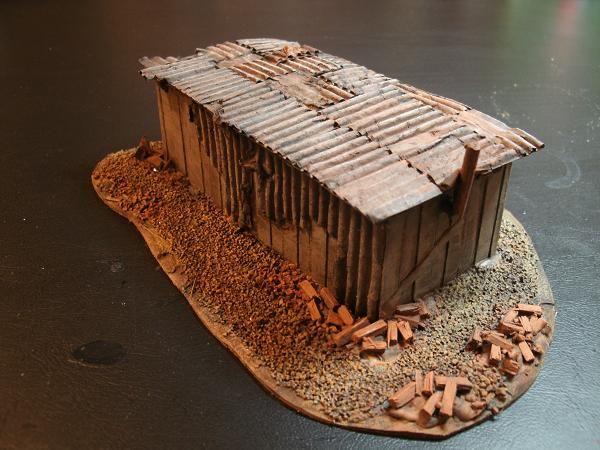
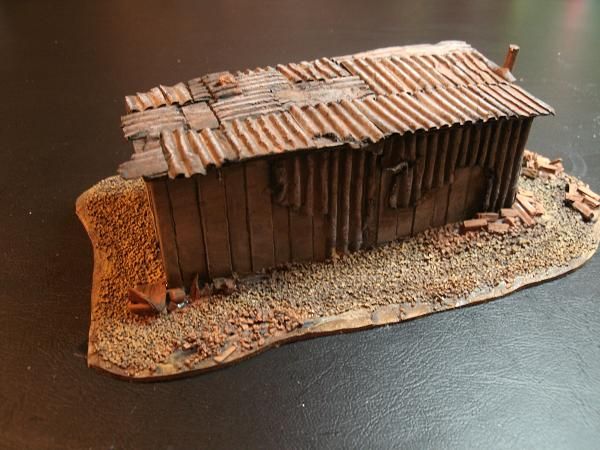
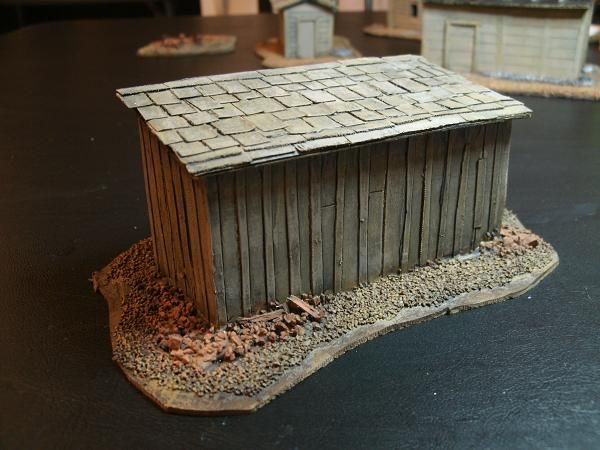
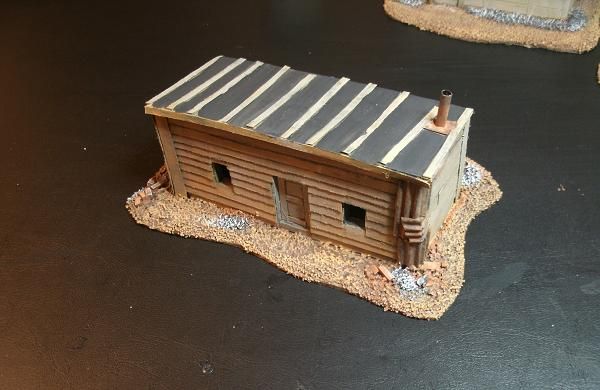
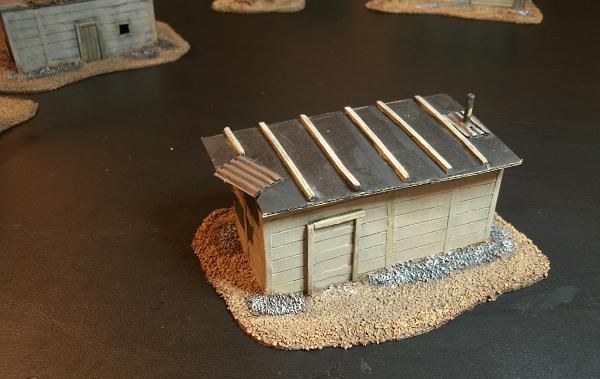
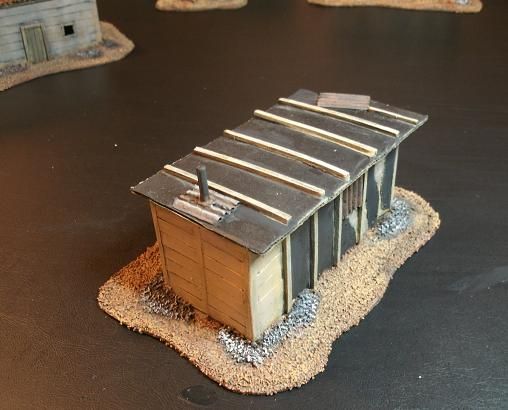
For any game taking place in the US during the 1930's a Hooverville is a must have. So toward this end I started working on a project to build my own. Originally I wanted to do at least a dozen shacks, but I lost steam after the seventh building and just decided to throw in some tents and junk piles to fill things in a bit. First I spent a week or so staring at these pictures and trying to figure out some basic building styles and materials. Then I went to town, and started putting some buildings together. I wanted to try out some different building techniques, that I hoped would be a little faster than some of the other buildings I have done in the past. I settled on using mainly cardboard. I made a simple rectangular shape, then put in a slightly slanted roof in most cases. To try and capture the variability I built a few that used the wall boards as slats and a few to look like clapboard construction. This was done by using 1/4 inch strips of paper and gluing the vertical or horizontally and the construction method dictated. Then I ended up covering a few random areas with card stock, that I later painted black, for tar paper. On a few the vertical boards were covered with another set of boards covering the cracks. The roofs are the same way for the most part. Boards, covered with tar paper, corrugated tin and in one case wood shingles.
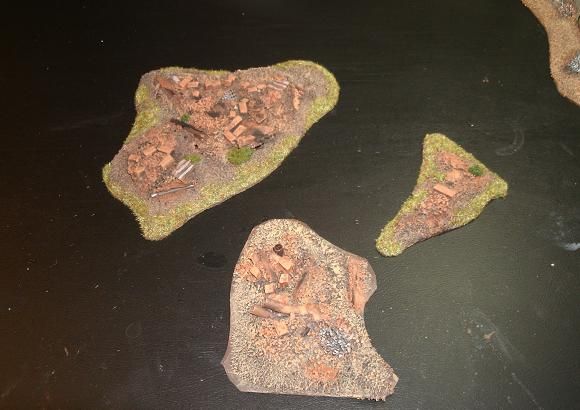
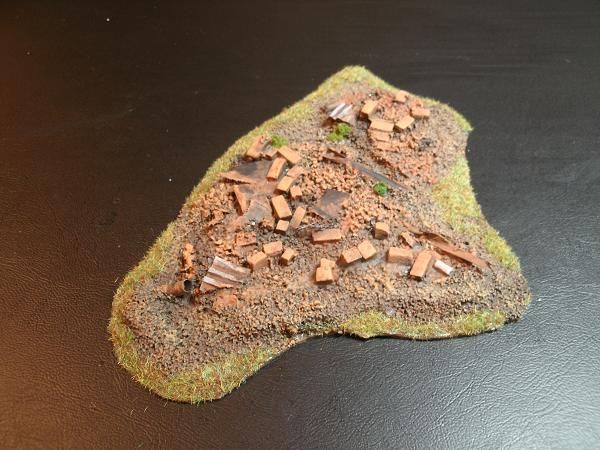
On the outside there are brick piles, broken bricks (shattered bed heaters), and ash dumping piles scattered around randomly outside the shacks.
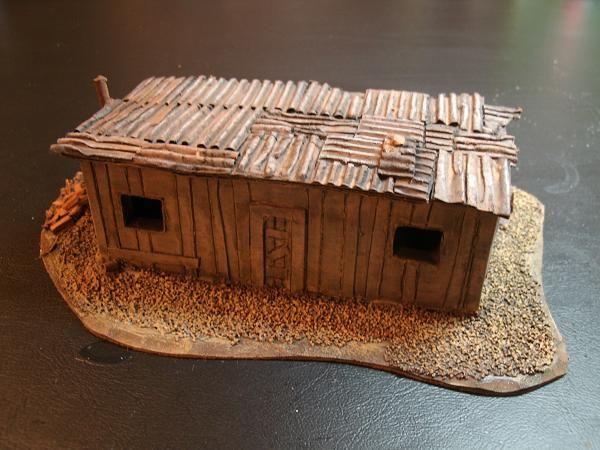
Shack number one has partial but rather rusty tin roof. One small window provides light, but who really needs extra windows when the cracks between the boards provides plenty of light.
 |
| House 2 |
House number two is one the fancier shacks, verging on almost being a house. This is because I intend to use it as a railroad building as well.
 |
| House 2 |
It has a crude stone foundation, a porch, glass windows and a tin roofs. I really want to find a 1/48 scale rocking chair for the porch.
 |
| House 2 |
 |
| House 3 |
House number three has quite a bit of corrugated tin, covering mostly the roof but also some of the back.
 |
| House 3 |
Quite a few brick and ash piles outside. The outside edge is bare of ballast flocking as I had intended to flock them with grass but I thought it might now look a little odd, as all I have for a gaming mat is a brown blanket.
 |
| House 3 |
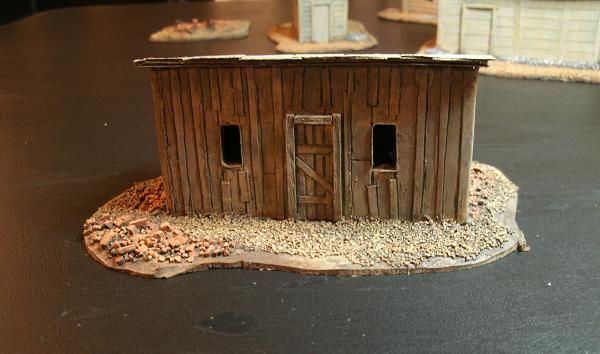
The front door is haphazardly nailed together and the window were knocked out. It used to have windows, but apparently I forgot to glue them in place and they were just sitting there. So when I went to paint them I pushed them into the building, of which the interior in not accessible as they are rather small. Probably to small to put more than a few miniatures inside. I had intended to put a miniatures next to them for scale, but forgot to do that to. Forgetting, the theme of my life.
 |
| House 4 |
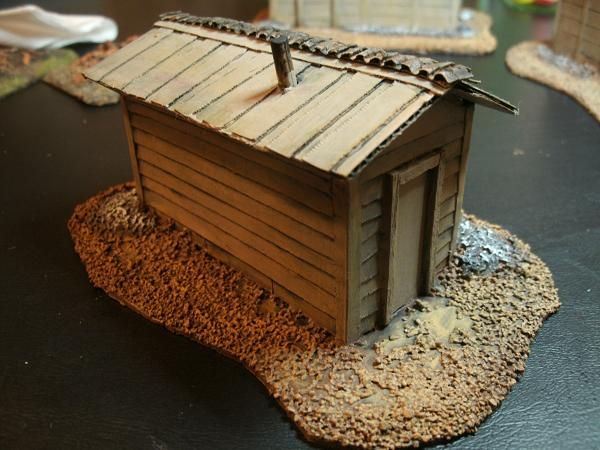
House four is a really small shack with a single window in the back. The general construction method is clapboard, while the roof is some hot board on board (originally I typed broad on broad, but that is something else entirely), with the peak covered with some tin scraps.
 |
| House 4 |
 |
| House 5 |
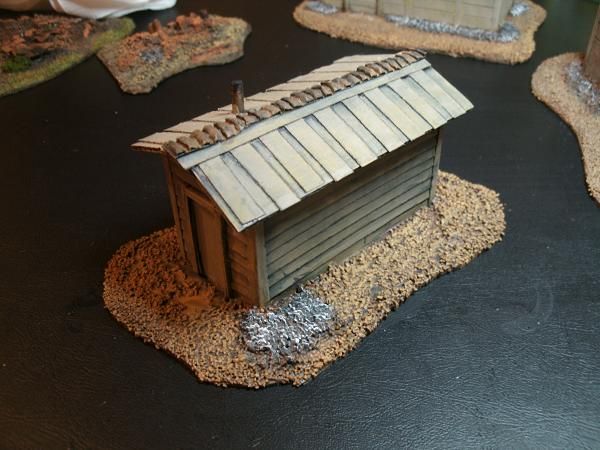
House five has some more board on board action, with a wood shingle roof.
 |
| House 5 |
 |
| House 6 |
House six is clapboard with a few bits of tin holding the corners together. The roof is covered with tar paper and the occasional board to hold it down.
 |
| House 7 |
House seven, tar paper roof with some tin around the stove pipe, a little tar paper covering the back walls.
 |
| Are you staring at my junk? |
Last, but not least, some junk piles, you gotta have some trash laying about. I also have some bits that I picked up from the local train store that sells O scale scenic elements, but more on them later.
Hopefully in the future I will get the bug and build at least a few more shacks and junk piles. For now though, these will work and can't wait to have a skirmish or two at the local Hooverville.