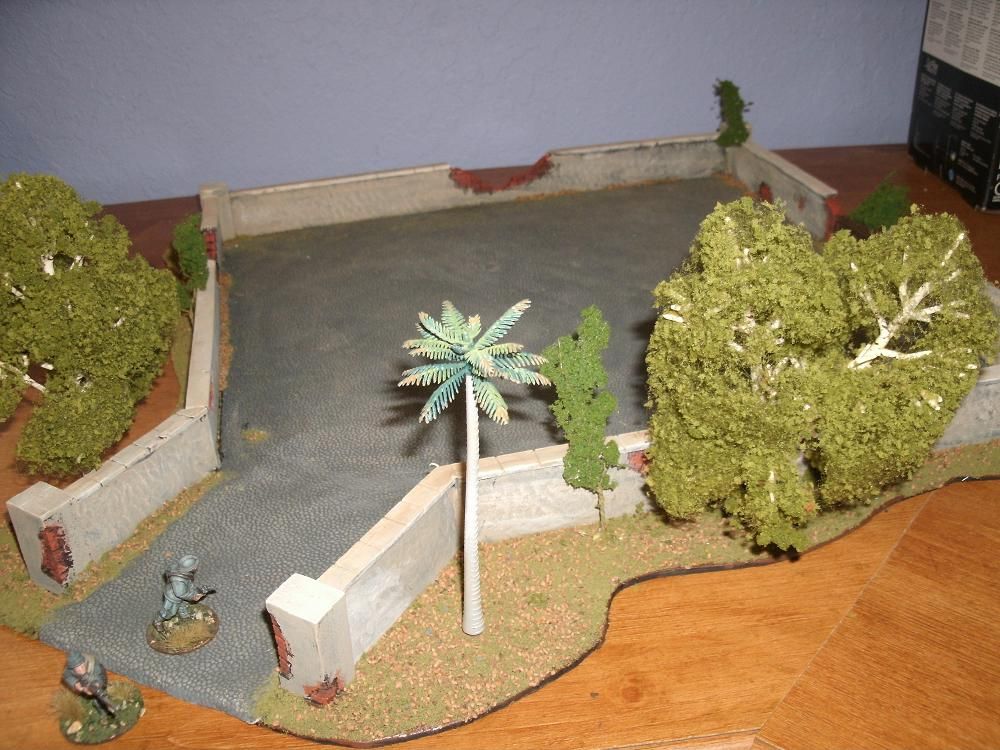
This is a courtyard for use with some of the houses I have
built in the past. I have tried to make it as versatile as possible. I went for plaster covered brick walls that would have been fairly common across much
of Europe. At the same time, I tried to give it character by adding small
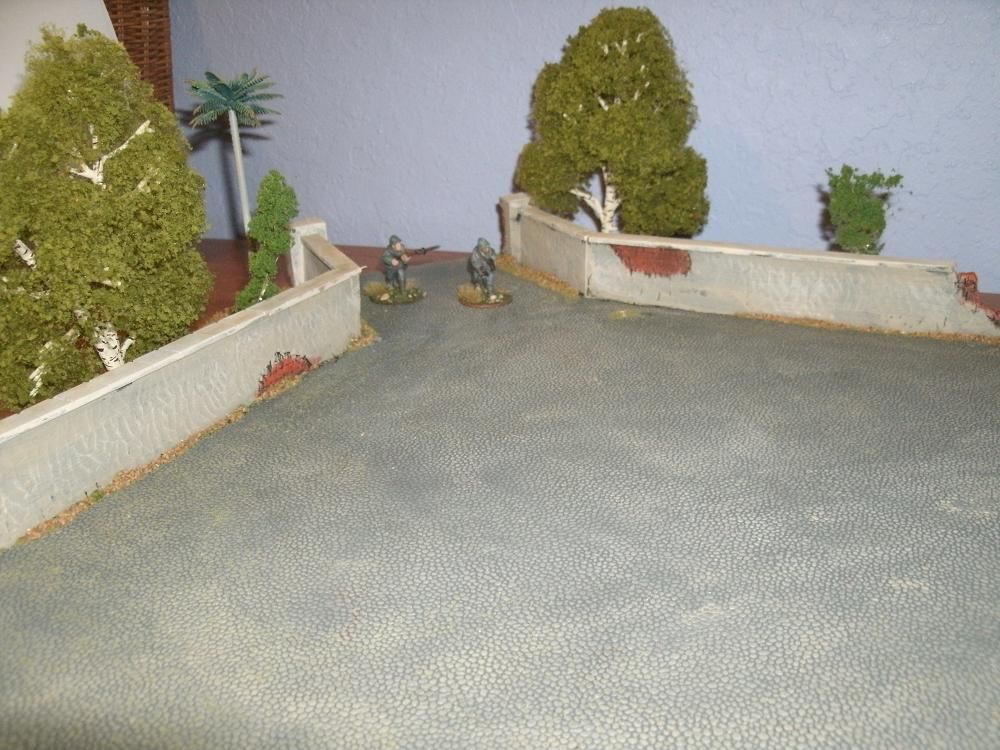
details to make it unique; such as the fence with the tree growing through it,
and the shell hole in the wall. The trees are removable and can be moved around
the board and set up in numerous different arrangements. I have both deciduous and
palm trees on it in the picture to show that it can be used for temperate as
well as sub-Saharan locals by simply changing the trees.
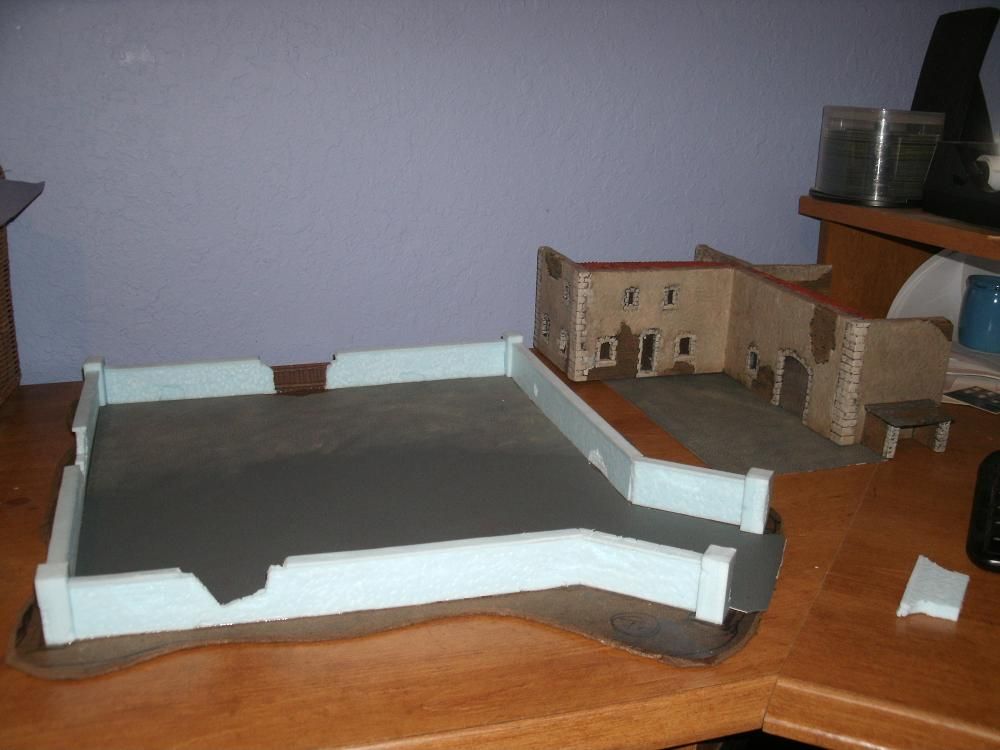
For the base I used some hardboard with an irregular edge.
Once I determined the layout I wanted and how big my walls were going to be I
cut out some 2” tall foam strips. I then took these and my Master Airscrew
Balsa Stripper, setting it to 1/4” thickness and cut the foam strips lengthwise
on all sides. The blade won’t cut all the way through, but it gives a good
guide on both sides. Then I took a box cutter and cut the center out. This gave
me 1/4” thick pieces with which to make the walls. I cut these down to the
appropriate length and started removing thin sections in random places. These
sections were for the underlying brickwork. This was made by using the back of
the box cutter or xacto knife and a straight edge. The corner sections are made
from 1/2” x 1/2" sections slightly larger than the wall. Once that was
done I glued all the pieces to the board and let it dry. I came back later and
added the top of dressed stone. These are made out of long thin strips of foam
cut out with the Balsa Stripper and then glued on to the top of the wall. Once
dried the grooves between the stones was made tool impression just like the
brickwork.
The cobble stone pavement was made using some shelf liner
that I bought at Wal-Mart for making roads and it worked nicely for this
project as well. Hopefully, being glued to the base will make this more durable
than my roads.
The wooden fence is from Renedra Plastics, and was cut down
to fit the gap in the wall.
After construction I painted the whole thing, except the
shelf liner, which I had already partially painted.
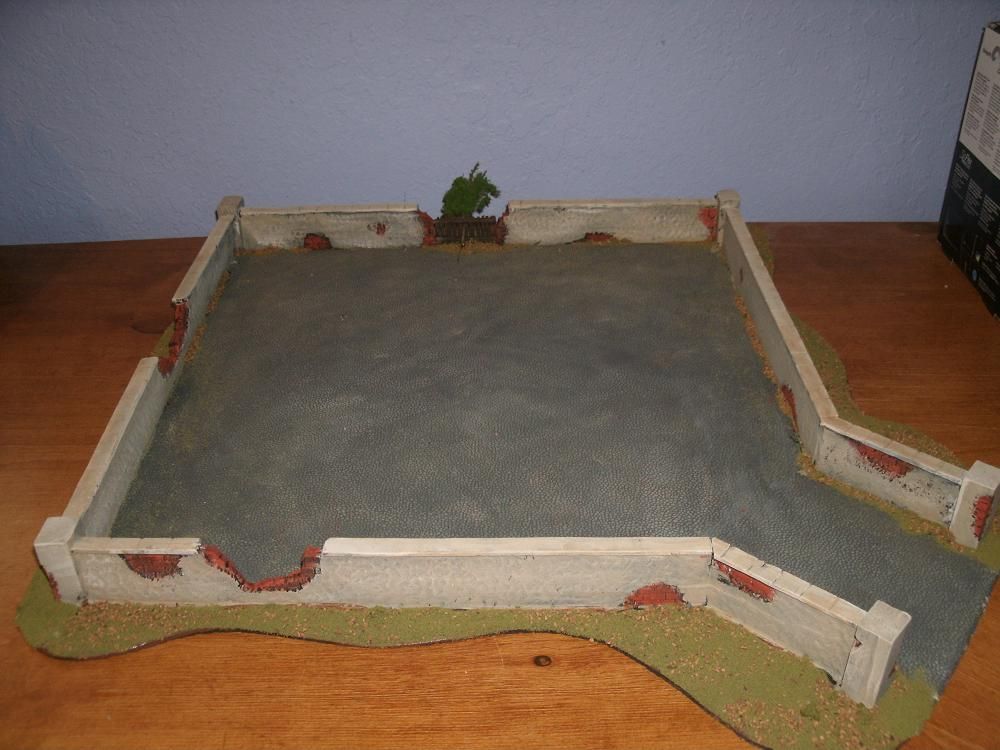
Cobblestones: Hippo Gray (FA ?), with Butter Pecan
highlight (FA 939)
Stucco: Butter Pecan (FA 939), with Linen (FA 402) highlight.
Bricks: Georgia Clay (Americana)
After painting I flocked the outside edge and the inside
between the shelf liner and the walls with some green flocking mixed with some
brown model railroad ballast, and a few bits of clump foliage. Once the
flocking had dried I drilled a few holes to fit the diameter of the base nipple
on the trees and simply stuck them in.


This comment has been removed by a blog administrator.
ReplyDeleteFantastic job... I should add a little of broken an fallen bricks where the wall ha the large breeches... Iam also working on terra in for ba and really appreciate your fine work..
ReplyDeleteThanks.
ReplyDeleteI had originally planned to put some rubble where the large breaches are in the wall. Scatter around a some bricks and such, but recently we have been playing with some of my older ruined buildings and the rubble has been kind of a pain. With miniatures falling over whenever you try to stand them on the rubble. I figure since these areas are likely to see a lot of action that I would leave out the debris to avoid this problem, at least for now. It was a compromise for playability over aesthetics. I think it would probably look a lot better with some rubble, so I may come back latter and add it in.