While this news was a bit of a letdown, they gave me a couple of options. Order a new model, to be shipped with my current order, or shipping the G3A, free of charge, when it was back in stock. I opted to wait, as the Mercedes G3A is one cool truck, and made even more icon by the Indiana Jones Films. It is useful for both Bolt Action and the Pulp 30's game that I co-run with a good friend.
So before even receiving my order I have to give them a thumbs up for customer service. Especially after hearing stories from my friends about getting half-filled orders and then spending days or weeks trying to get a response from whichever company to get the issue resolved.
So on to the M7 Priest. I must admit that the Priest has been one of my favorite WWII vehicles even since I was a kid and played my first game of squad leader back in the day. So my choosing this model for my American army has more to do with my own personal quirks than it does with how effective, or historical it is with the rest of my troops.
Here it is in all it's un-assembled glory. Overall, both the metal and resin parts have very little flash, and the resin hull only has two air bubbles.
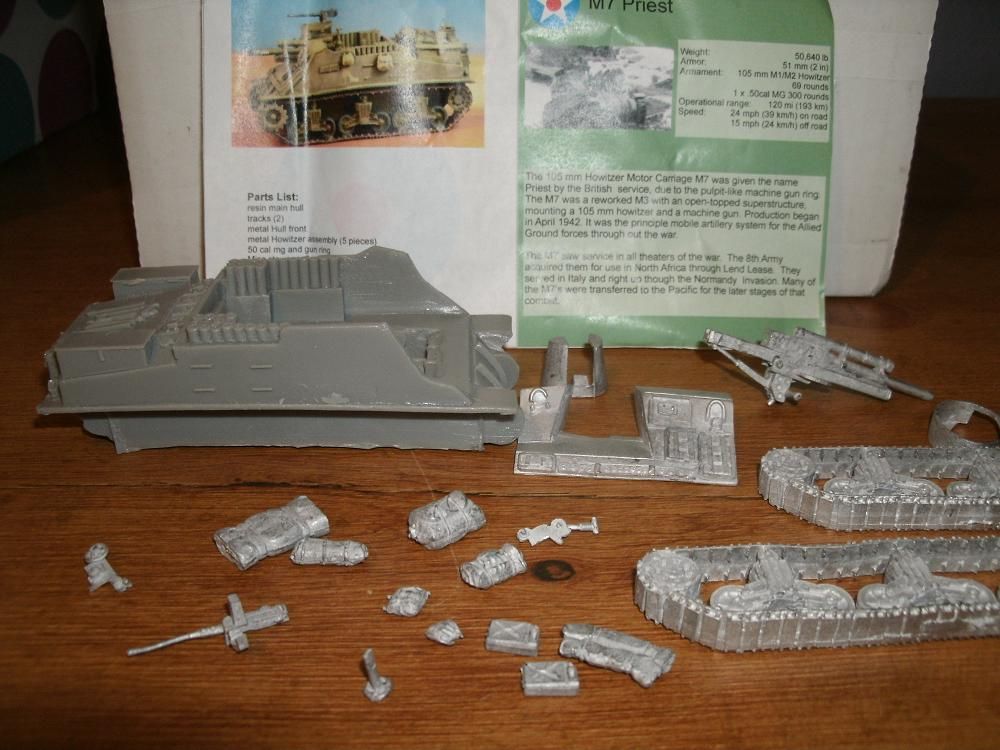
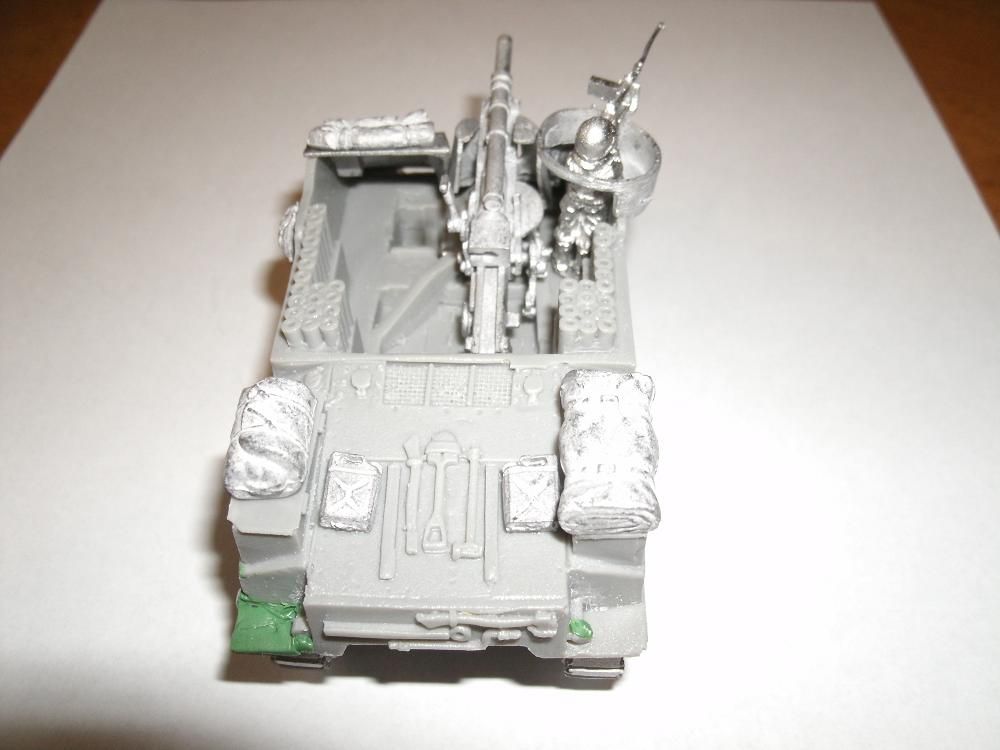
Both the air bubbles are located on the rear of the vehicle with one on the exhaust and the other on the fender. Neither of which will take much work to fix.


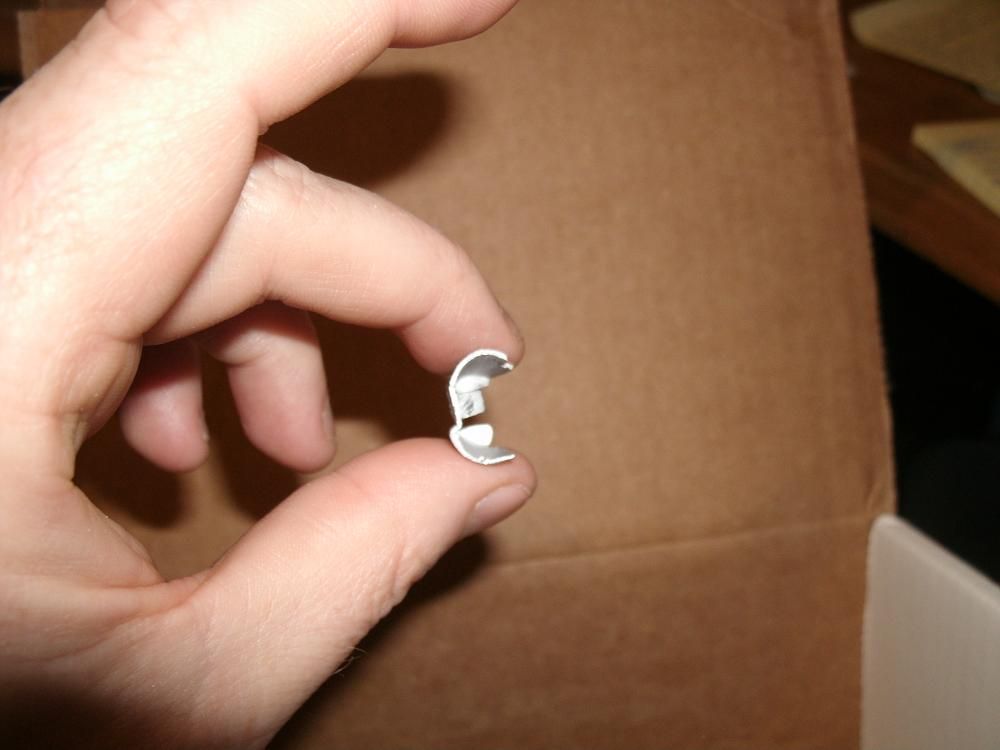
Of the metal parts only one, the turret shield of the howitzer will required much work. This was because it found its way inside the metal tracks and got a bent up a great deal during shipping. Aside from this everything else was in good shape.
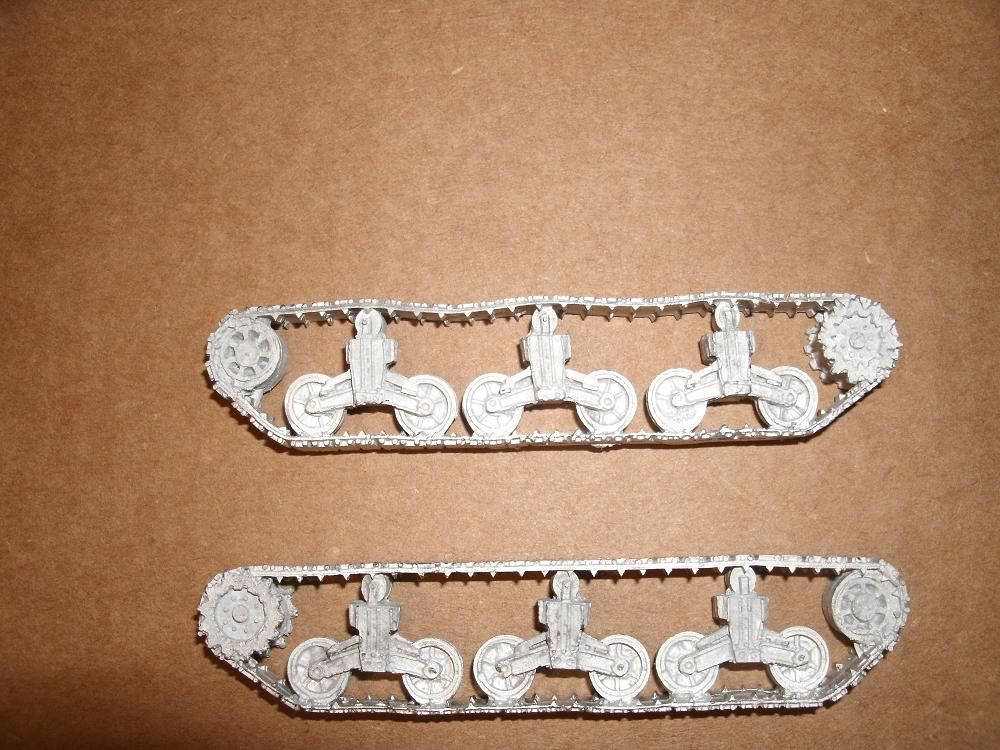
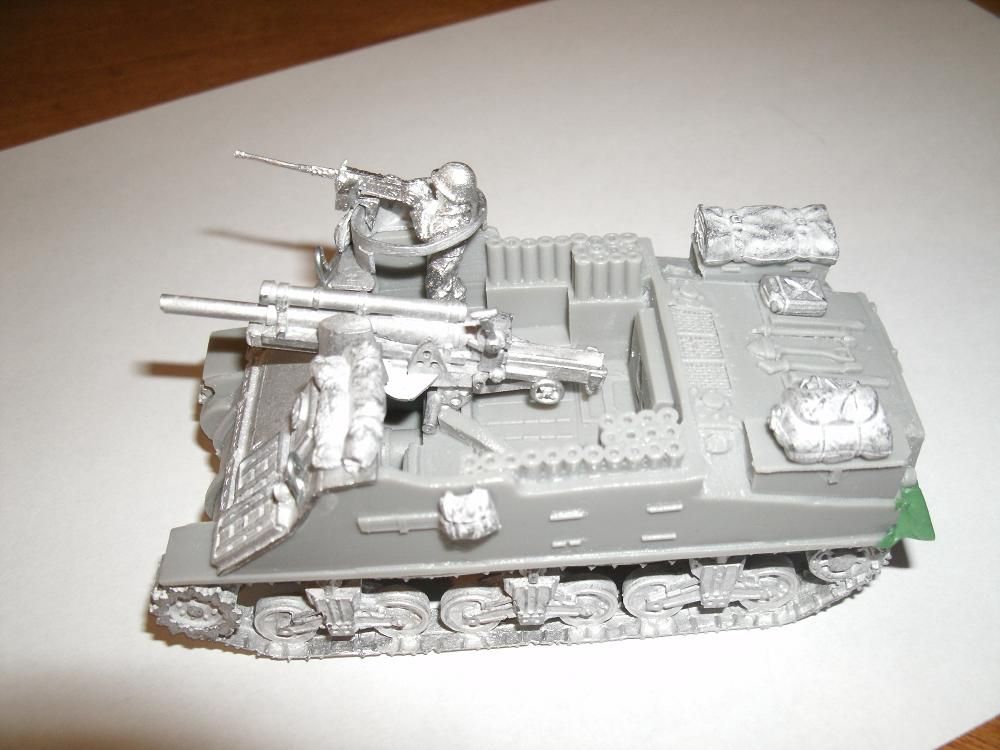
Having worked on previous models that have all had a resin hull and resin tracks, I found that I really liked the metal tracks. Simply for the fact that I was able to easily push down on the top of the track and give them that "saggy track" look that you often see in photographs of tracked vehicles.
On the downside, I had trouble getting the tracks glued to the hull and finally had to use some green stuff to get them to stay attached.
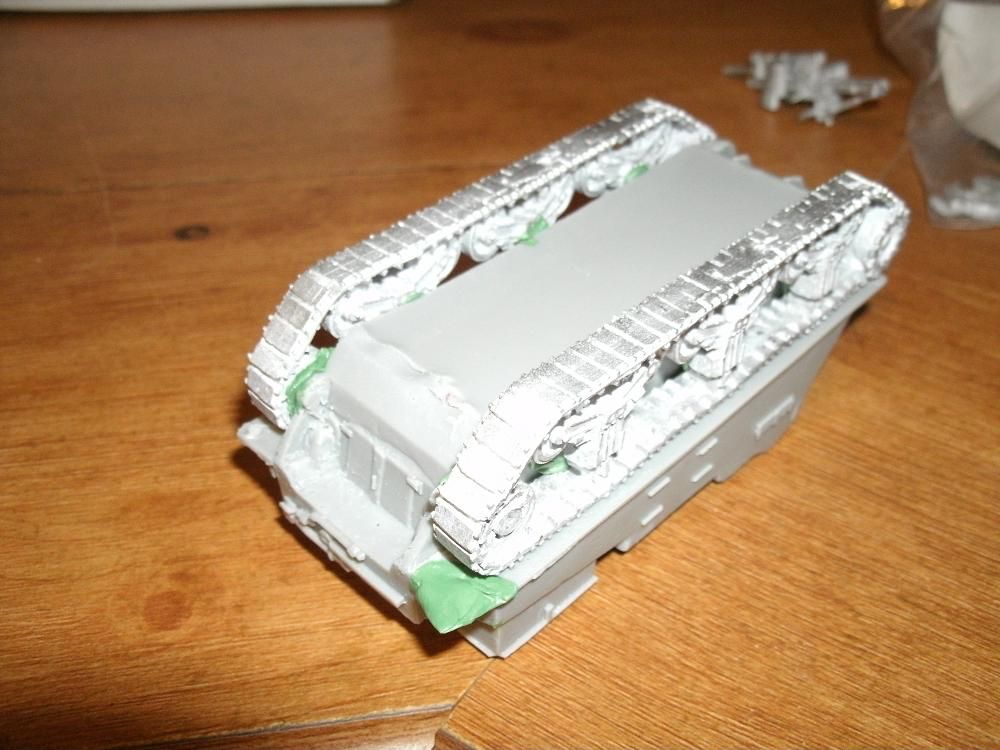
After getting the tracks on, I discovered that I broke of the left rear fender and had to do make a new one out of green stuff as I couldn't find the piece.
The front of the tank is made of white metal and requires a bit of shaping,which is easily done by pushing it up against the model so that it sits properly. The only thing is that this parts seems to be slightly larger than the resin hull and I had to file down the sides to make it fit better. One might also fill this in with some green stuff and work it a little to make it look like it is welded on.
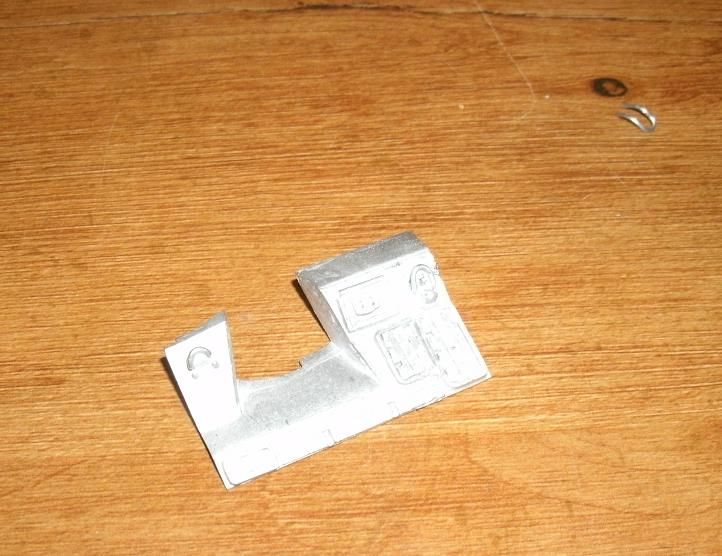
Another problem with the model, are the covers for the lights, they were not fully cast. So I cut them off and replaced them with some wire.
None of the models come with instruction diagrams so I spent some time looking at pictures of M7 priest on the internet, to figure out where some of the smaller more fiddly bits went.
I was easily able to put the M7 together in one evening, with plenty of time for watching TV, searching the Internet and losing multiple games of Candy Land to my son, in between gluing parts together. Overall I really like this model but it does have a few problems, but nothing that wasn't fixable. Quality is on par with resin models I have from other companies. The model also comes with a copious amount of stowage, some of which I will be using with other models.
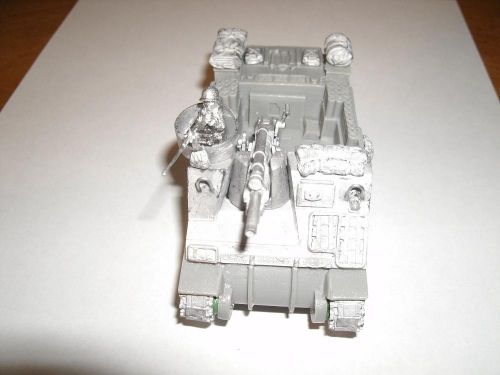
Below are some shots of the vehicles from all angles. I hope to have it painted up soon, but it may have to set up on the shelf next to the M4 Sherman until my water slide decals come in. Also I will be looking for some crew to put in along with the .50 cal gunner, but I have yet to order them. At some point down the line when I get all of these thing together, I will post a follow up.

No comments:
Post a Comment