So I am going to detail the steps and techniques that I use
to create half-timbered house walls with polystyrene foam.
Hopefully this will be pretty simple and straightforward and you will be
knocking out your own in no time.
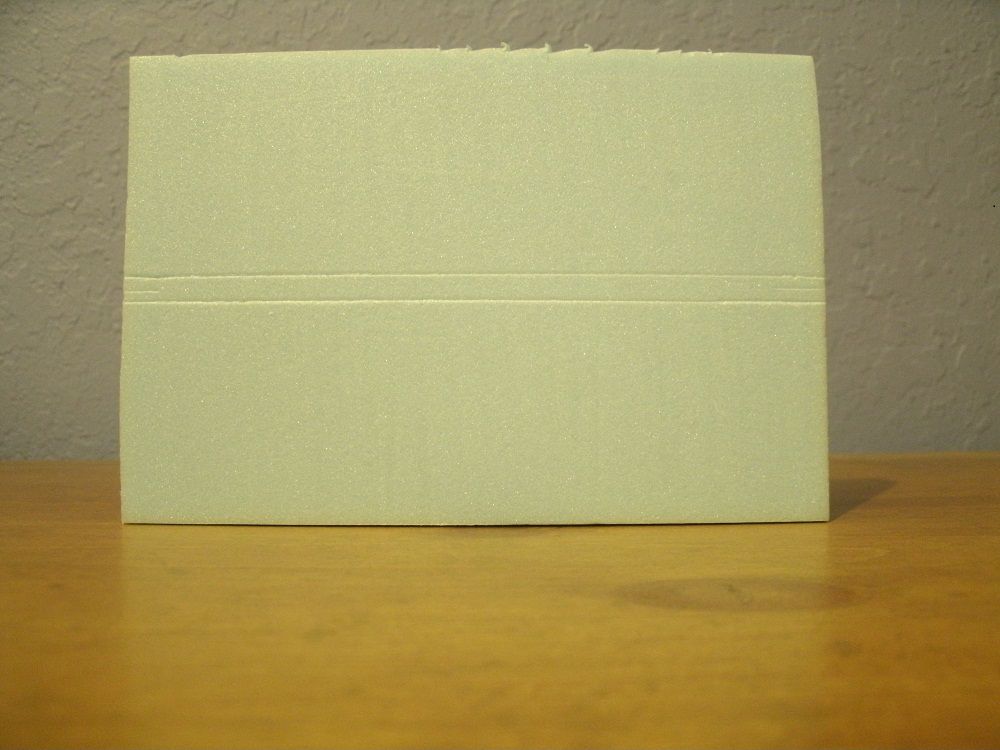
First I start by cutting four identical 4” x 6” sections for
the four walls of the house. Two of the wall sections will be used as 4” high
and 6” long sections that will be the front and back of the house. The other
two sections will be used as 6” high walls and will form the peak of the roof;
the walls will then be 4” wide. You can make yours however big you like, it’s
your house after all.
 |
Exciting picture of 4 pieces of polystyrene foam
|
You can do this by measuring and cutting by hand, but I find
that I simply cannot cut polystyrene foam in a straight line. To solve this
problem I built a cutter just for this purpose. It consists of a 4” x 4” block
of wood that has a guide (a thinner piece of wood), screwed to one side. This
guide is slightly shorter in depth than the foam, so just under 1/2”. On the opposite side I placed two screws
diagonally and offset from each other. The blade is placed in between them and
then tightened down to hold it in place. The blade does not cut fully through
the foam. So you have to run the blade down one side, then flip over the foam
sheet and cut the other side.
Now I take the first wall piece which will become the front
and measure up two inches to the center. Then I measure and mark a few mm above
and below the center-line. Then lightly etch both lines across the foam. For the
etching part you can use just about anything with a point. I’ve used a
mechanical pencil, a needle, but usually I use a sculpting tool that has a
pointy end.
 |
| When will the excitement stop? |
Okay now that this step is finished we can move on to more
exciting things. Next I mark out the door and the timber posts above and to the
sides of the door. The door I usually make 3/4" wide and about 1 1/2"
inches tall.
 |
| Not yet. |
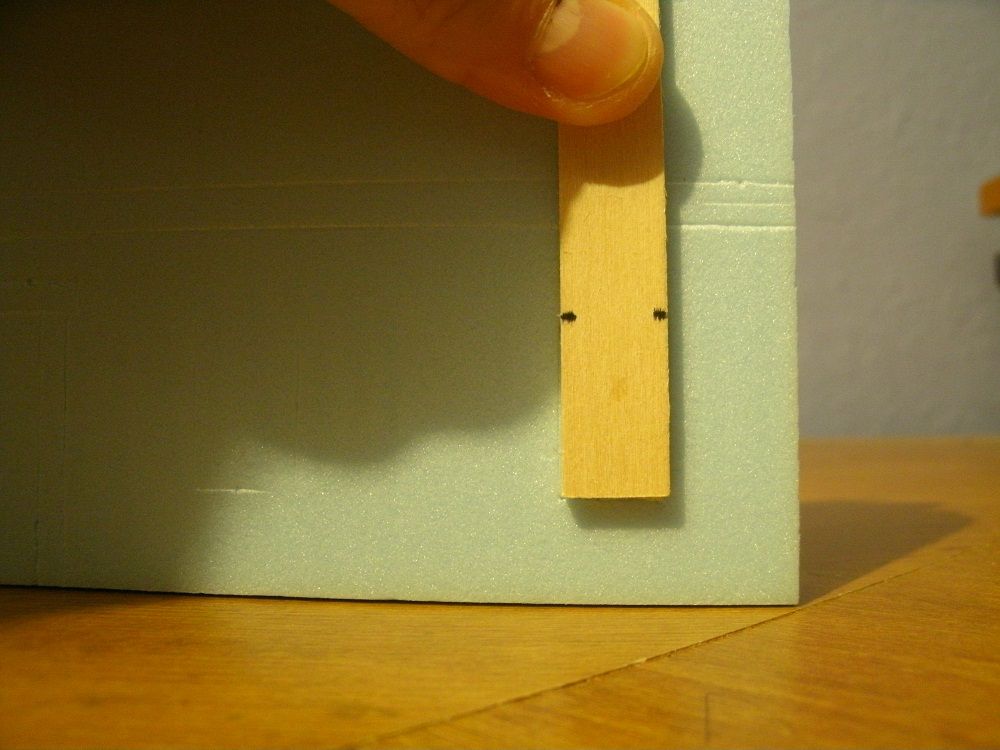
Then I measure 1/2" inch from the base of the wall where
I want to put the windows on the bottom floor. Then holding my magic 1/2"
inch stick in place I trace around it. Then, because I want really small
windows on the ground floor (because this helps keep the burglars out, and the
teenagers in) I then flip the stick sideways and use it to etch another set of
lines on the inside of the square, which will become the timber window frame.
Then I do the pretty much the same thing on the upper floor, measure up 1/2”
and etch the lines for the windows. These lines will be the inside of the
window this time as I want the windows on the upper floor a bit bigger than the
ones on the bottom floor.
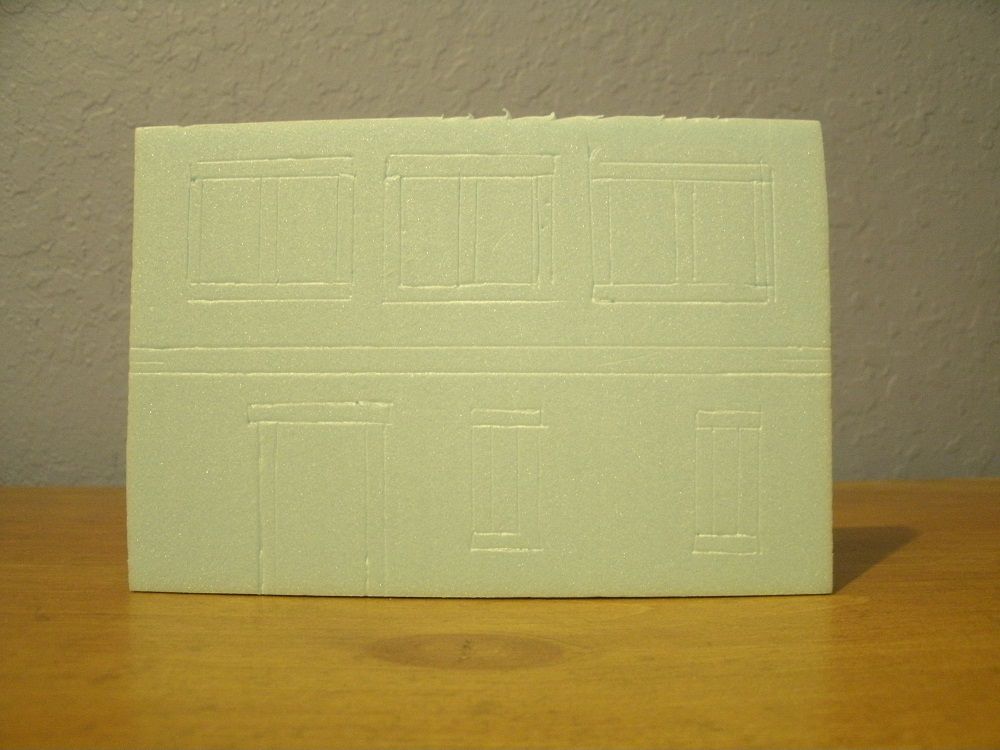
Now that the windows are done we move on to the wall timbers
and etch these on. You can put these wherever, and however you want. Live a
little and do some odd angles, you know you want to.
The next step is to now trace over all those lines you just
finished etching with a hobby knife. So I know you are saying to yourself, why not just skip all the etching and cut
all those lines to start with? Well
because if you mess up anything while etching, it will get cut out or can be
covered up later, but if you cut them with a knife and mess them up, it will
show up later on. Now, you want to cut just a few millimeters deep when you do
this and try not to cut through any intersections as this may cause problems
down the line. Also don’t worry about the inside of the windows just yet; we
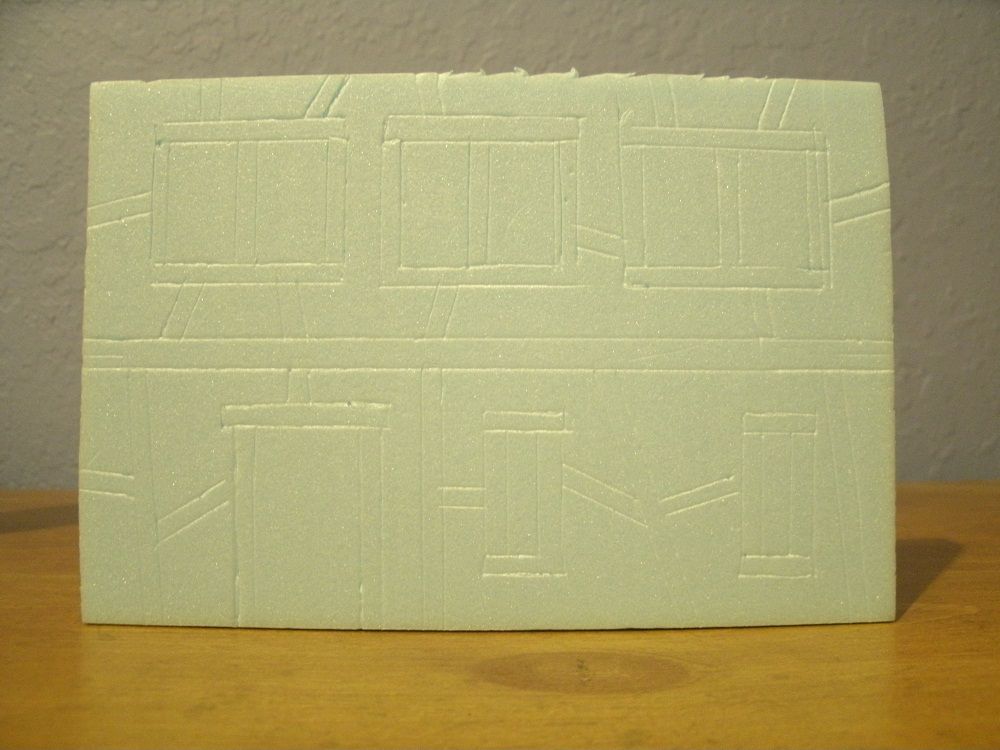
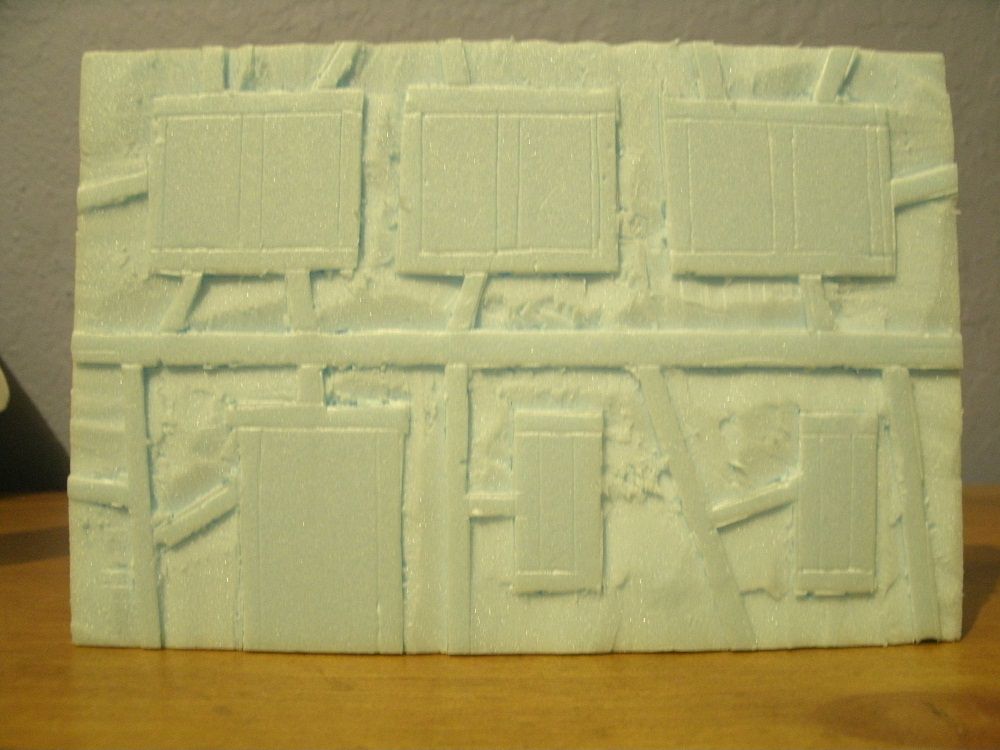
will get to those later. After that is done, take the hobby knife and start
cutting out the areas that will become the stucco walls. Cut inward towards the
part that will be the timbers trying not to cut too deep under them. When doing
this part try to cut at a shallow angle using a sawing motion. The more sawing
you do the rougher your stucco will look. When you are done there will be some pieces
left in the middle that you will need to cut out in the same way. You can use
the hobby knife again or you can use a box knife with the blade fully extended
to get these bits out. It really just depends on how difficult they are to get
to. You can see the results in the picture.
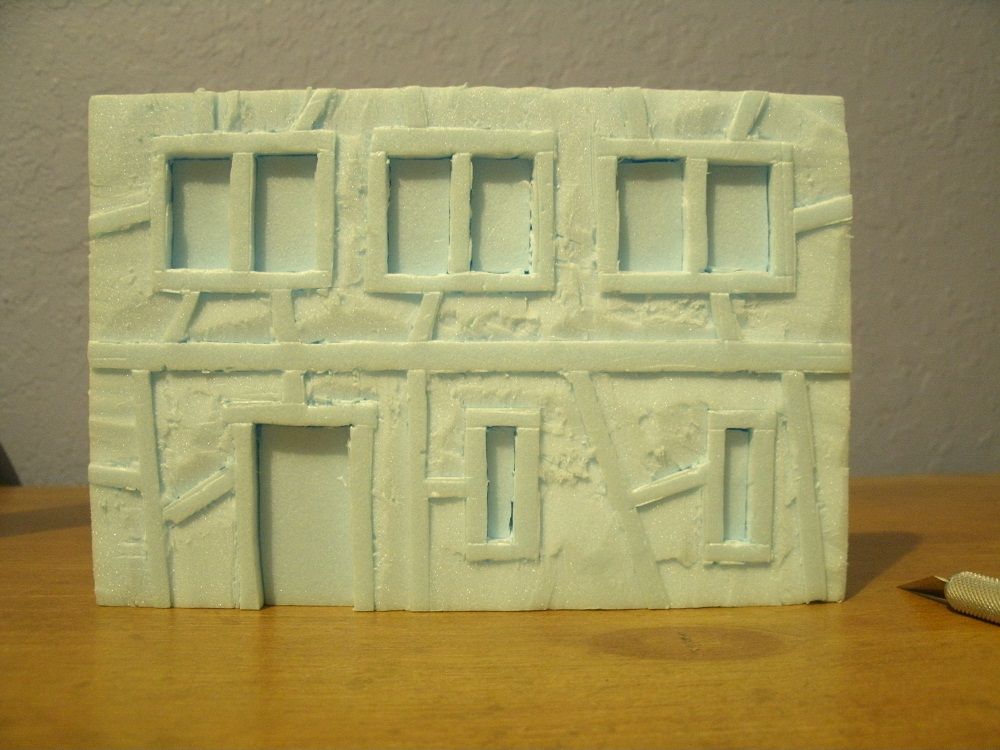
Now we want to cut the door and the windows out. Using the
hobby knife cut straight in along the edge of the widow. Since it is fairly
deep you will probably have to cut in a sawing motion. Make sure that you tilt
your knife when you get to the corners to make sure that get everything. It
also helps to flip the foam over and check the back to see if there is anything
you missed. Try not to cut from the back as it may not line up with what you
have already done. Once you think you have it you can use the back of the knife
or your finger to push the window through, breaking it loose from any remaining
bits that didn’t get cut. Once the windows are loose, just push them back in.
We will get to these later but for now it is best to just keep them in place so
they don’t get lost.
Take the door out and use you etching tool to make four or
five planks that will make up the door if you want the rustic look. After this
cut them with the hobby knife and then use the etching tool on them again to
give them more depth. Then take the back of your knife or your etching tool and
scratch some lines in to make it looks like the grain of the wood. You can get
fancy if you want and do knot holes and type of thing, but anything should do.
Remember, you want the grain to show, but not to be as deep as the cracks
between the planks. Now if you want a more modern looking door you can cut off
a thin piece of the door from the back side. Then cut out several squares from
this then glue this part to the front of the door, with the flat side of the back against
the flat part of the front. Once it is dry you can glue the whole thing back in
place.
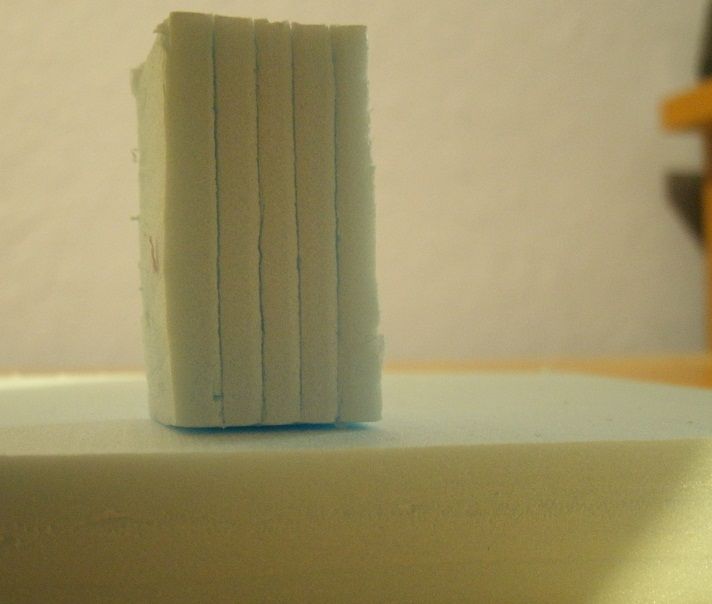 |
| Before |
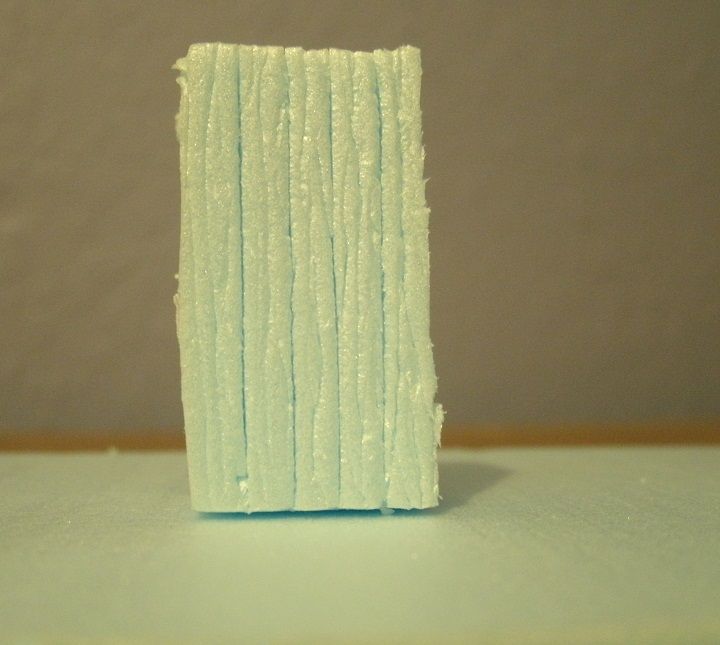 |
| After |
Now that you have a little practice with scratching in the
wood grain of the door, do the same thing to all of the timbers on the wall,
including around the windows and the door. At this point you can stop if you
want to, I often do. However, if you think the stucco looks a bit too rough
then can take a small file or some fine grains sand paper and lightly sand down
the stucco areas, and I mean lightly. Pressing to hard while you are doing this
can tear it more and make it look even rougher, so go easy. Also a small piece
of sandpaper run into the corners between the stucco and the timbers can be
used to get any little bits that are stuck in there.
You may notice that I didn’t put a timber running down
either side. I left these out on purpose, as I always put the timbers on the
corners of the building on opposite pieces. So the corner timbers of our building will be
on the side walls in this build, but you could easily put them on either end of
the front and back pieces and it would work just find. Then I use my Airscrew balsa stripper to make
a rabbet cut on the side walls of the house, and inset the other wall. This way
the wall timbers will be flush with the corner timbers. This also gives the
model more stability and helps hide the seams if you can’t get it to glue
together flush, as it appears to be cracked stucco along the side of the corner
timber. I will cover this in the next part of the tutorial with some pictures
to clearly illustrate what I am trying to explain.
So I am going to have to leave off here for a while as I am
going to be out of town for a bit. However, if anyone actually wants to try
building something similar, just do the same thing on the other four walls.
Remember to turn the side walls sideways and cut the peak of the roof from the
4” mark on either side of the wall to the top center at 6”. You will also want
to create a timber running across the wall at the 4” mark to separate the
second floor from the attic. I will still be online from time to time if anyone
has any questions, feel free to ask.
Great how to. Think I'll try this out...
ReplyDeleteHi
ReplyDeleteWorking directly in expanded polystyrene (as opposed to foamboard) is very brave! I see it opens up possibilities and you certainly get fabulous results, but isn't it prohibitively messy?
(I also like your sense of humour!)
Well, it depends on who you ask. I don't think that it is that bad, my wife has a much different opinion though. I work on a clear surface and sweep up all the small bits into the trash can to keep things as tidy as possible. It does tend to get on my arms, chest and legs, which again I try to brush off into the trash. Afterwards I use a small shop vac to get whatever has managed to get away from me. For larger projects like buttes and rock formations I work in the garage because I know it is going to get messy.
DeleteThanks for aa great read
ReplyDelete